Easy Dial Programming
Here, we’ll walk through the programming of your Easy Dial Timer. If you prefer to watch a video, click here
Make sure your timer is plugged directly into a live wall outlet.
Programming is achieved by rotating the dial counter-clockwise and lining up the desired section on the dial with the right-pointing arrow button.
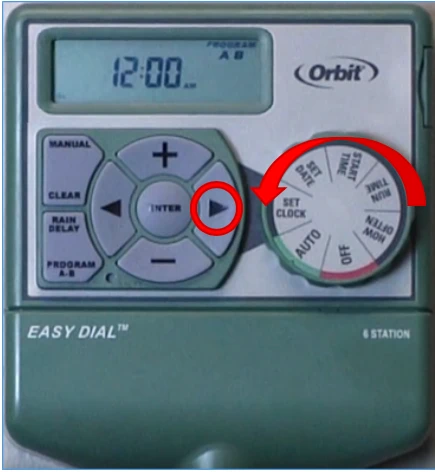
Let’s begin by setting your clock. Some models are different in this area.
Some models have a Date Clock button that combines both the Set Clock and the Set Date. The steps are the same except if you have the 57594 or 57596, you will only move your dial once. Use + and – buttons to change the AM or PM on the 57594 and 57596 models.
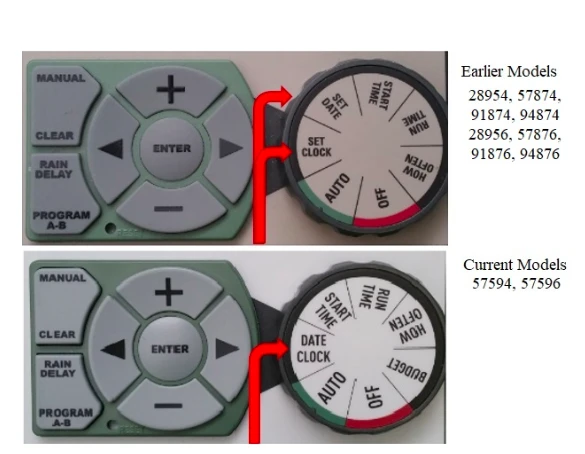
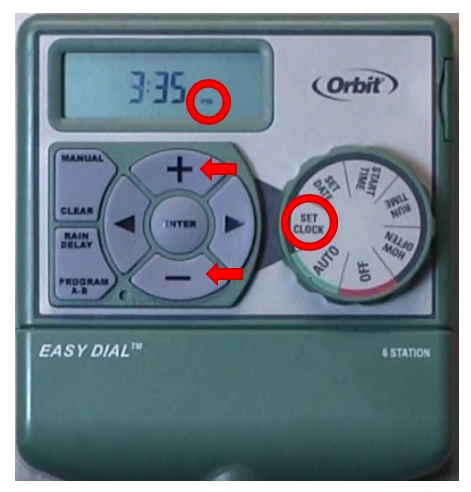
For earlier models please turn your dial to Set Clock. You will use the + and – buttons to change the time. Hold down the button to speed up the rate of change. Pay specific attention to the AM and PM.
AM and PM can be changed by using the arrow buttons.
Next, we’ll set up your current date:
Just turn your dial to the Set Date section of the dial.
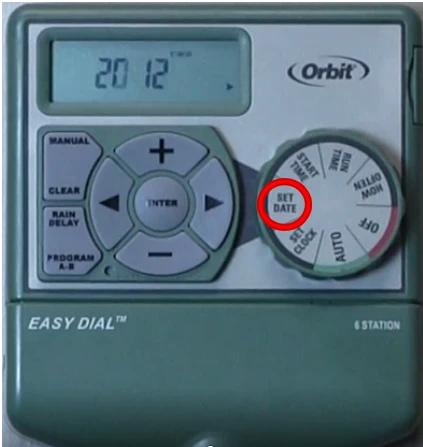
You can set the correct year by pressing the + and – buttons. Y (Year) will blink. Press the right arrow button to save your change and proceed to the month.
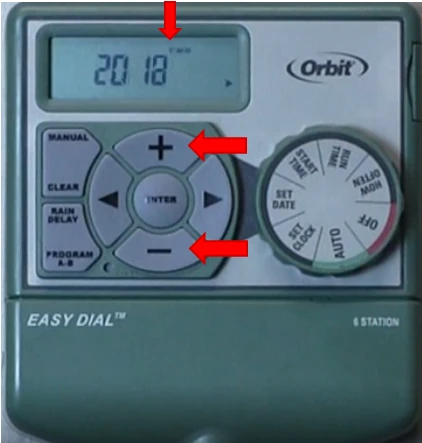
The month is set the same way. Press the + and – buttons. M (Month) will blink. Press the right arrow button to save your change and proceed to the day.
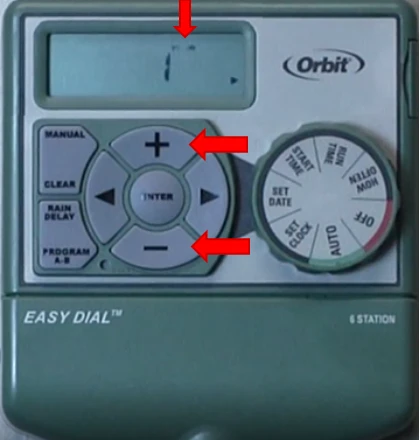
Ok, let’s set the day. The D (Day) will flash. Push the plus button to the current day. Your year, month, and day should be set. Everything saves when you turn to the next setting, or you can press Enter.
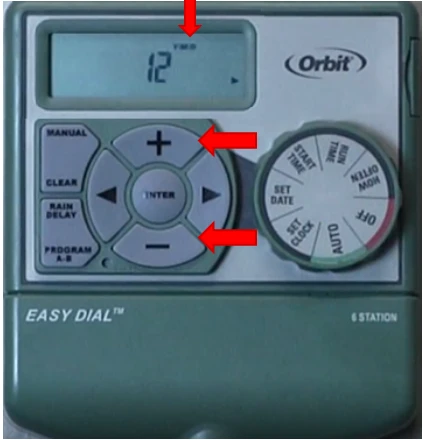
The display will return to the screen that shows the correct year.
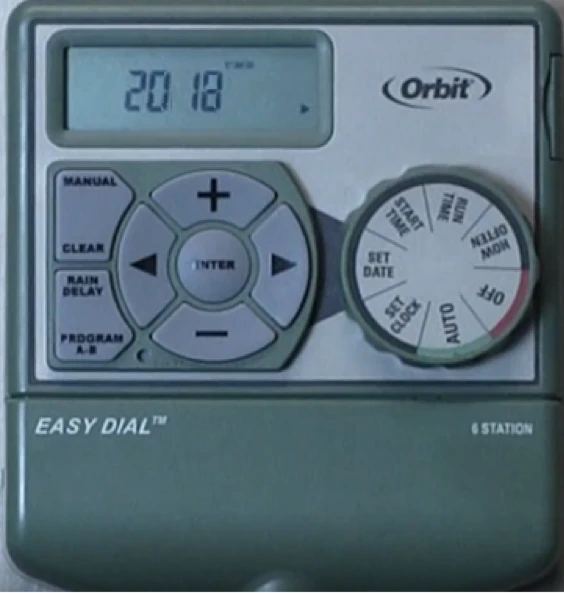
To create a program we first need to set a Start Time.
Please turn your dial to “Start Time”. You’ll notice the number 1 appears at the top of the display under the words “Start Time”. This is the first start time for your program A.
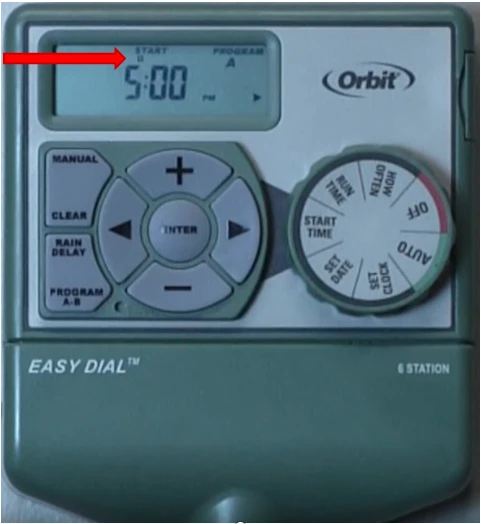
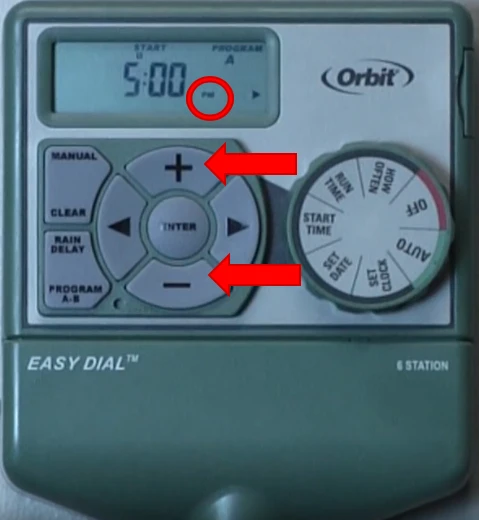
Use the + or – buttons to set the start time. It’s a good idea to check the AM and PM as well. Press the arrow buttons to adjust them if needed.
Would you like your program to water more than once?
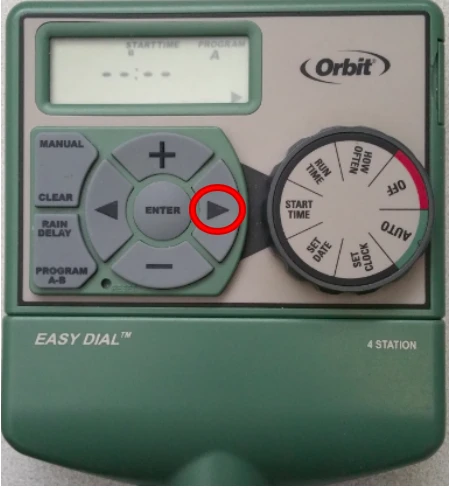
Press the right arrow button to move to Start Time 2. Repeat the previous steps to add the time. Remember you can have up to four per program.
Remember: Start times are no specific to individual stations. So start time one is not for stations one etc. Also adding a 2nd, 3rd, or 4th start time signals the timer to start the stations watering again at that time.
Let’s move on to Run Times for your stations.
Turn your dial to Run Time. Station 1 will appear at the top of the display. Dashes will appear below.
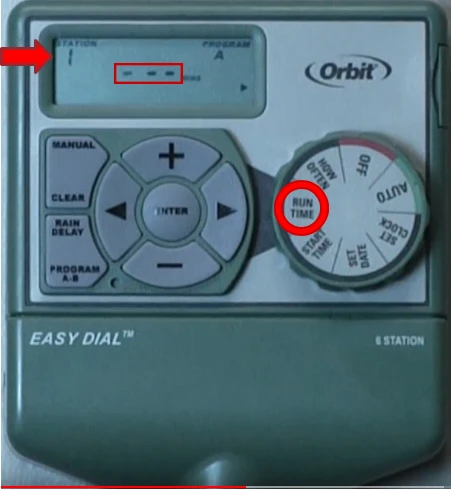
Please press the + or – buttons until you reach the desired number of minutes for your first station. From 1 minute to 240 minutes.
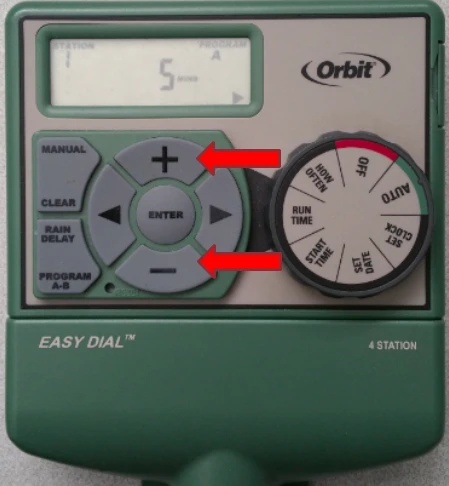
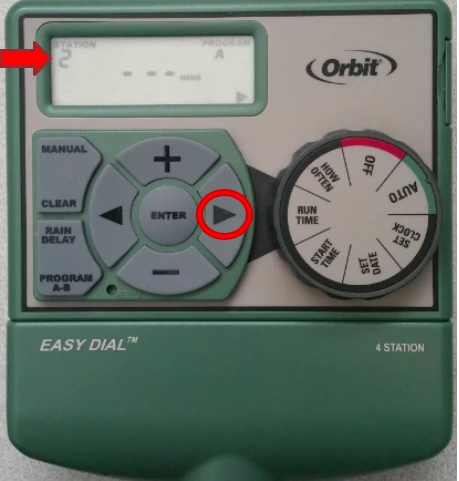
Now you’ll press the right arrow button to advance to the next station/zone and repeat the previous process for adding the minutes. Do this for as many stations as needed. Up to the four or six available for your model.
The final step is to tell your timer How Often to water.
Please turn your dial to How Often. You can tell your timer to water in four different ways – days of the week, odd days, even days, or in intervals. Intervals allow you to specify how many days in-between watering.
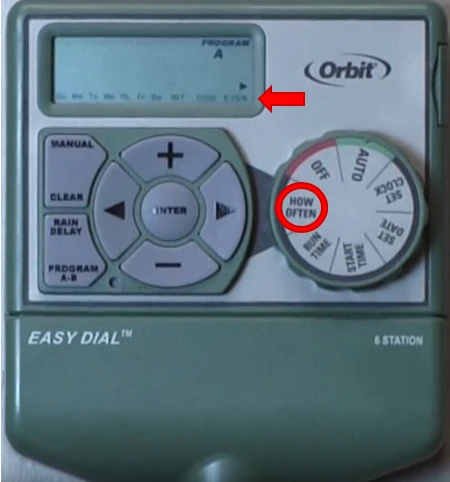
If you would like to water on specific days, use the right arrow button to move between days. Then press Enter on the specific days you want to select. A square will appear around each of the days selected.
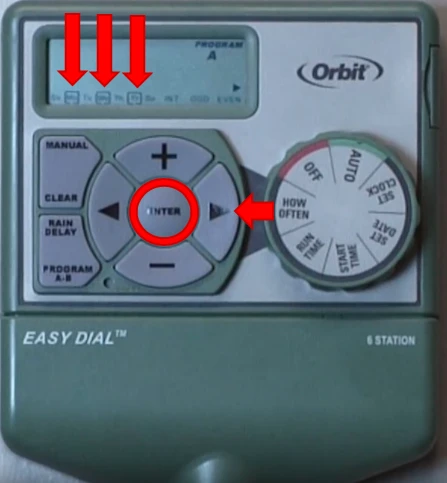
If watering on odd or even calendar days is what you want, use the arrow buttons to move to odd or even showing on the bottom right of the screen and press Enter. Please see the arrow on timer below. A square will appear around your selection.
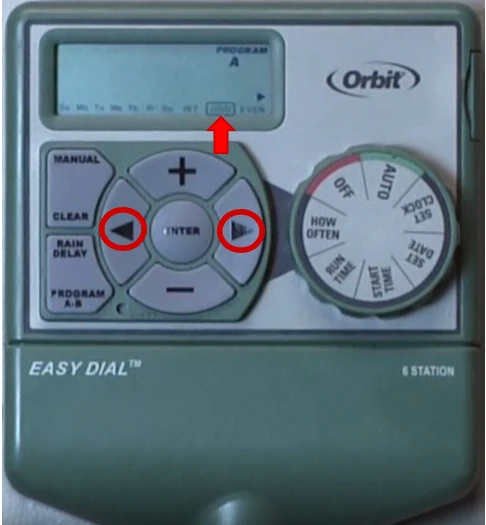
If you feel your plants will do better on intervals, you can set from 1 to 32 days. Intervals allow you to specify how many days in-between watering.
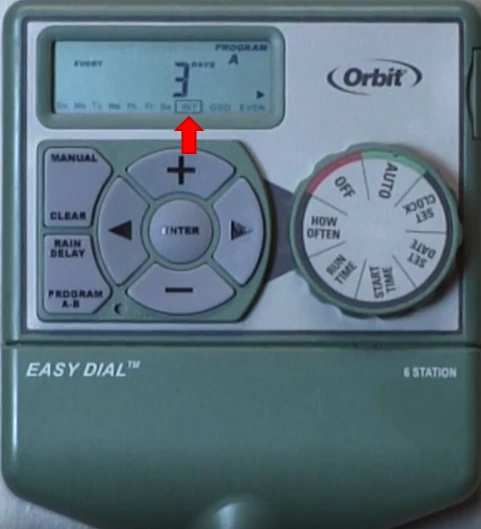
For Example:

If today is Monday and you set an interval of 3 days, the next watering day would be Thursday.

Please Note: If your start time occurs later than the time you complete your programming, it will water the same day.
Here is how you’d add a B Program
Just press the Program button once to add program B. Repeat previous steps to set up your B program as needed.
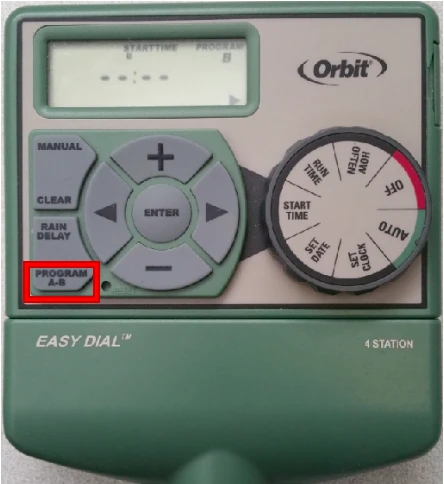
By the way, each time the dial is turned the program will default back to the A program. You’ll need to press the program button to B on each setting before you program it.
Now that your program has been set, please turn your dial to Auto. Your dial must remain in this position in order to activate your programs.
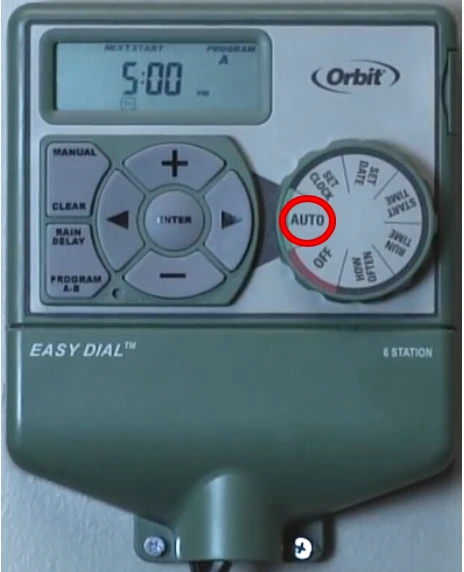
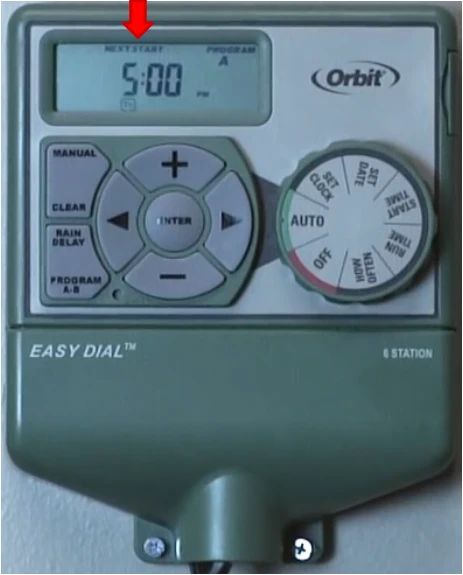
If you have a programmed start time within the next 24 hours, the display will flip back and forth between the current time and the Next Start screen, showing when you can expect your system to start watering.
*If your timer has the “Budget” option, then once you turn the dial to that setting you should see the budget set to “100” by default. What this means is that any program you have will be running at 100%, and will be exactly as you programmed it. If you were to turn the budget to 200%, then the run times you have set would be doubled, and if you set it to 50% then the run times would be halved*
Your timer is now programmed and ready to operate!
Devices Covered: 57594 57596
Back to Support pageTags: Program, Underground Timer