How To Pair Your B-hyve Smart Flood Sensor and Hub
This article will walk you through pairing your B-hyve Smart Flood Sensors with their Hub.
A couple of things you need to know before pairing:
- Your network name (SSID) and password are required
- You need a Gen 2 Hub in order to pair, the hub for your Hose Faucet timers will not work.
- You’ll need to mount the hub in a central location, where it can get a good Wi-Fi strength, and still speak with all of your sensors.
- While setting up your GEN 2 hub and Flood Sensors, if you are unable to get the hub to find or connect to your WiFi network, then please use our OrbitAssist tool here. That should help with identifying why you are unable to connect to/aren’t seeing your wifi network.
Pairing your Sensors
First, make sure your hub is in pairing mode (indicated by a flashing blue light on the hub. If you do not see this, then press the B-hyve logo on the bottom of the sensor 5 times. This should reset the sensor and set it into pairing mode).
In the app, tap “this is a new device”, then select “Flood Sensor”.
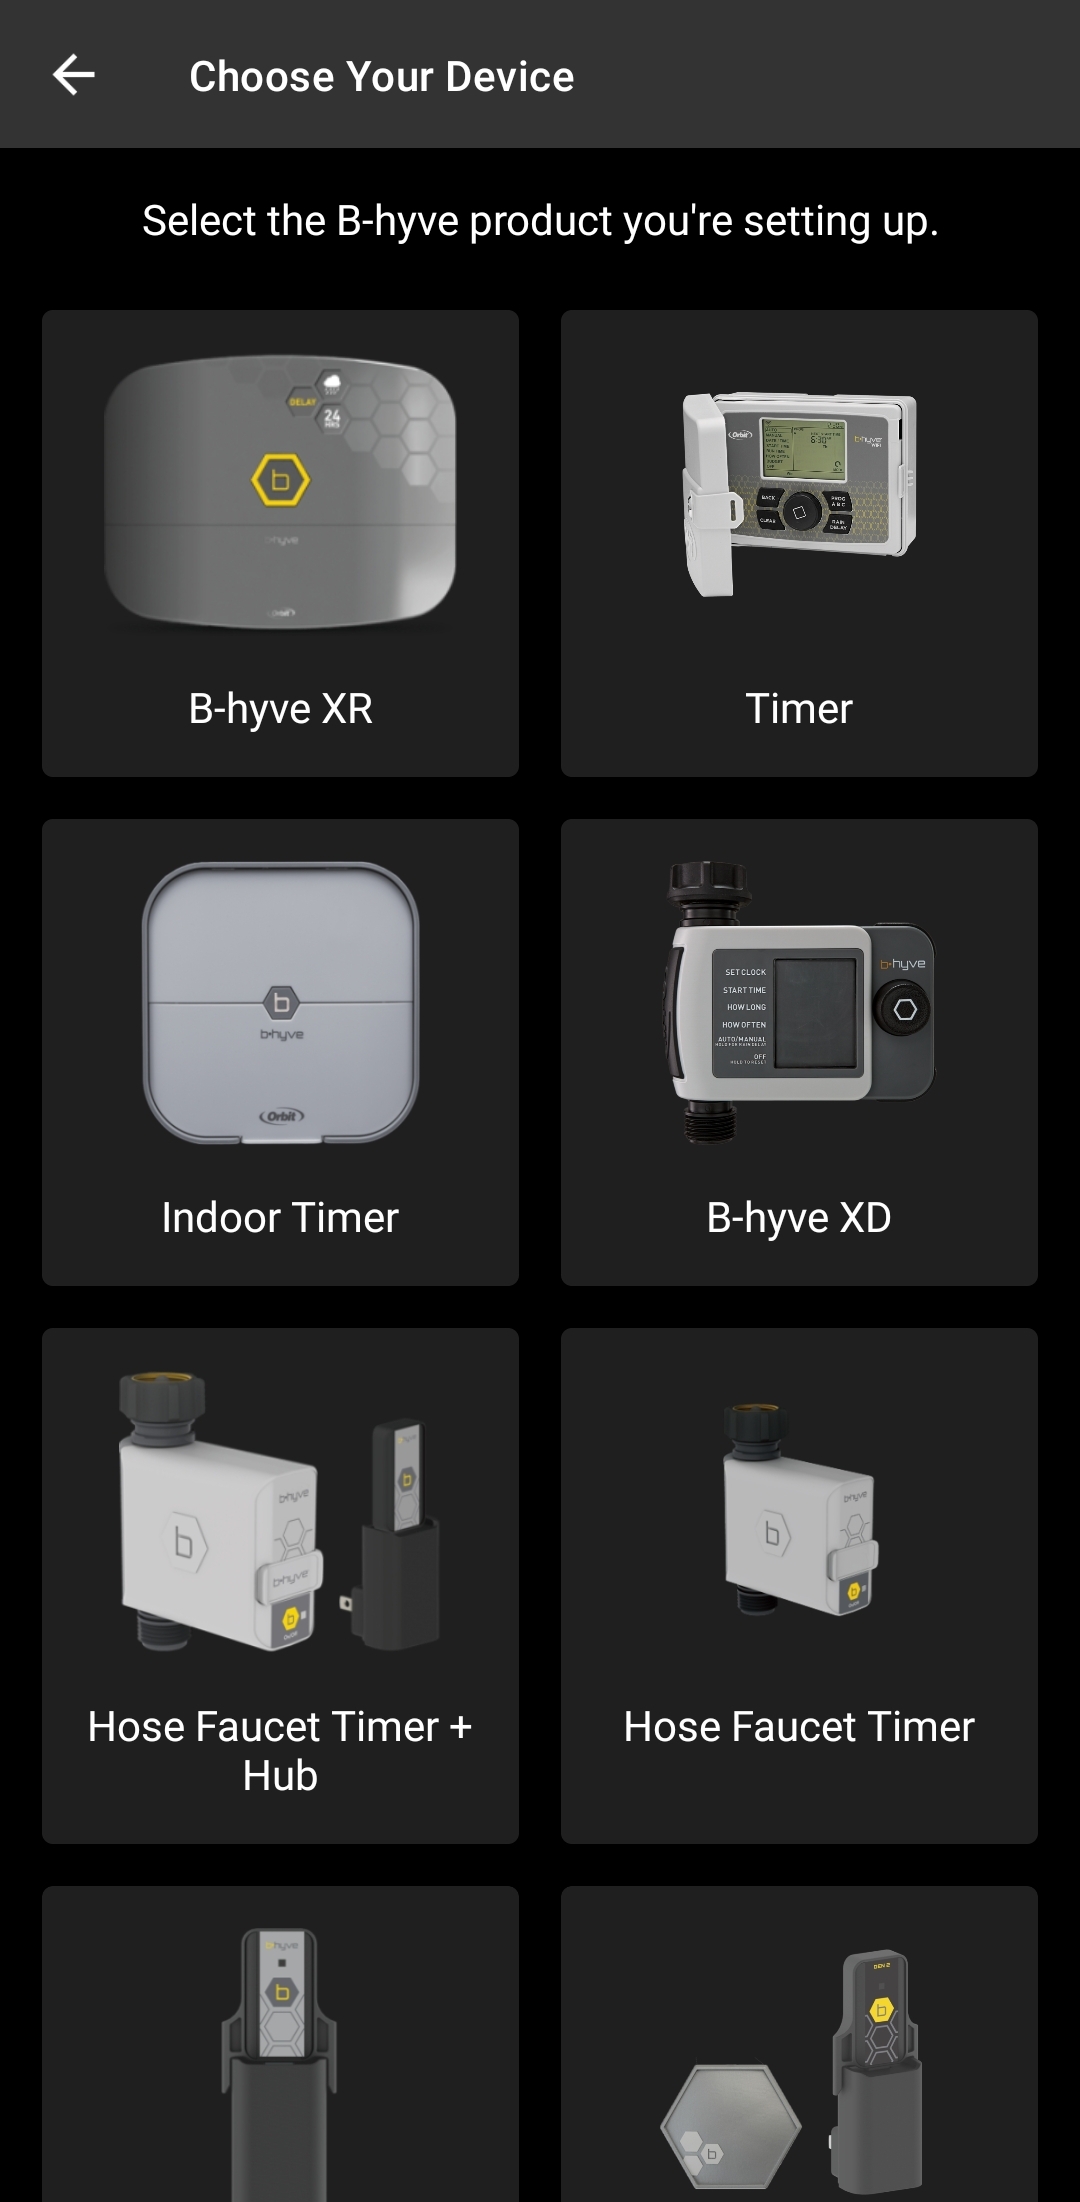
Ensure your pull tabs have been removed from each Flood Sensor.
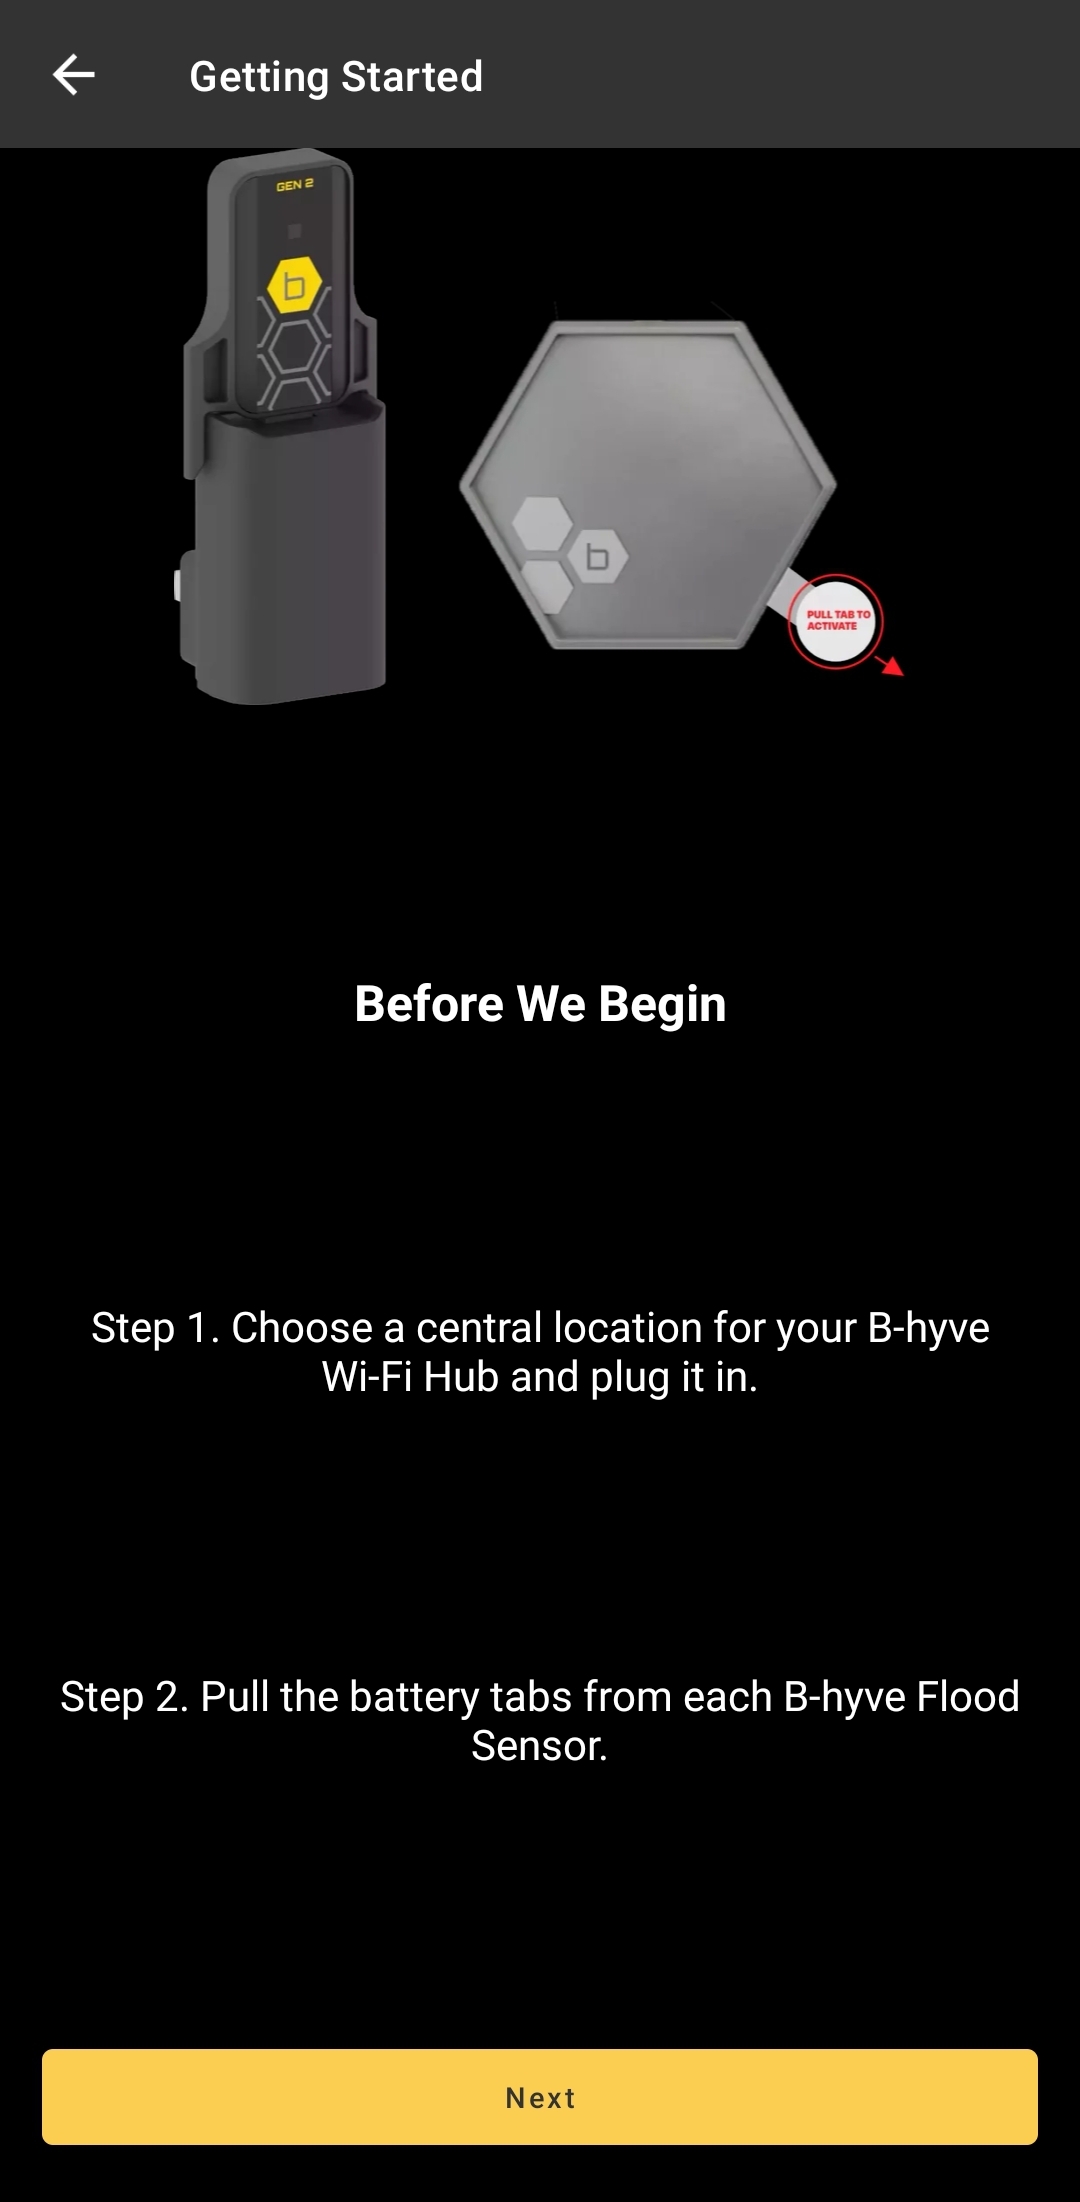
There are two ways you can go about adding your sensors. In the package with your flood sensors, you should have received a QR code. If you scan this code, it will automatically find all of your sensors and your hub.
If you’ve misplaced or didn’t receive your QR code, you can select your devices manually by tapping “Select Devices”.
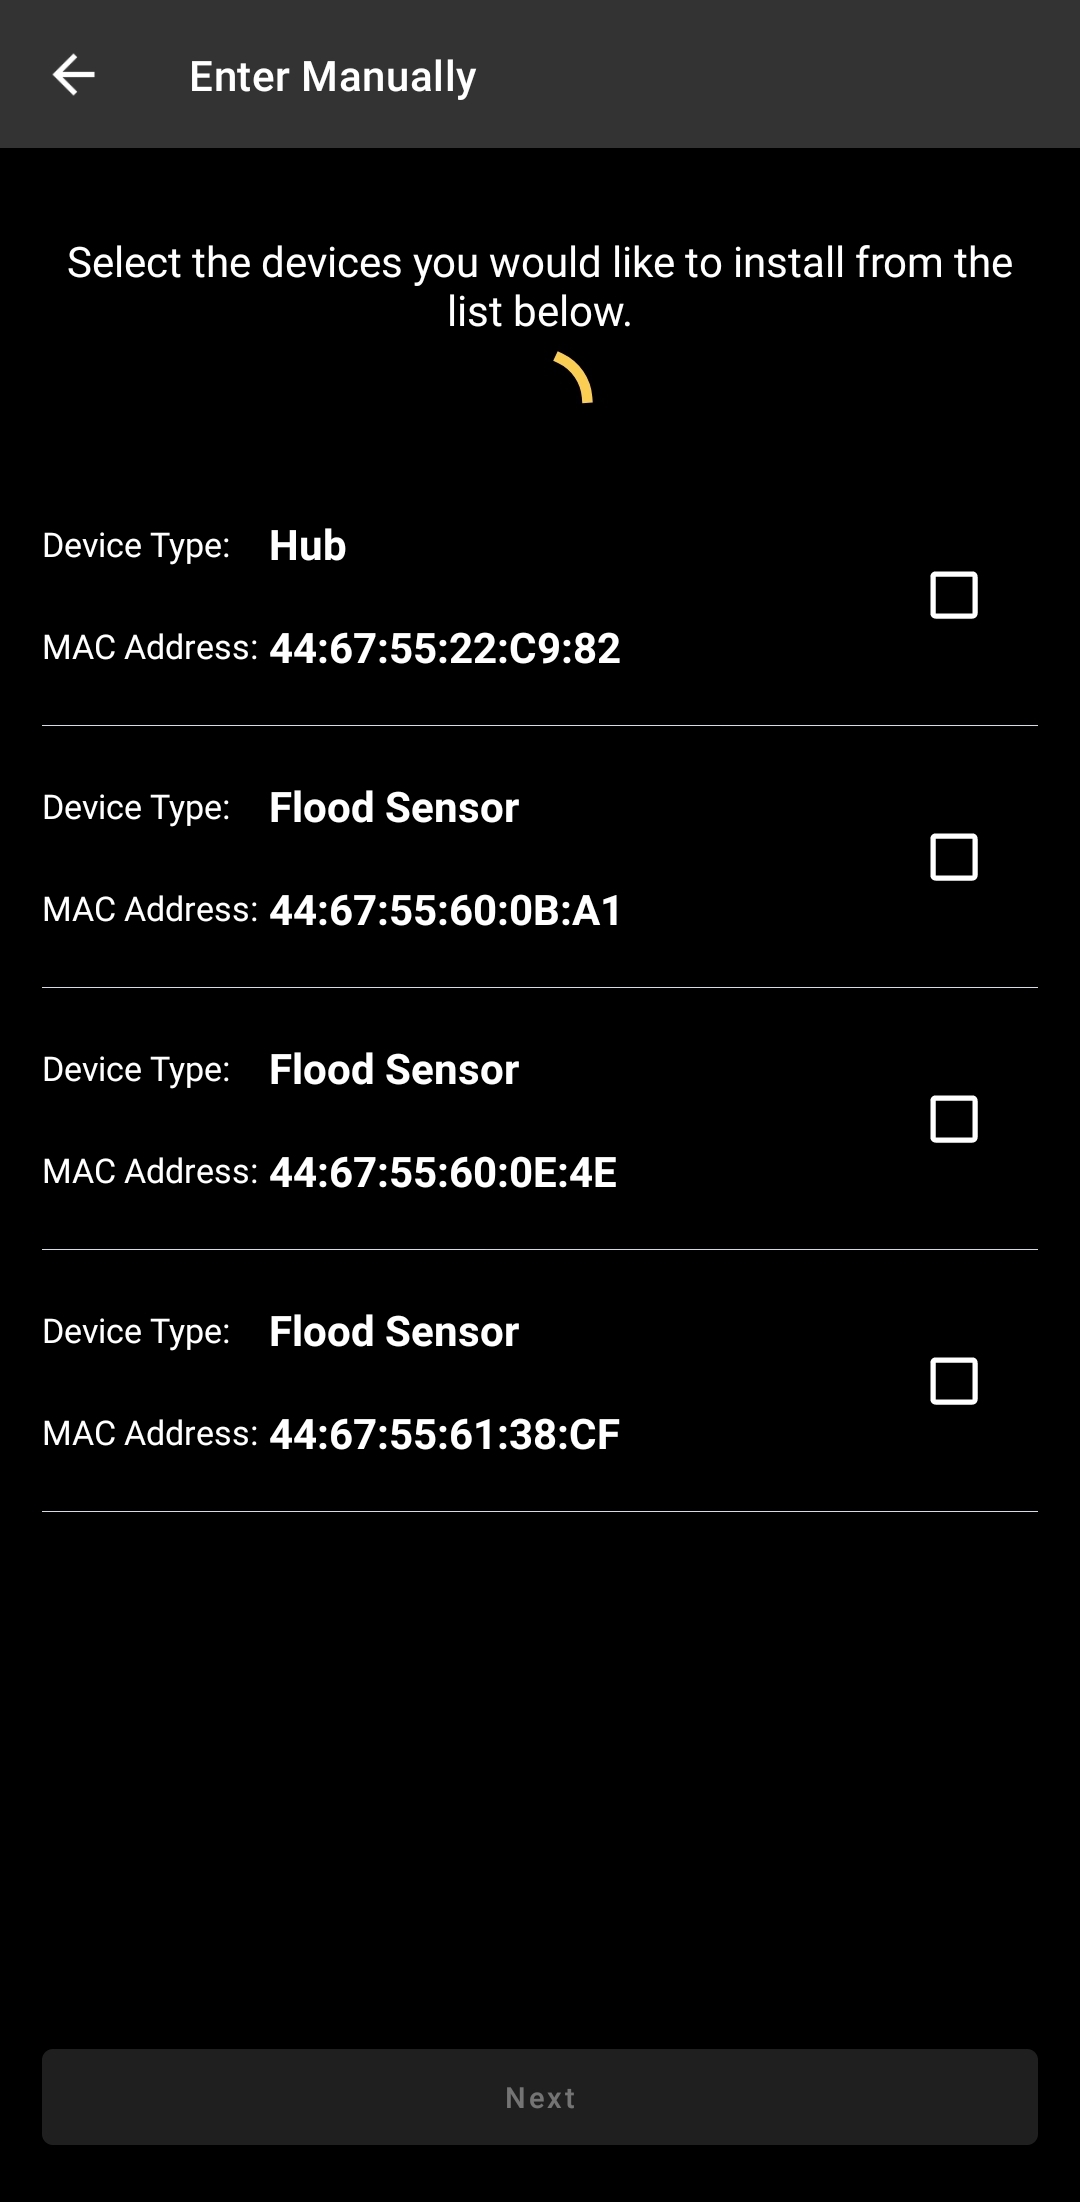
Once you’ve selected all of your devices (just by tapping each device you wish to pair), tap next.
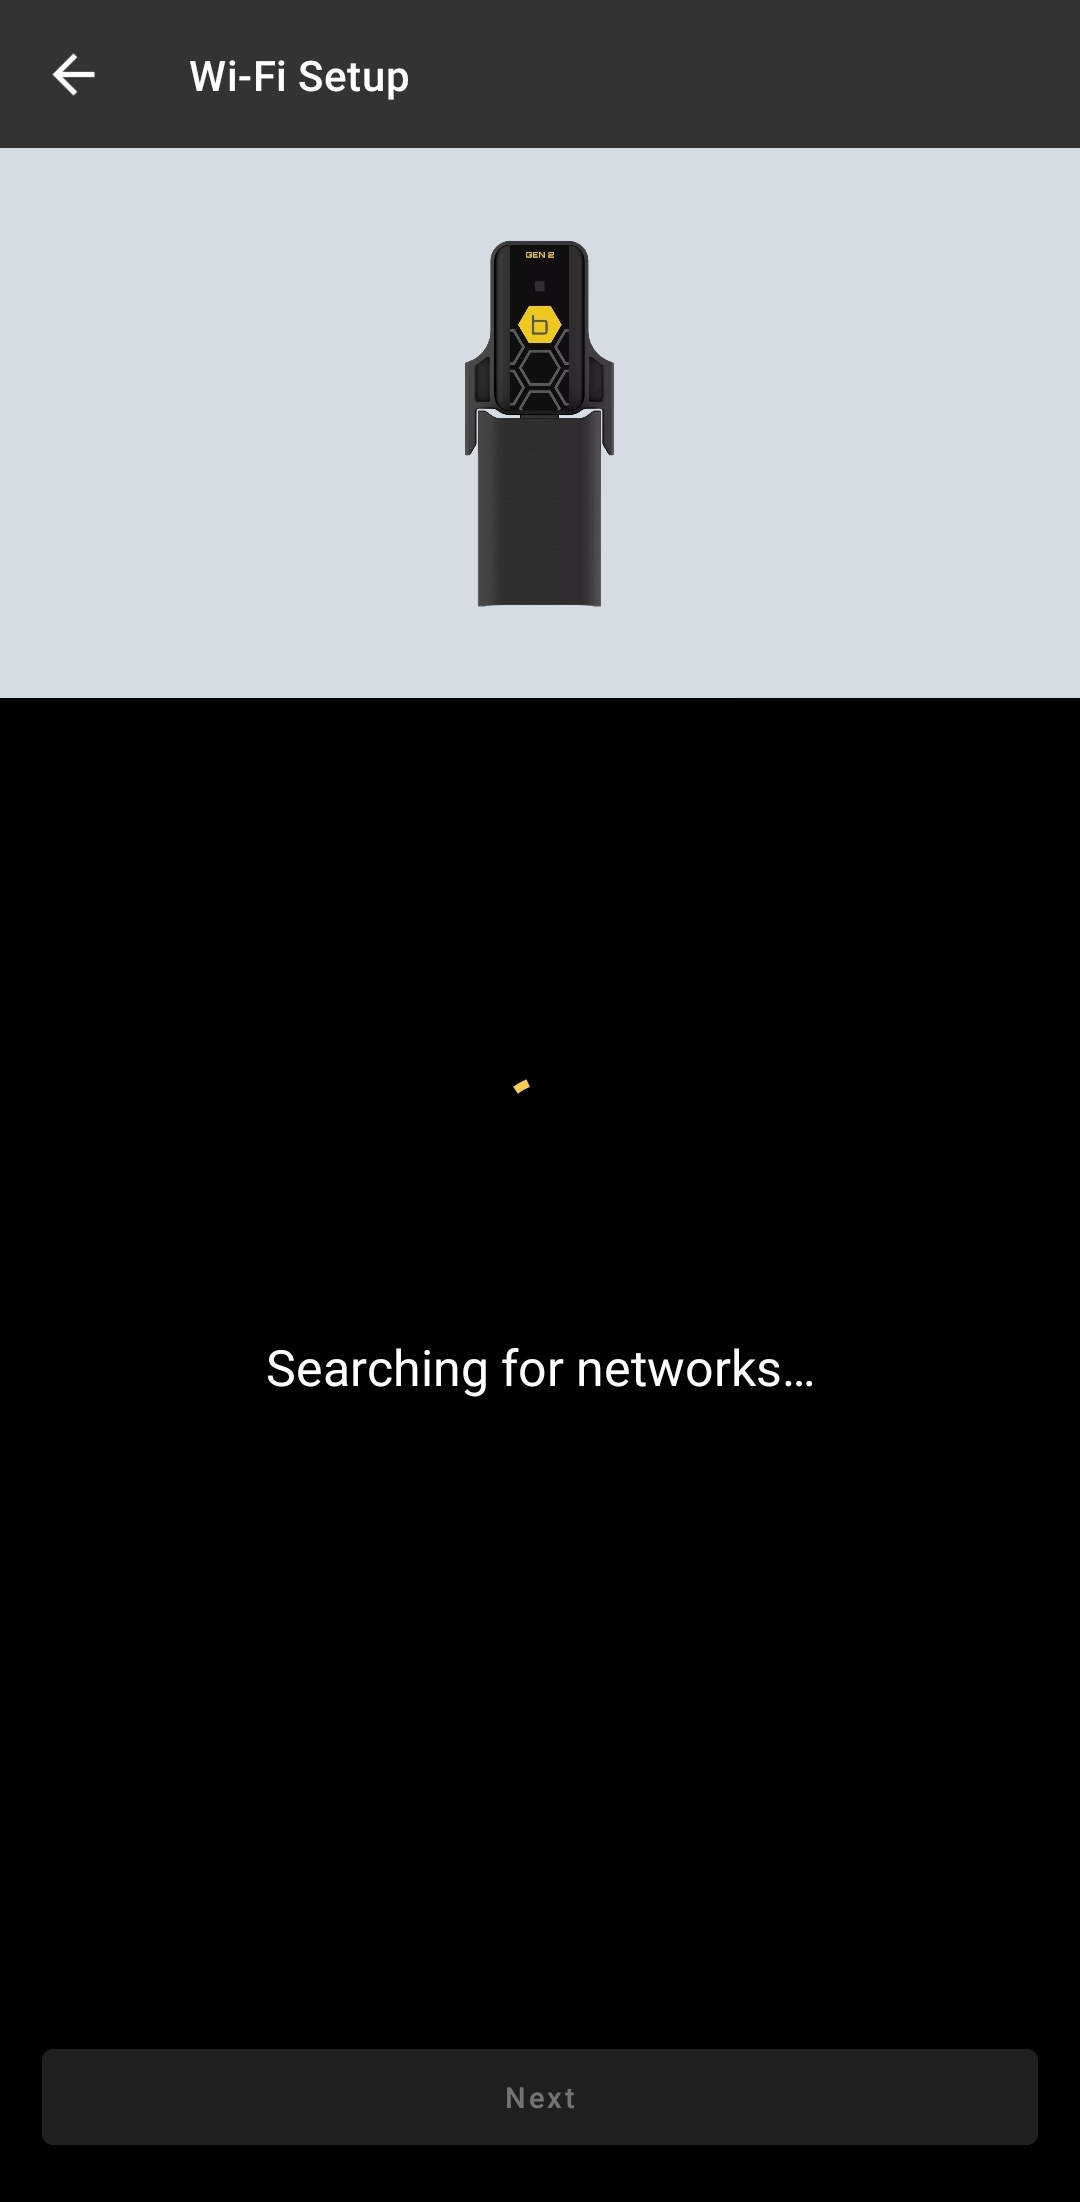
The app will now look for Wi-Fi networks. Tap your network and input your password.
Success! Your hub is connected to your network, now you’ll need to name the device. It will default to “Flood Sensor Hub”. You can also add a picture here, but this is optional, and you can add a photo later.
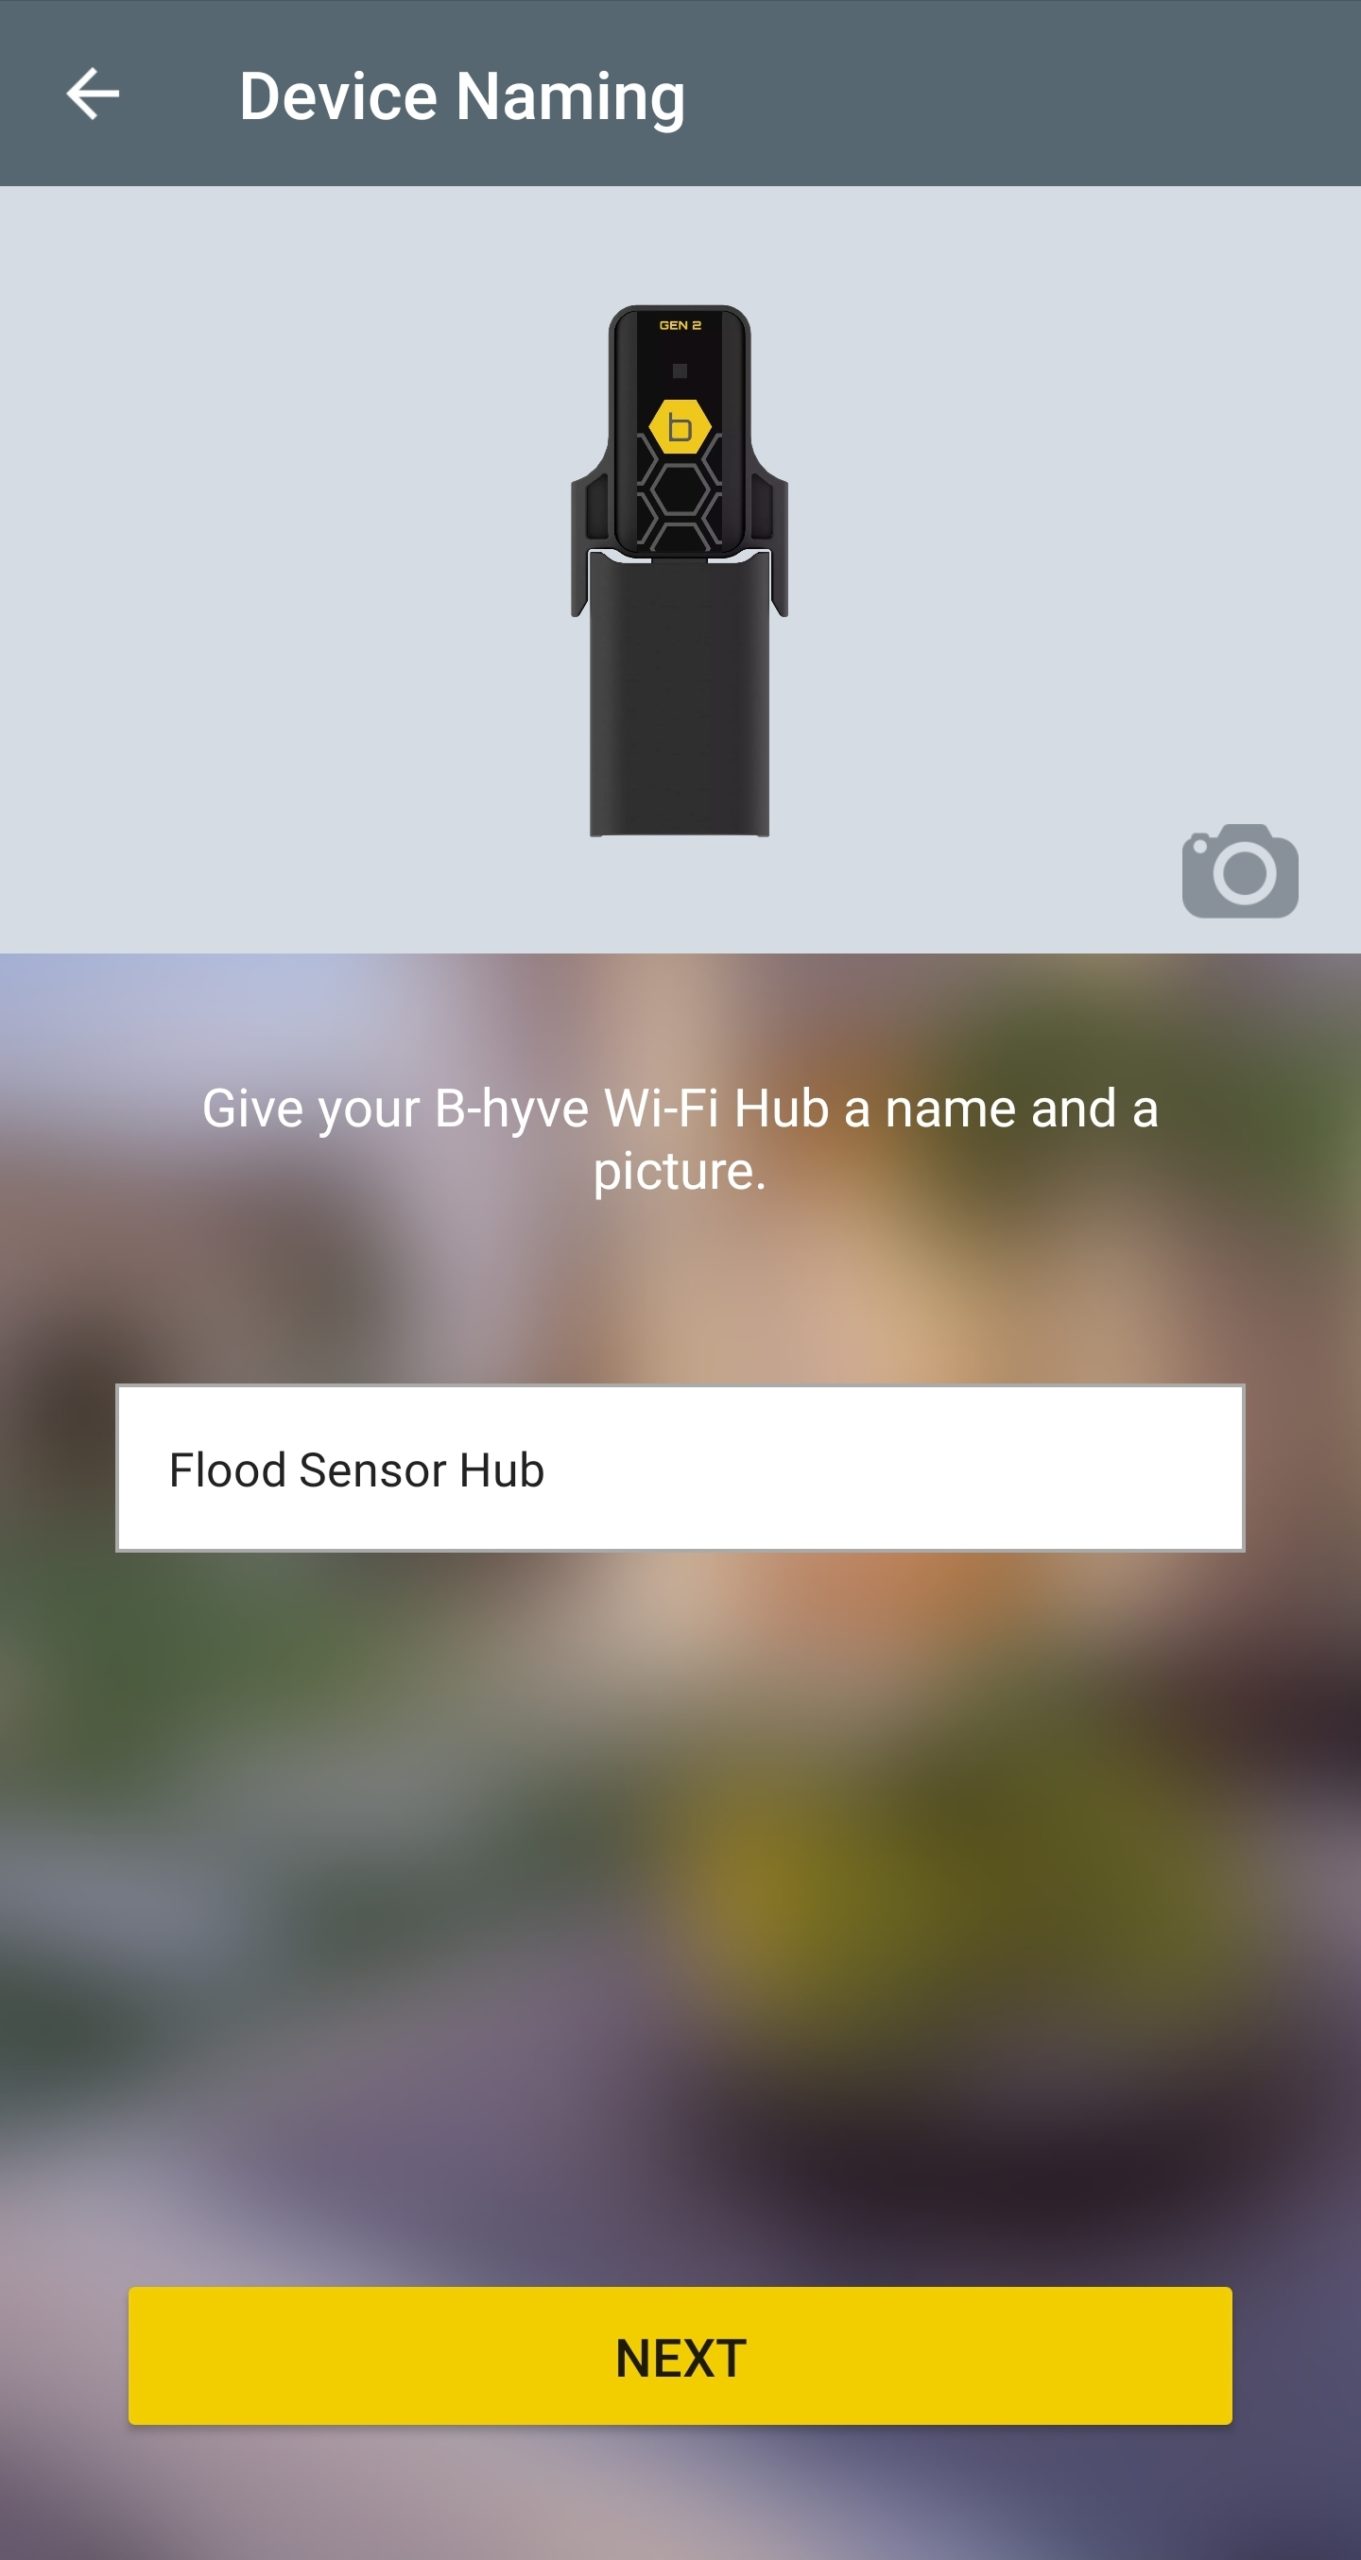
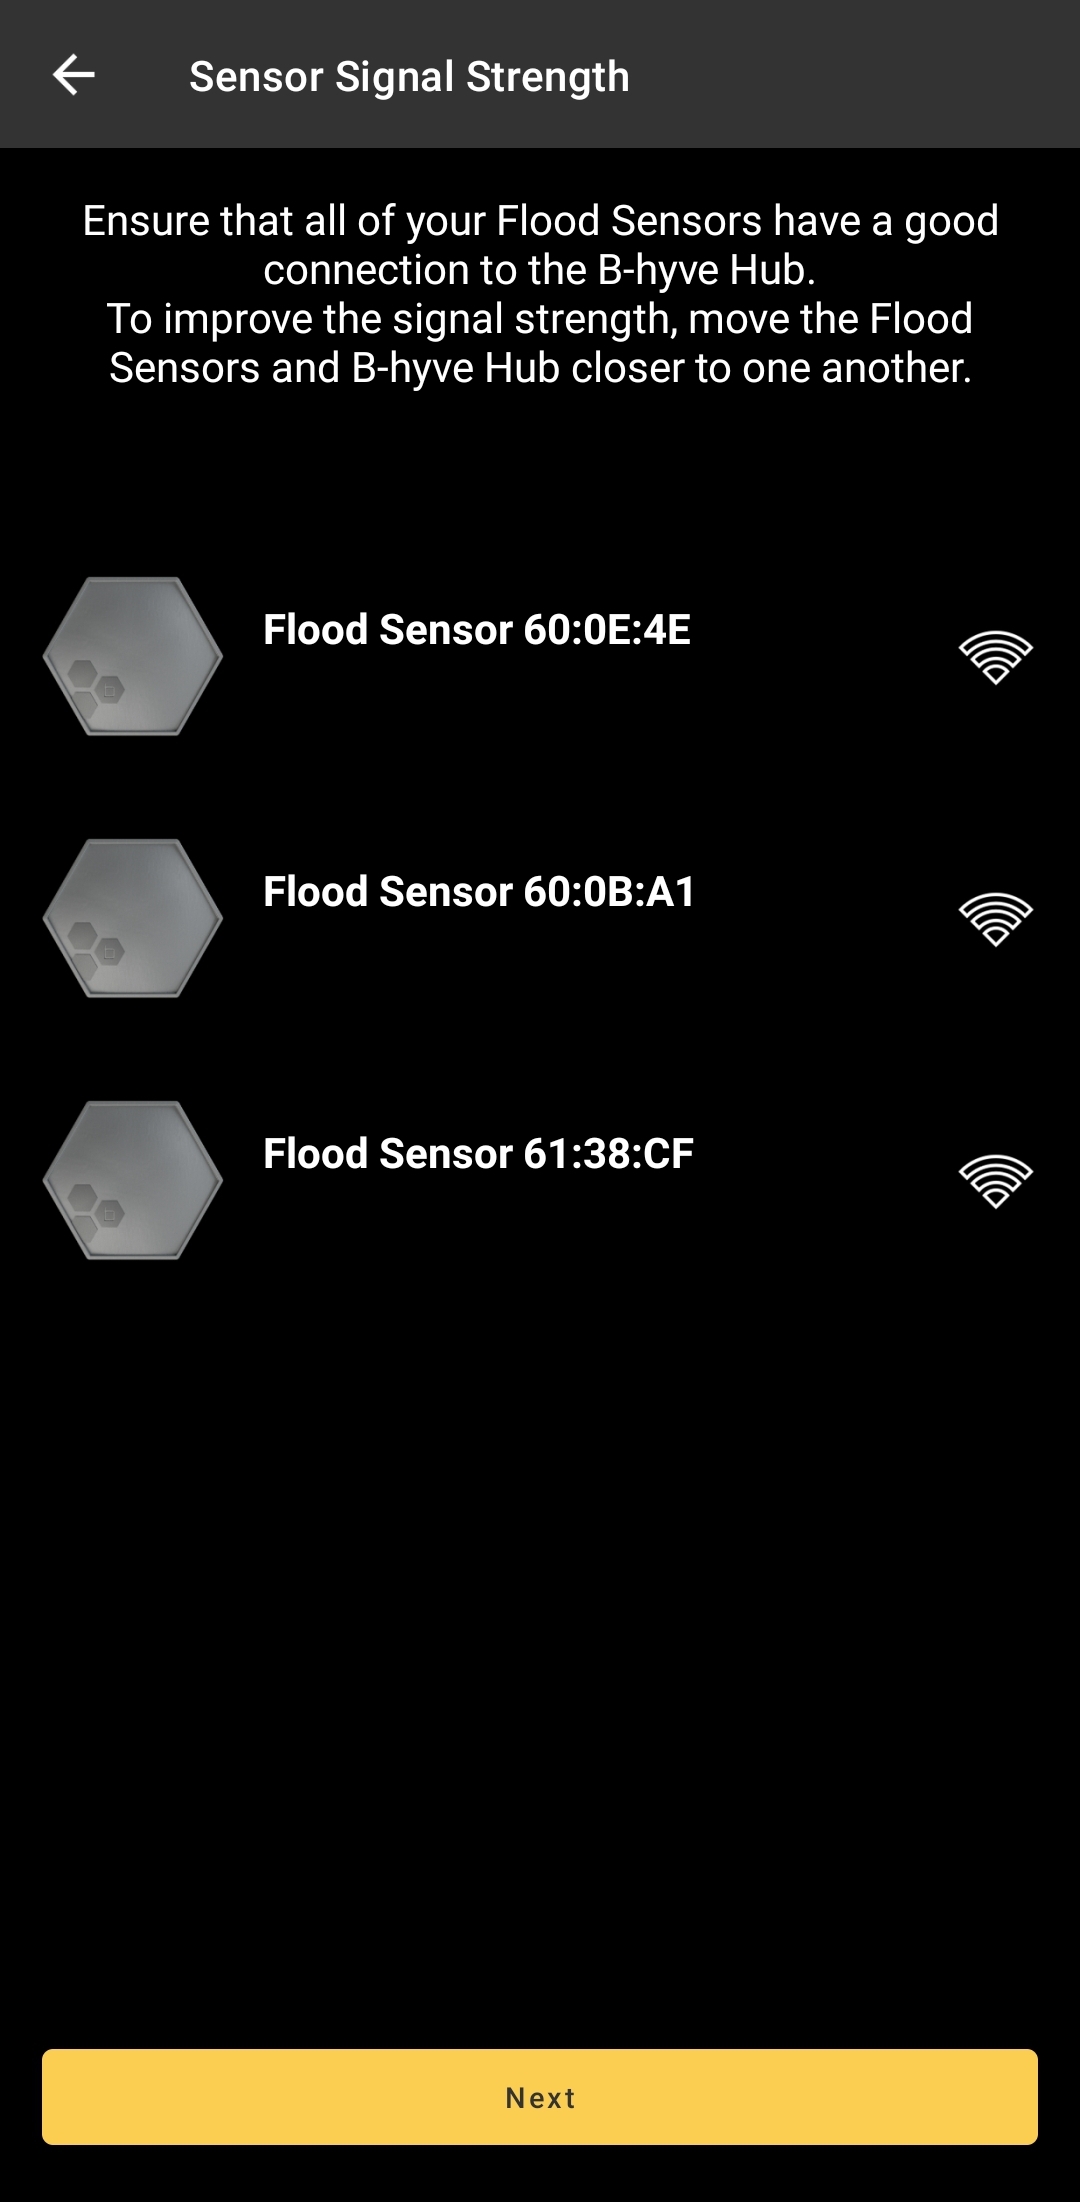
Tap Next. The device will ask for your location. A postal code is required. Once this is completed, we will begin adding your sensors. Now, Install the sensors where you want B-hyve to detect water. Remember, each sensor must remain within Bluetooth range of the B-hyve Hub. We’ll do a signal strength test to ensure you’re in range.
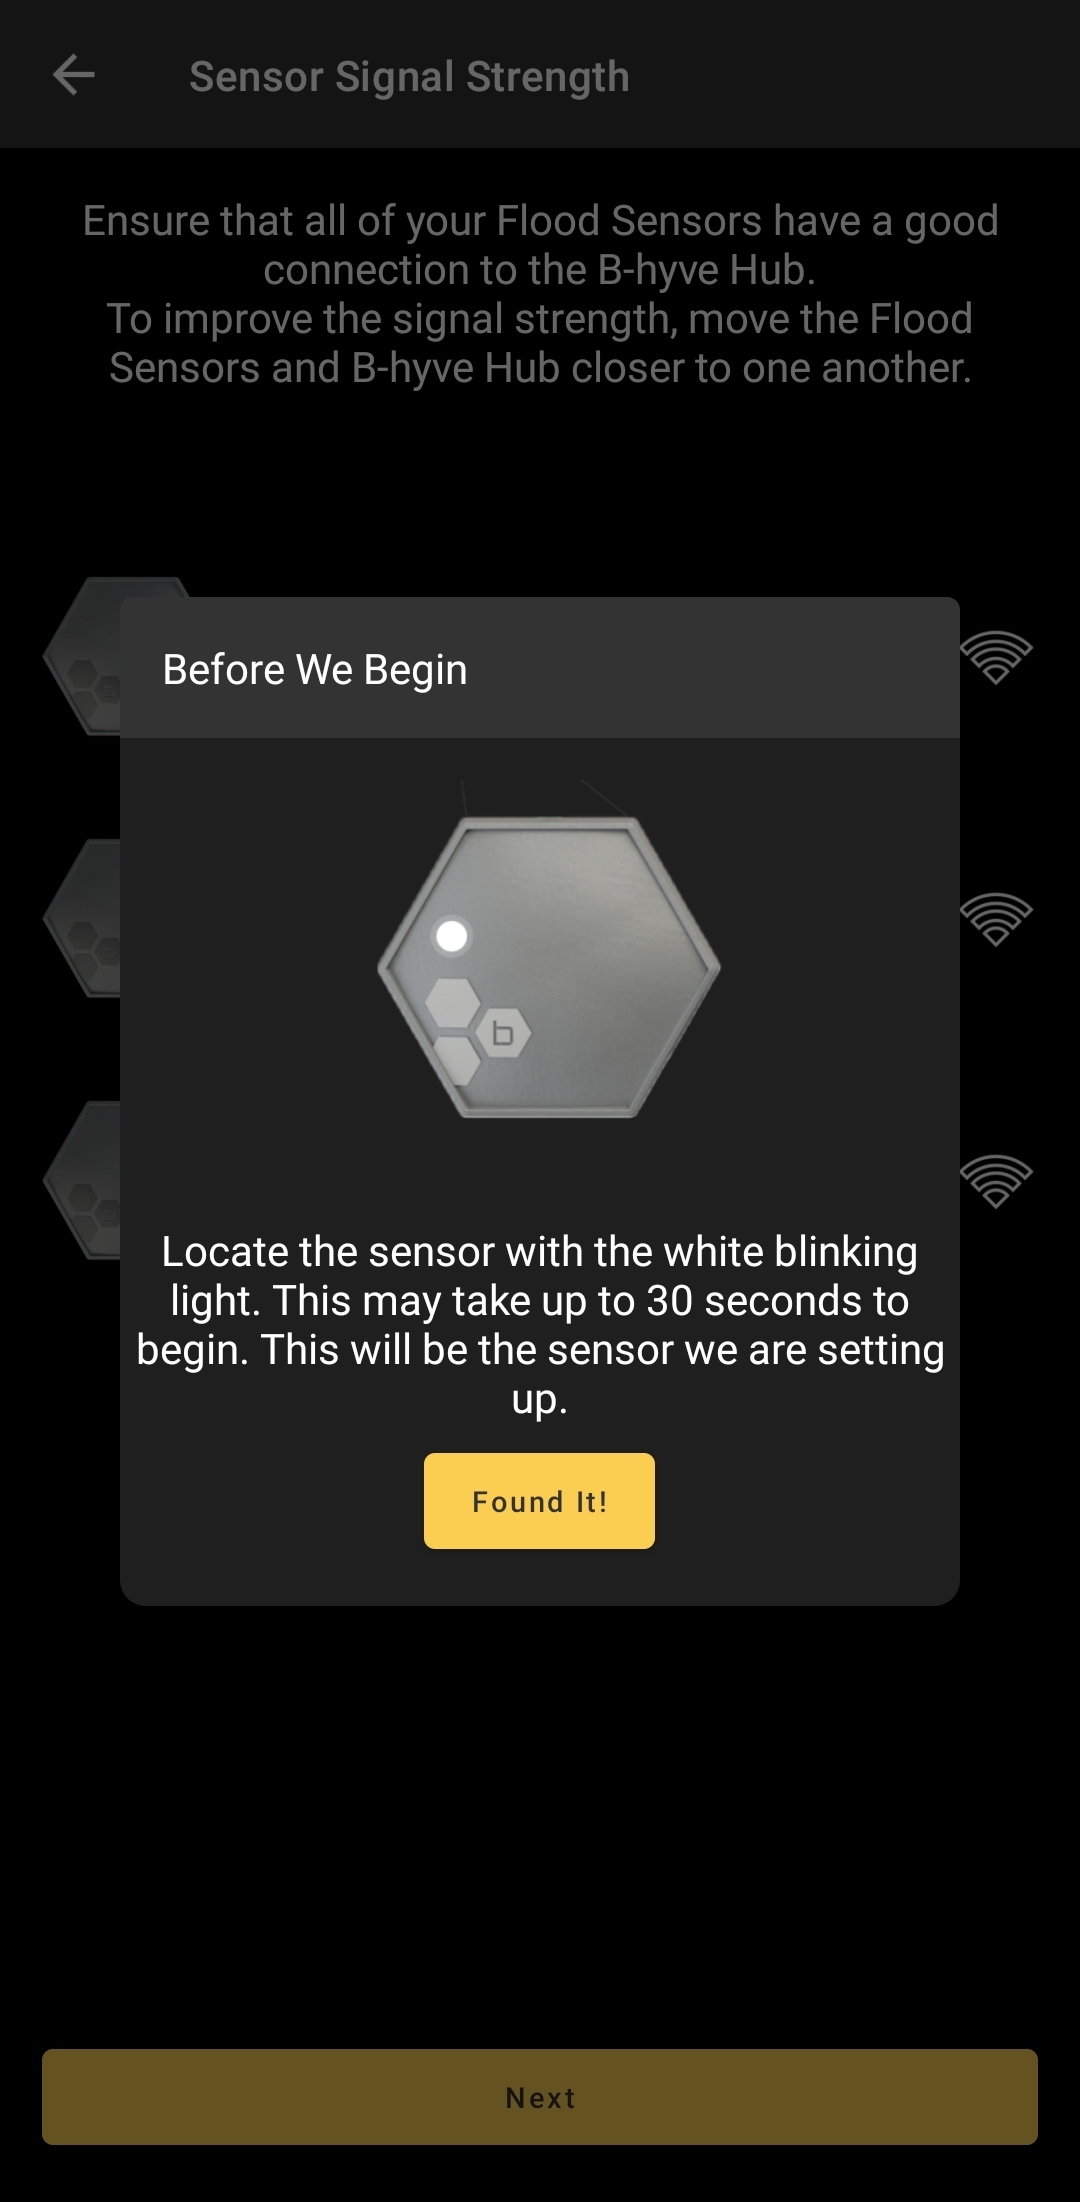
In order to identify your sensors, the sensor that is being paired will begin flashing a white light and beeping. Once you’ve located this device, tap “Found It!”
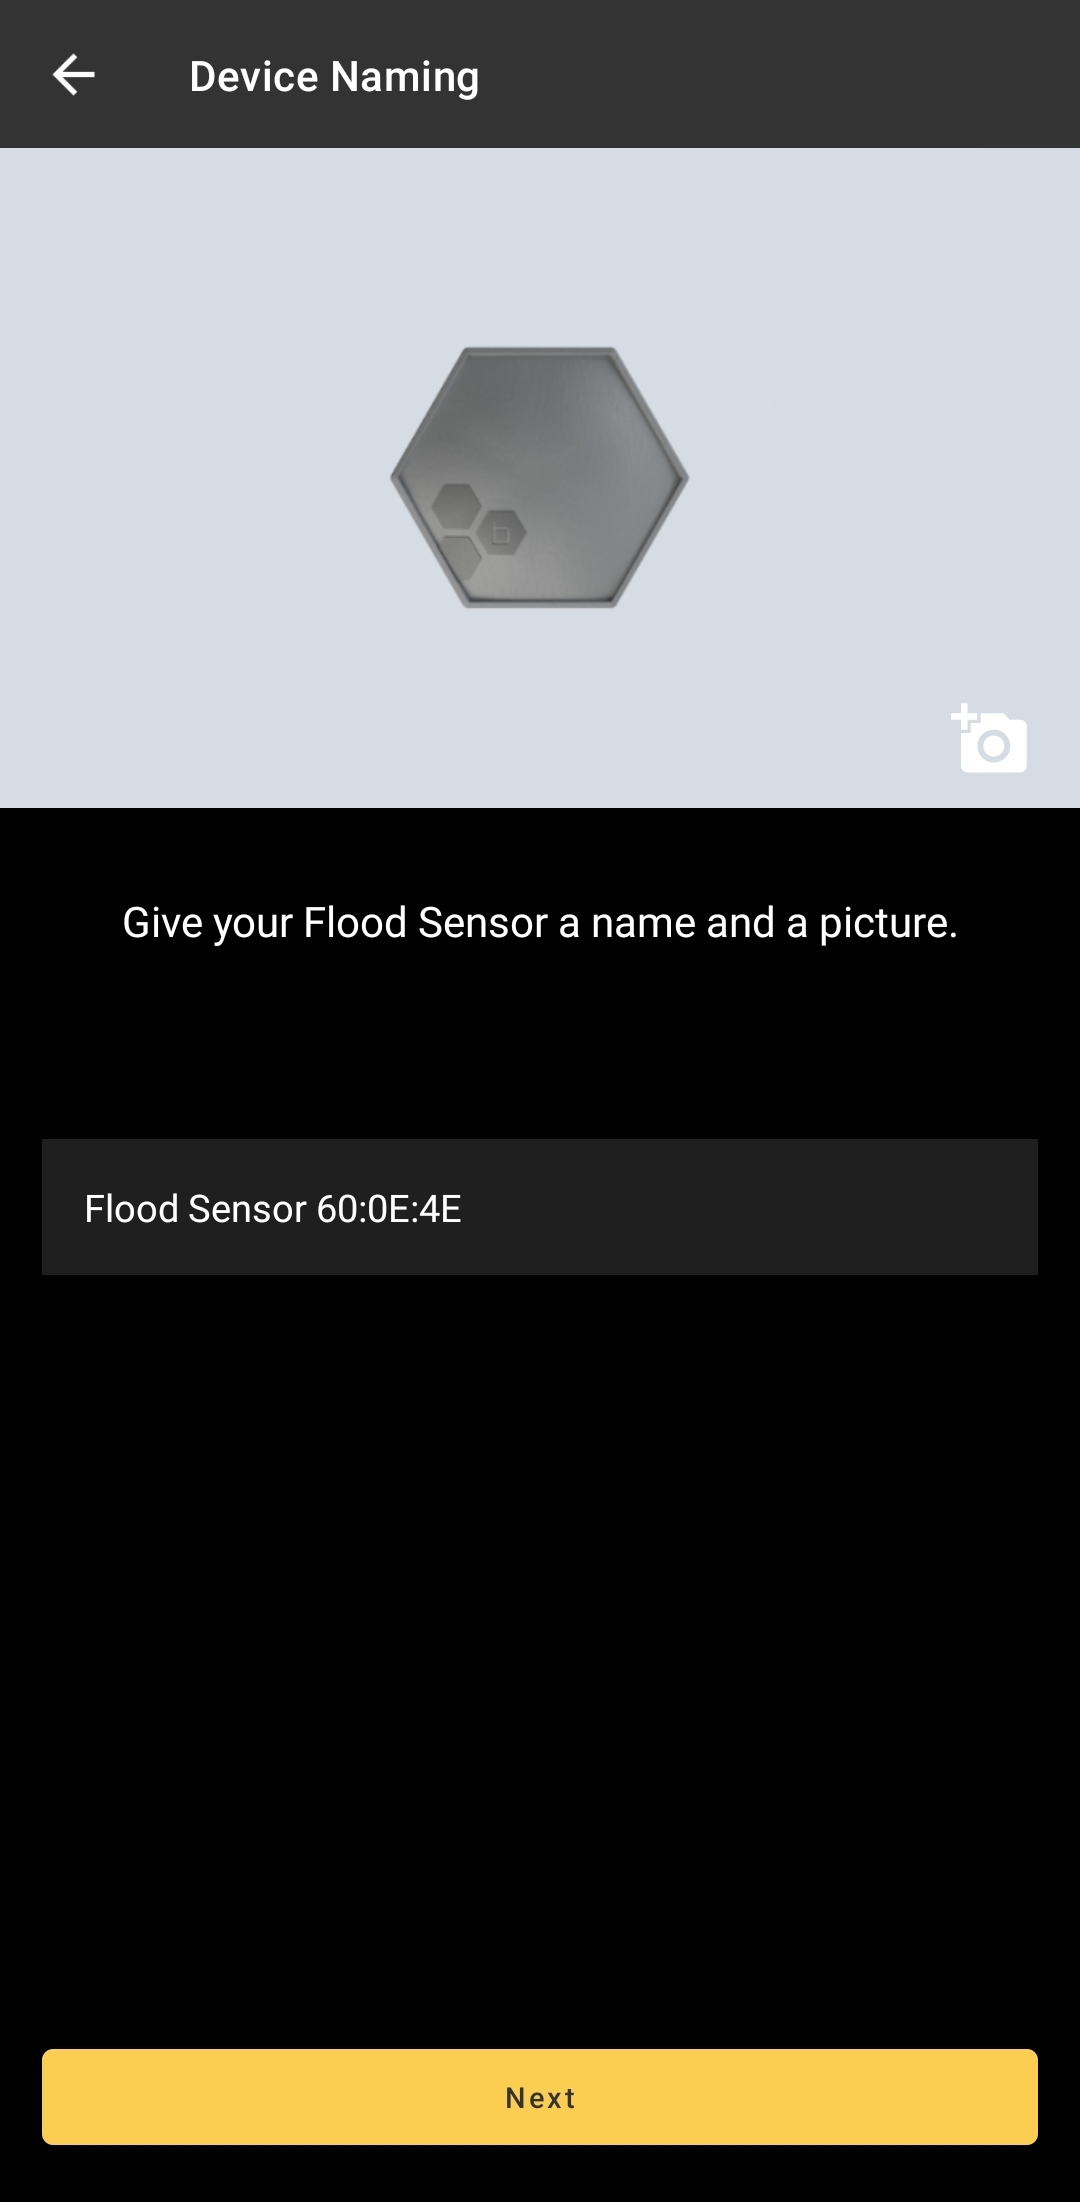
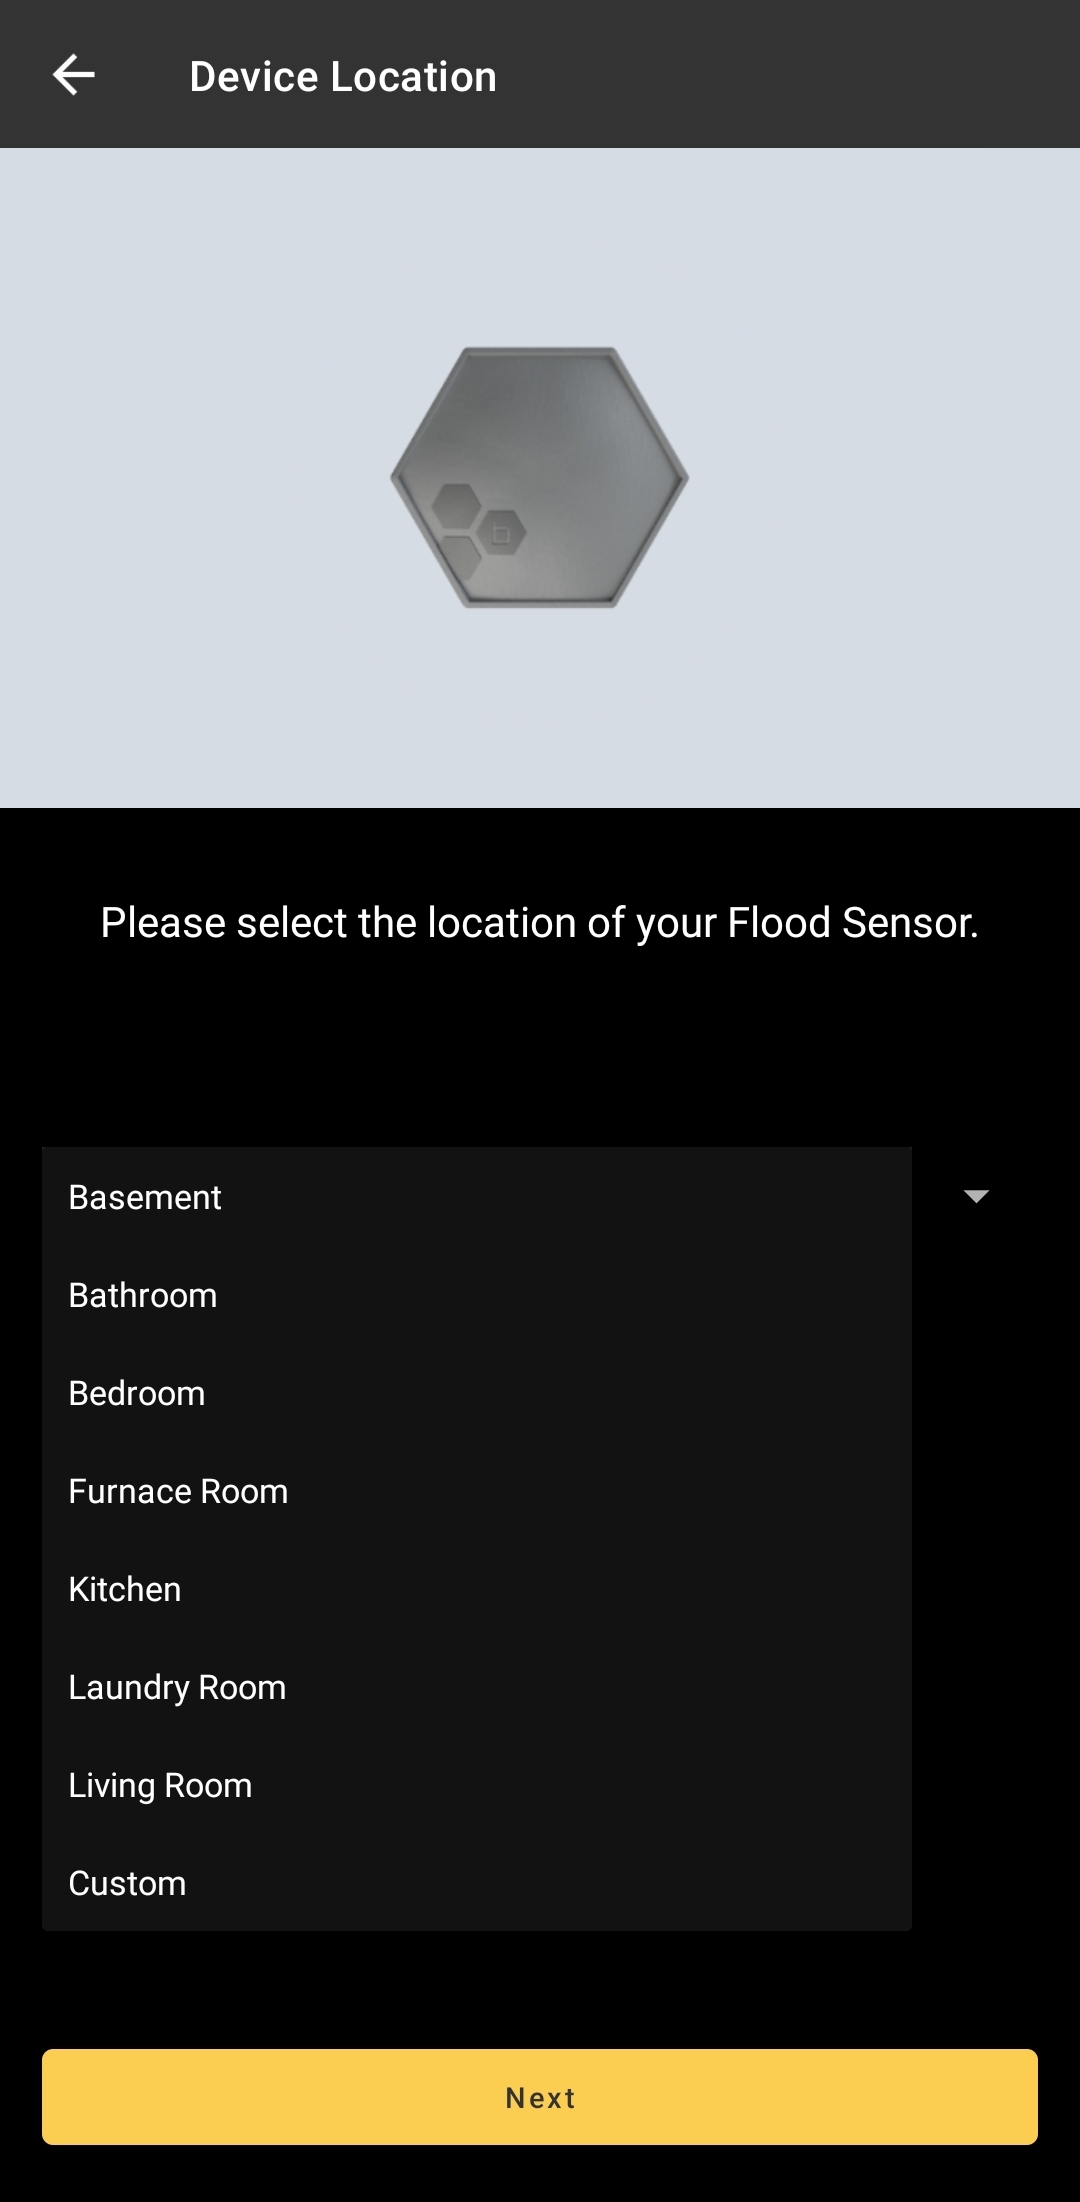
Next, you’ll name, take a picture (optional), and select the location of your sensor. We have provided a few common locations, but you can also give the room it’s own name.
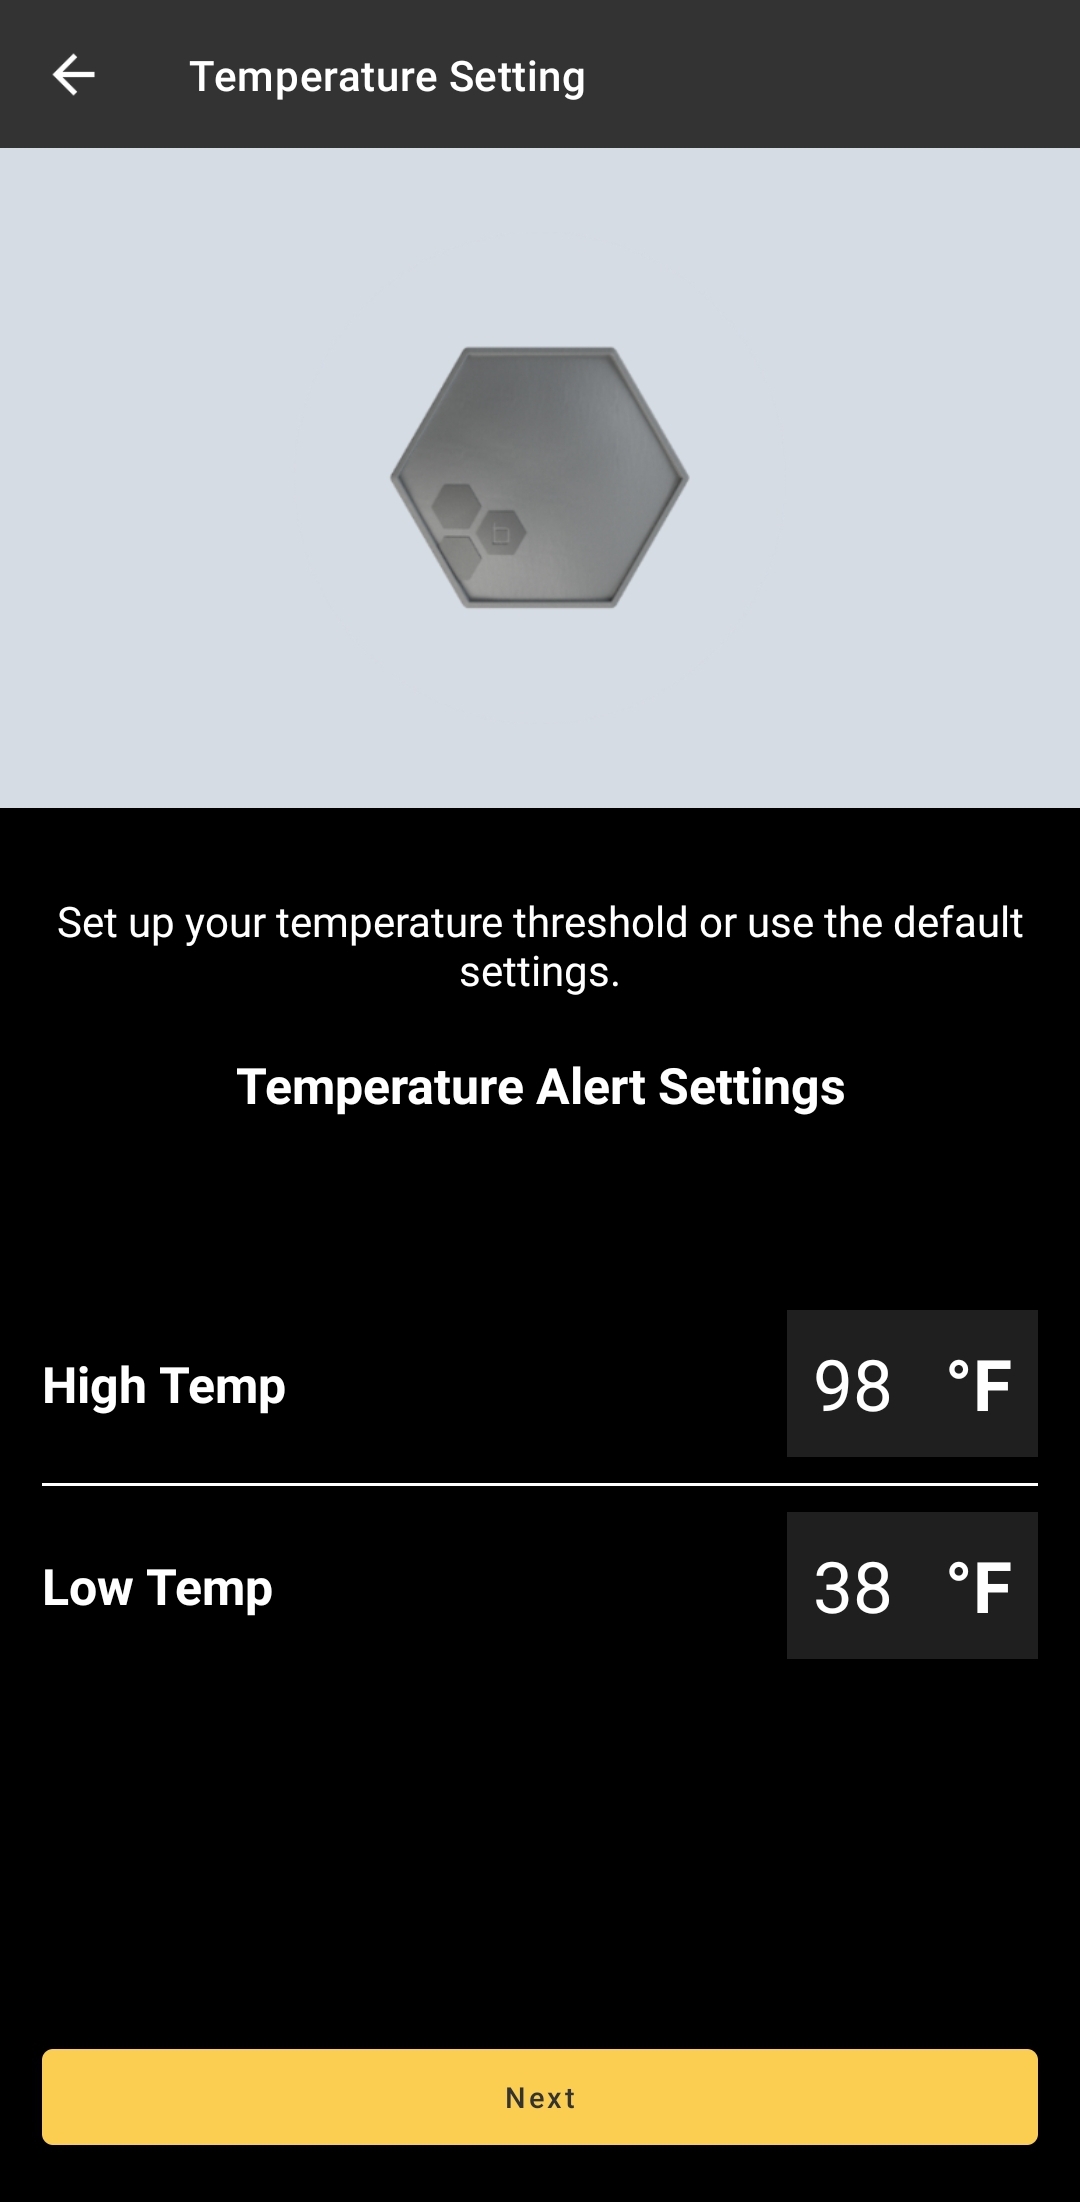
B-hyve also monitors temperature. You’ll need to tell us when you’d like to receive alerts. You can set a high a low-temperature threshold.
 This sensor is now set up. Repeat the steps above for any remaining sensors and you’ll be good to go.
Tags: bhyve, flood, flood-sensor