B-hyve XD Pairing with Wi-Fi
This article will walk you through pairing your B-hyve XD timer to your Wi-Fi Network.
A couple of things you need to know before pairing:
- You will need a Gen 2 Hub in order to pair, the Gen 1 hub for the B-hyve hose timers will not work with the B-hyve XD.
- If you’re attaching multiple timers to a single hub, you’ll need to mount the hub in a central location. (If you have multiple devices connecting to the Gen 2 hub, then the devices will always connect to the one hub with the strongest signal, so having it in a place that allows all devices to connect is very important)
- Your network name (SSID) and password are required (if your hub is not already paired).
- We recommend writing down the MAC ID of both the timer and the hub.
First, download and run the OrbitAssist application using the steps found here to make sure your WiFi network is configured to work best with the B-hyve Hub. Then make sure your hub is paired.
You won’t be able to see this in your app if you don’t have any other devices on your account. To ensure the device is paired, press the B-hyve button (located on the front of the Hub) 5 times.
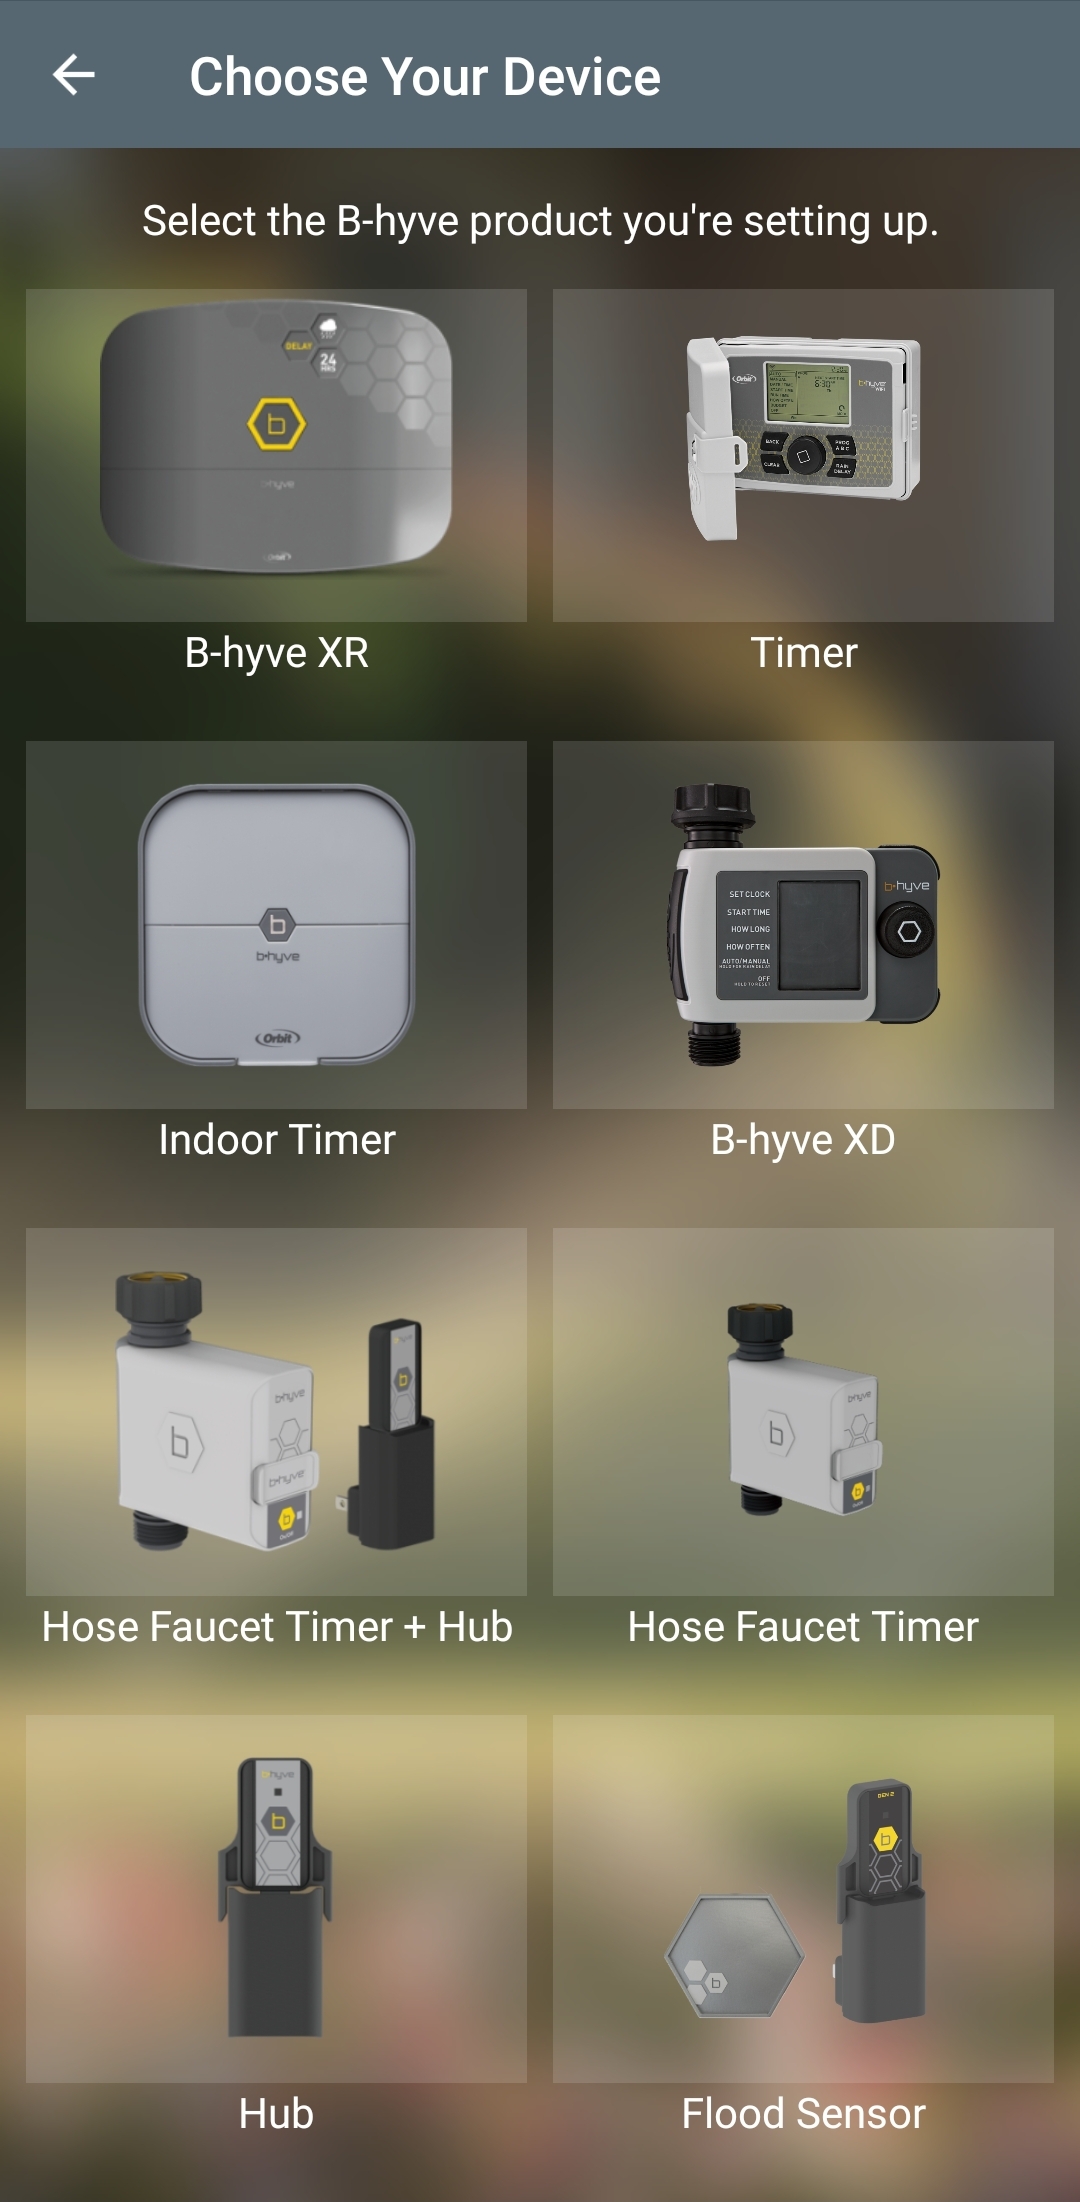
Then, in the app, select this is a new device, and select “hub”.
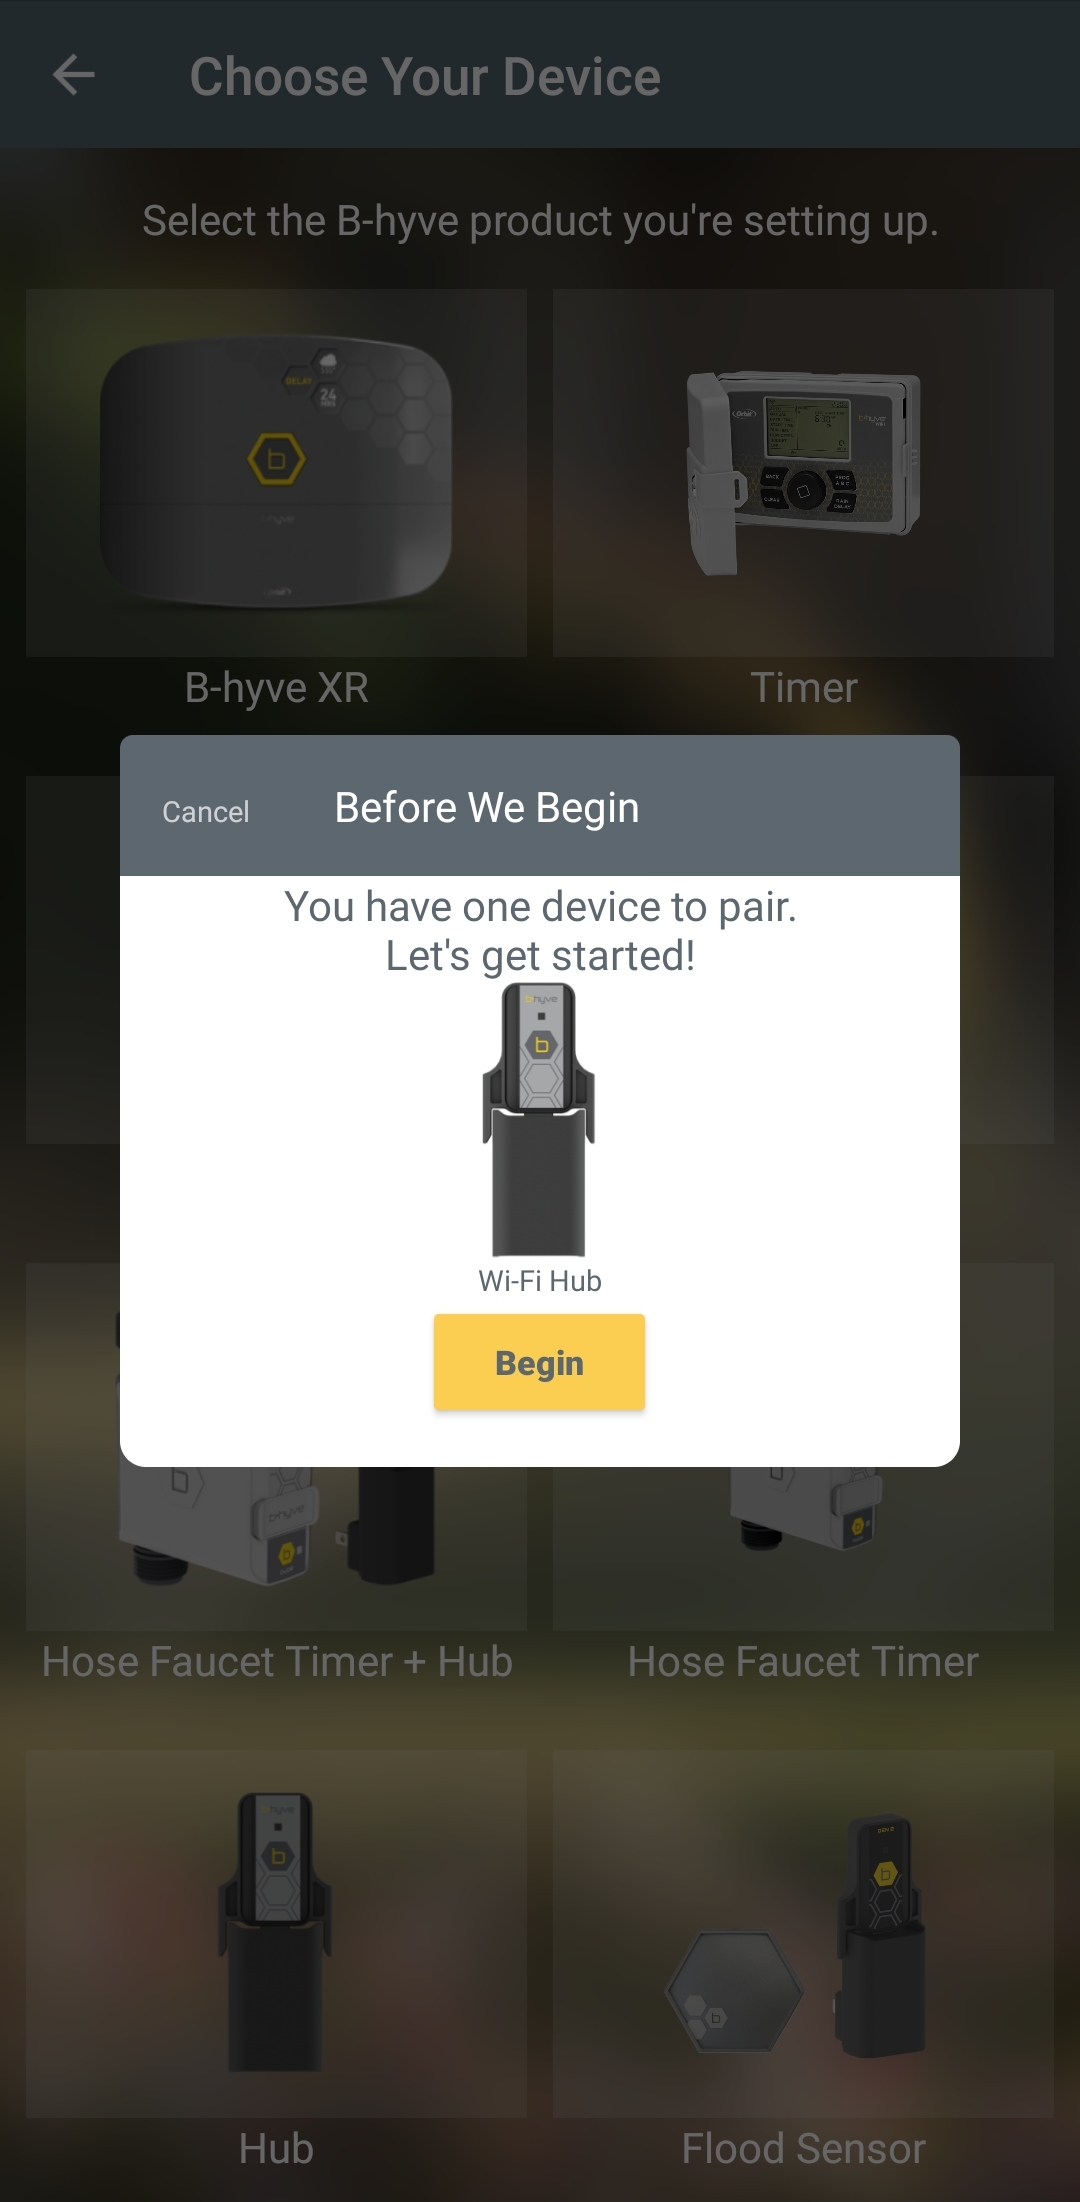
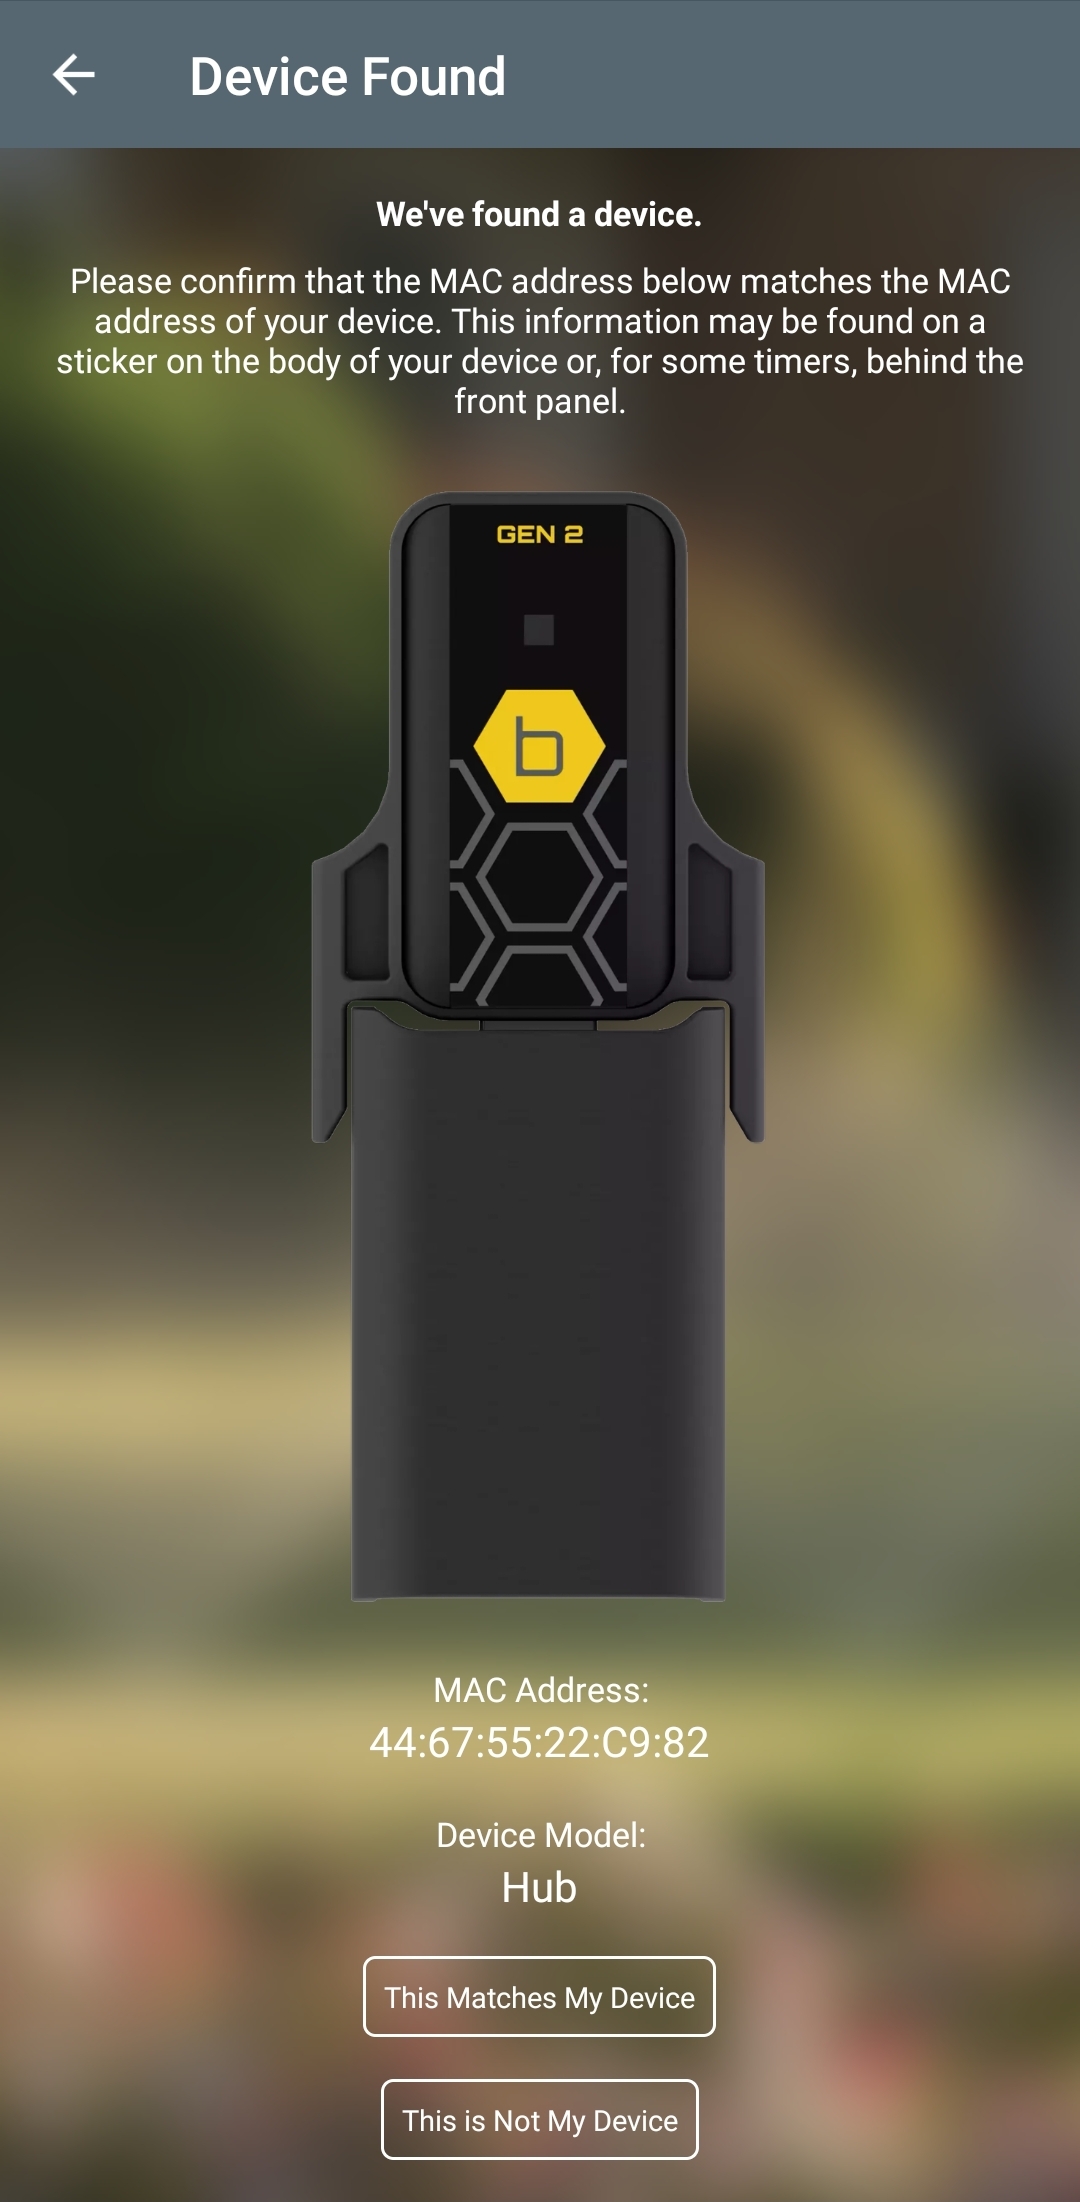
The app will look for the Hub, ensure the MAC ID’s match.
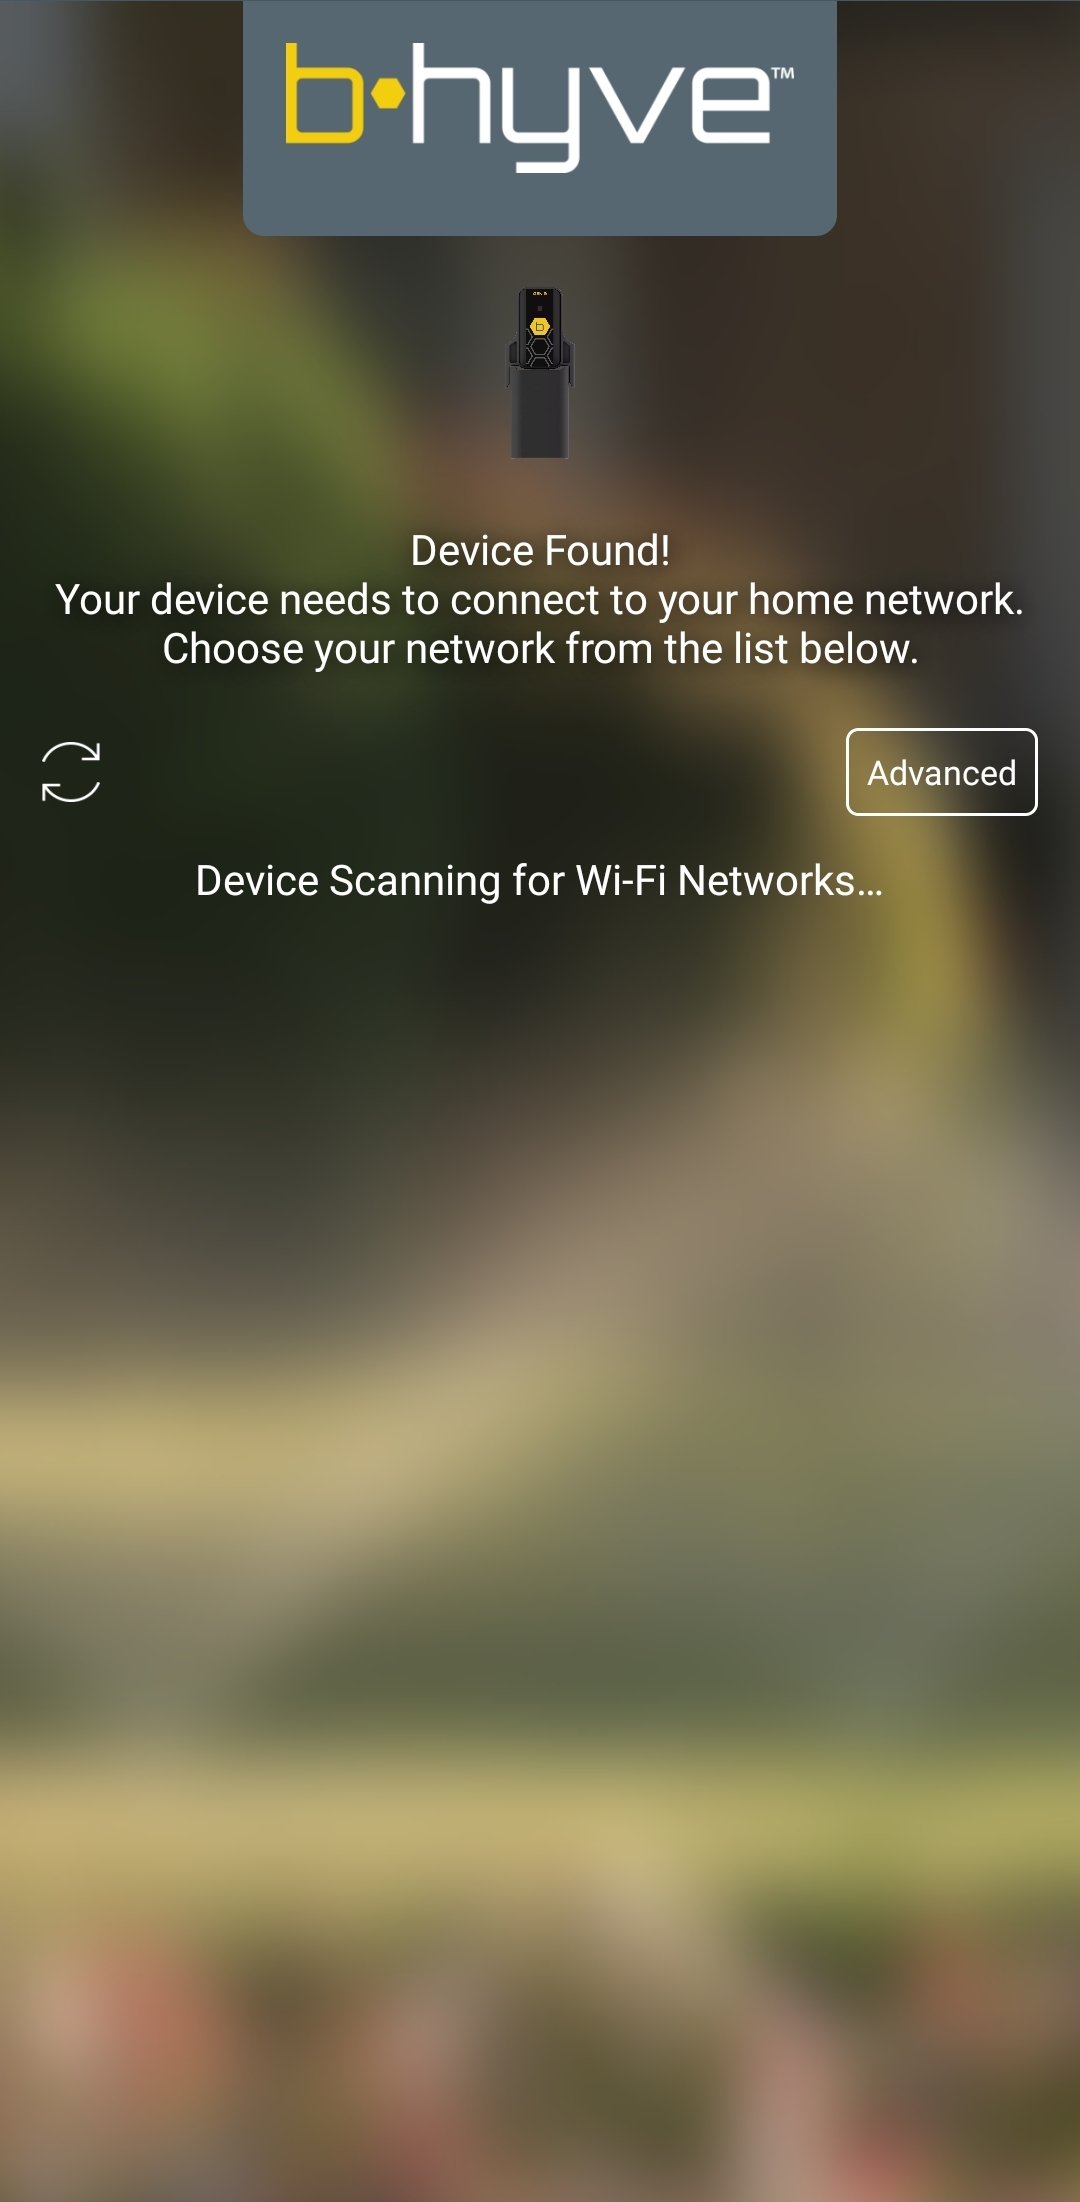
The Hub will look for your Home Wi-Fi network. Click on yours and input your password.
Now, you can name the hub and input the address.
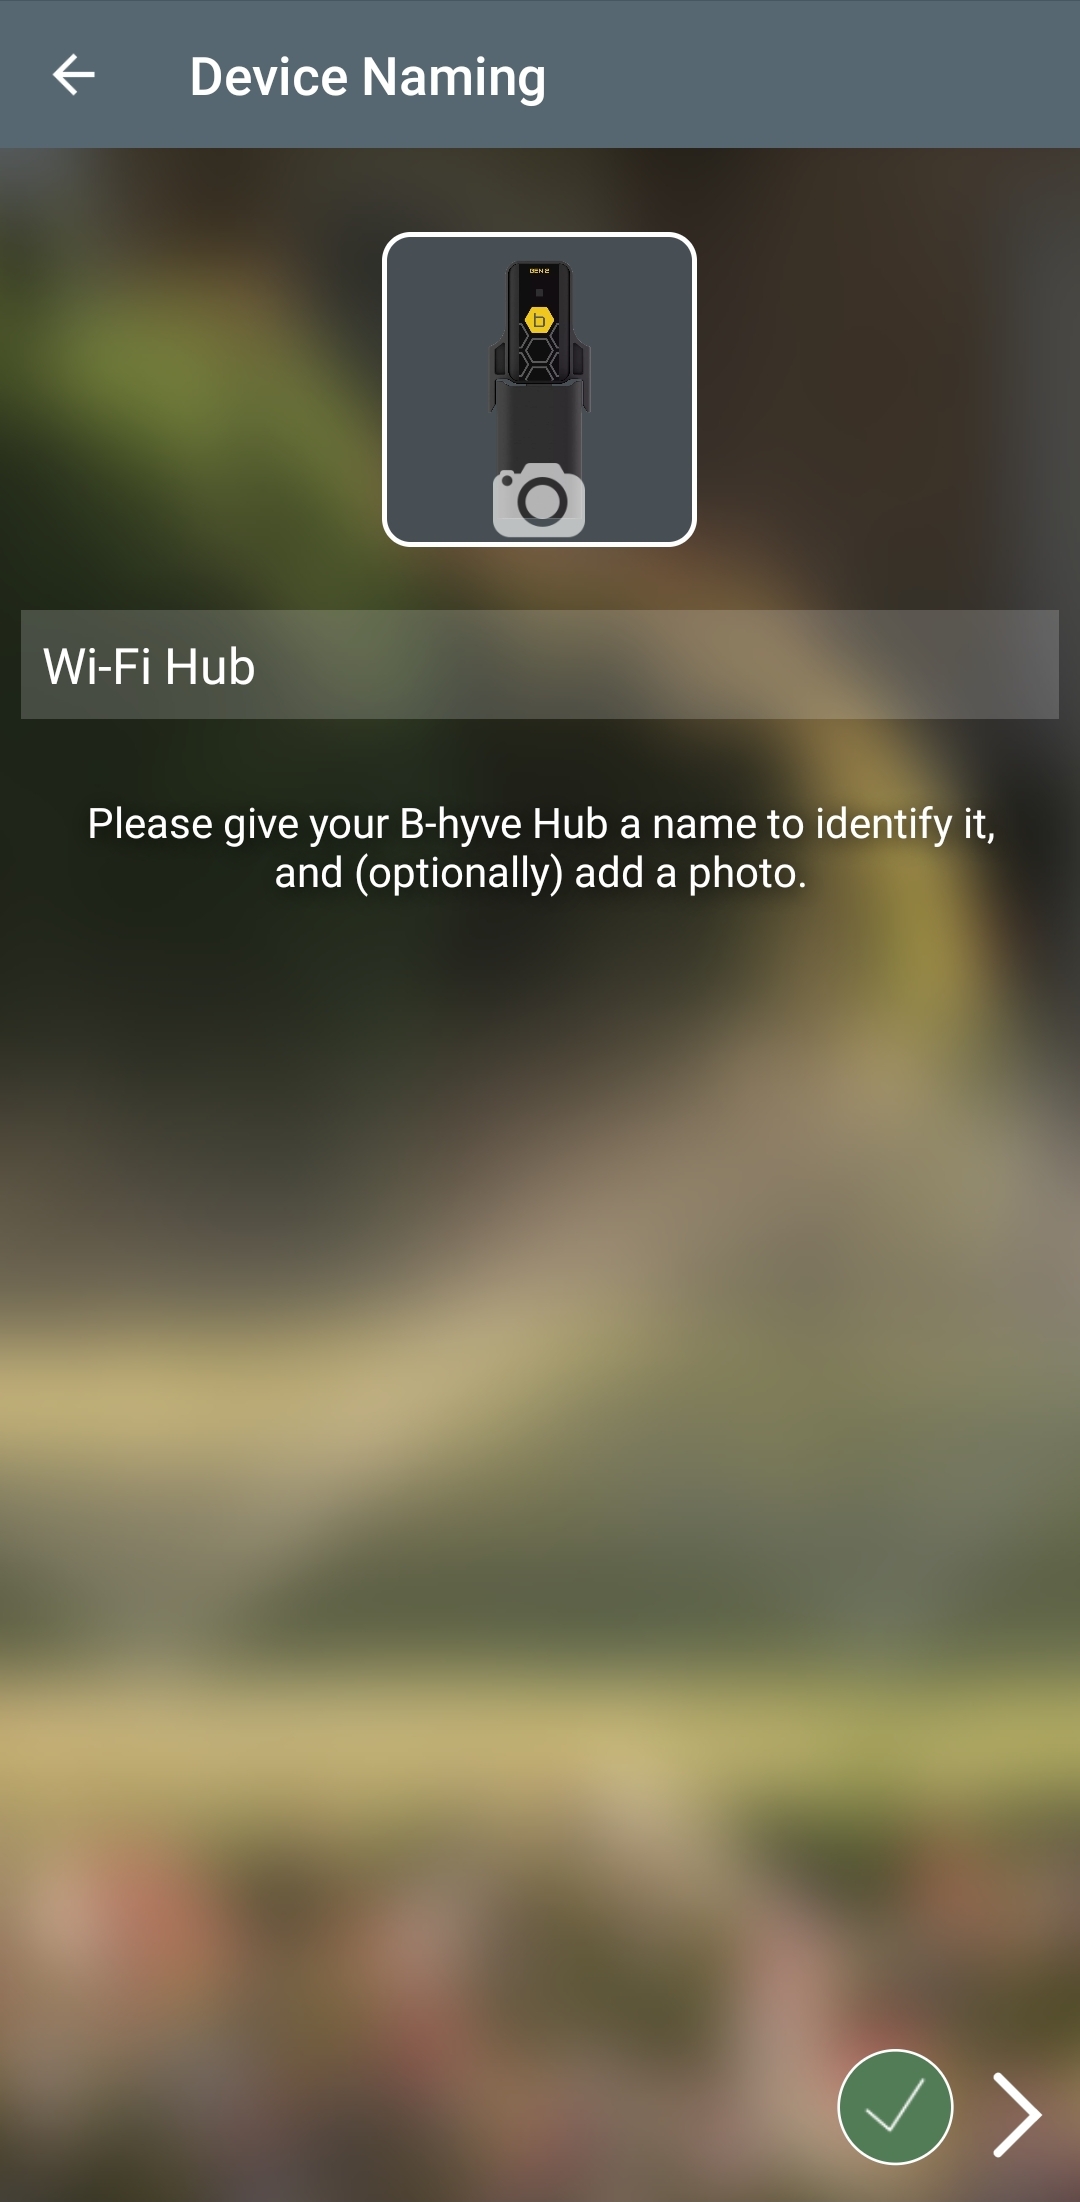
The hub is now connected, now you can pair your timer.
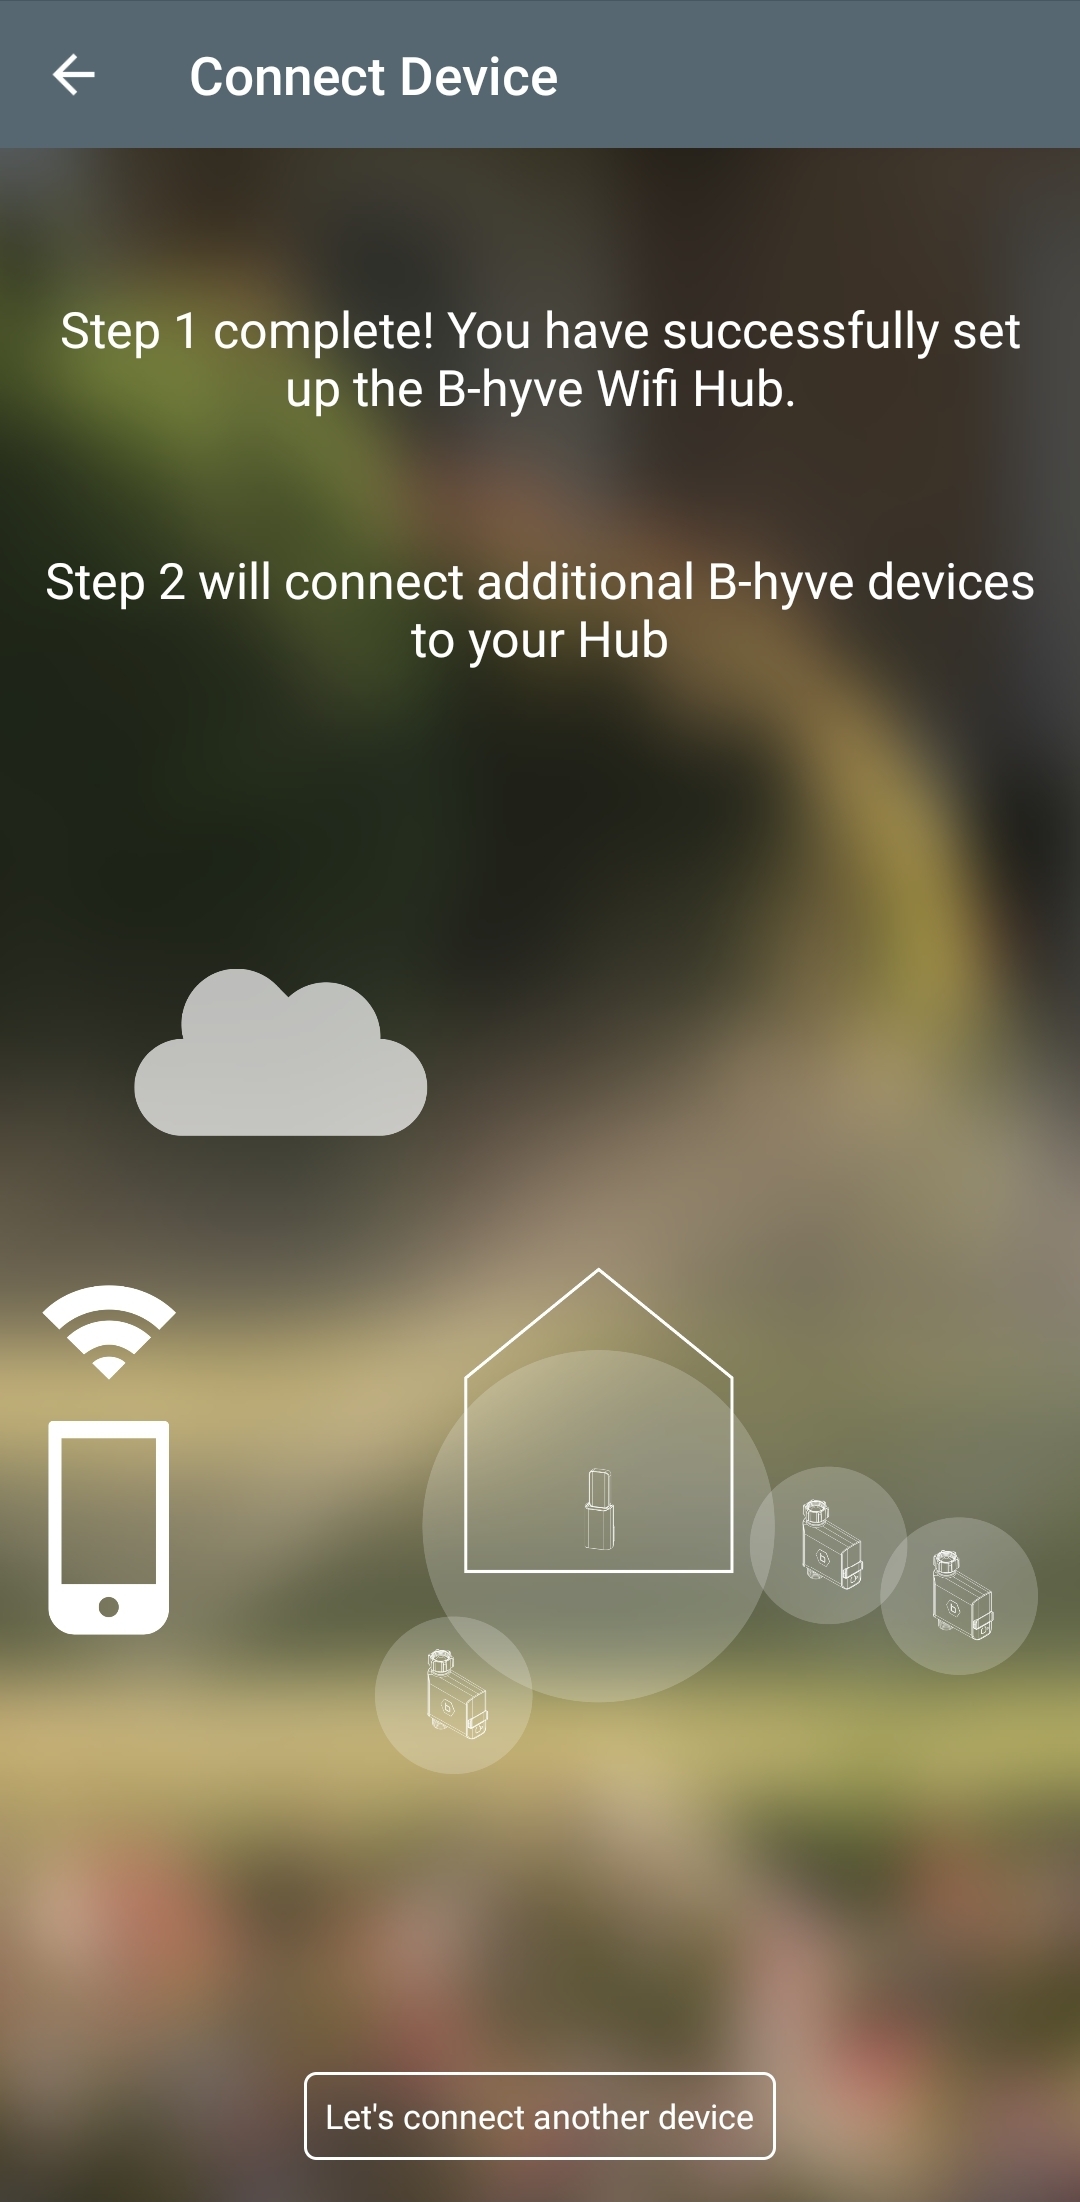
If you are not able to successfully pair your hub to wifi please click here to use our OrbitAssist tool which will help with that.
Now you will pair the Timer.
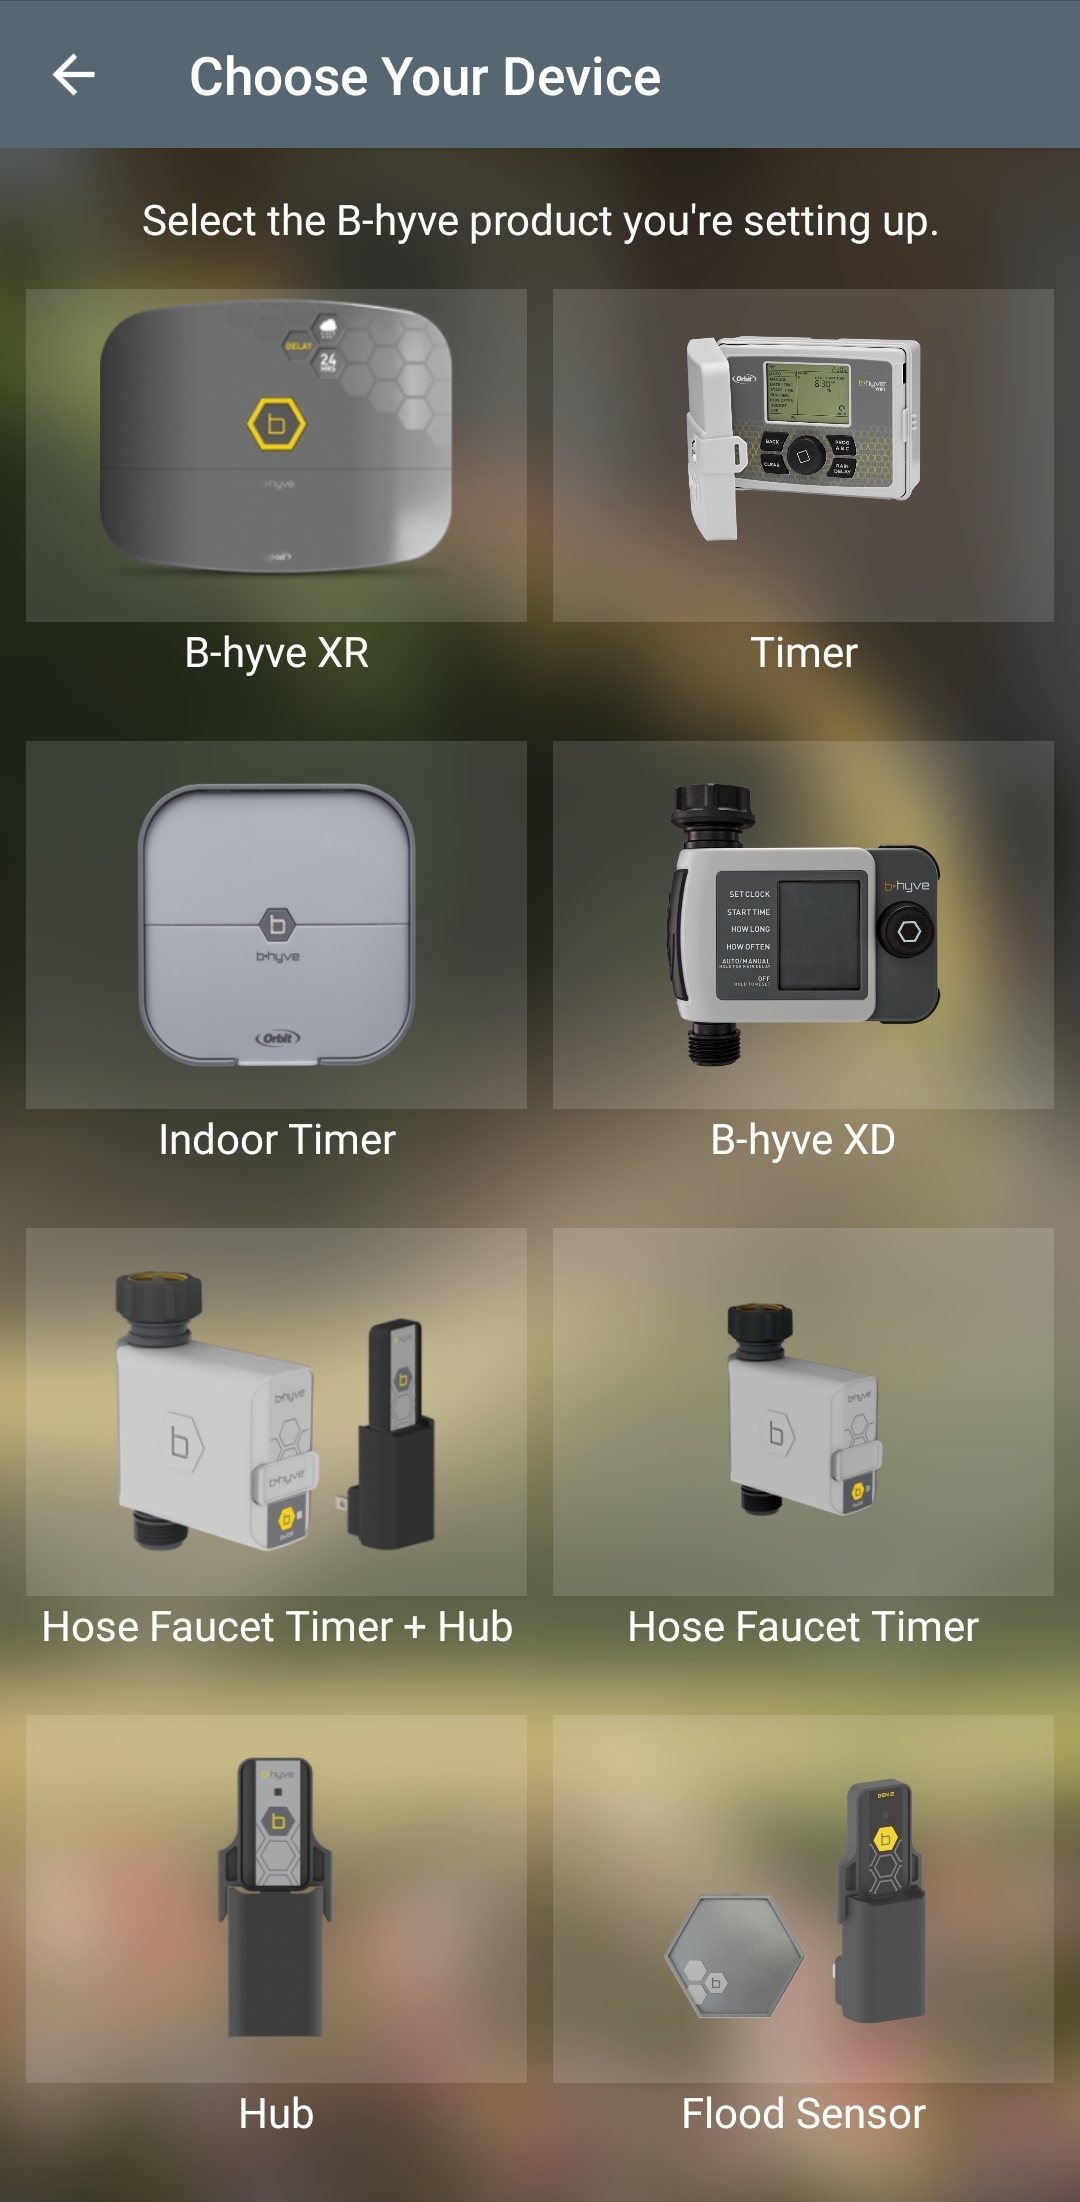
Make sure you have fresh AA batteries in your timer, and the battery pack is fully seated. In the app, select B-hyve XD
Ensure the MAC ID matches the MAC ID of your timer
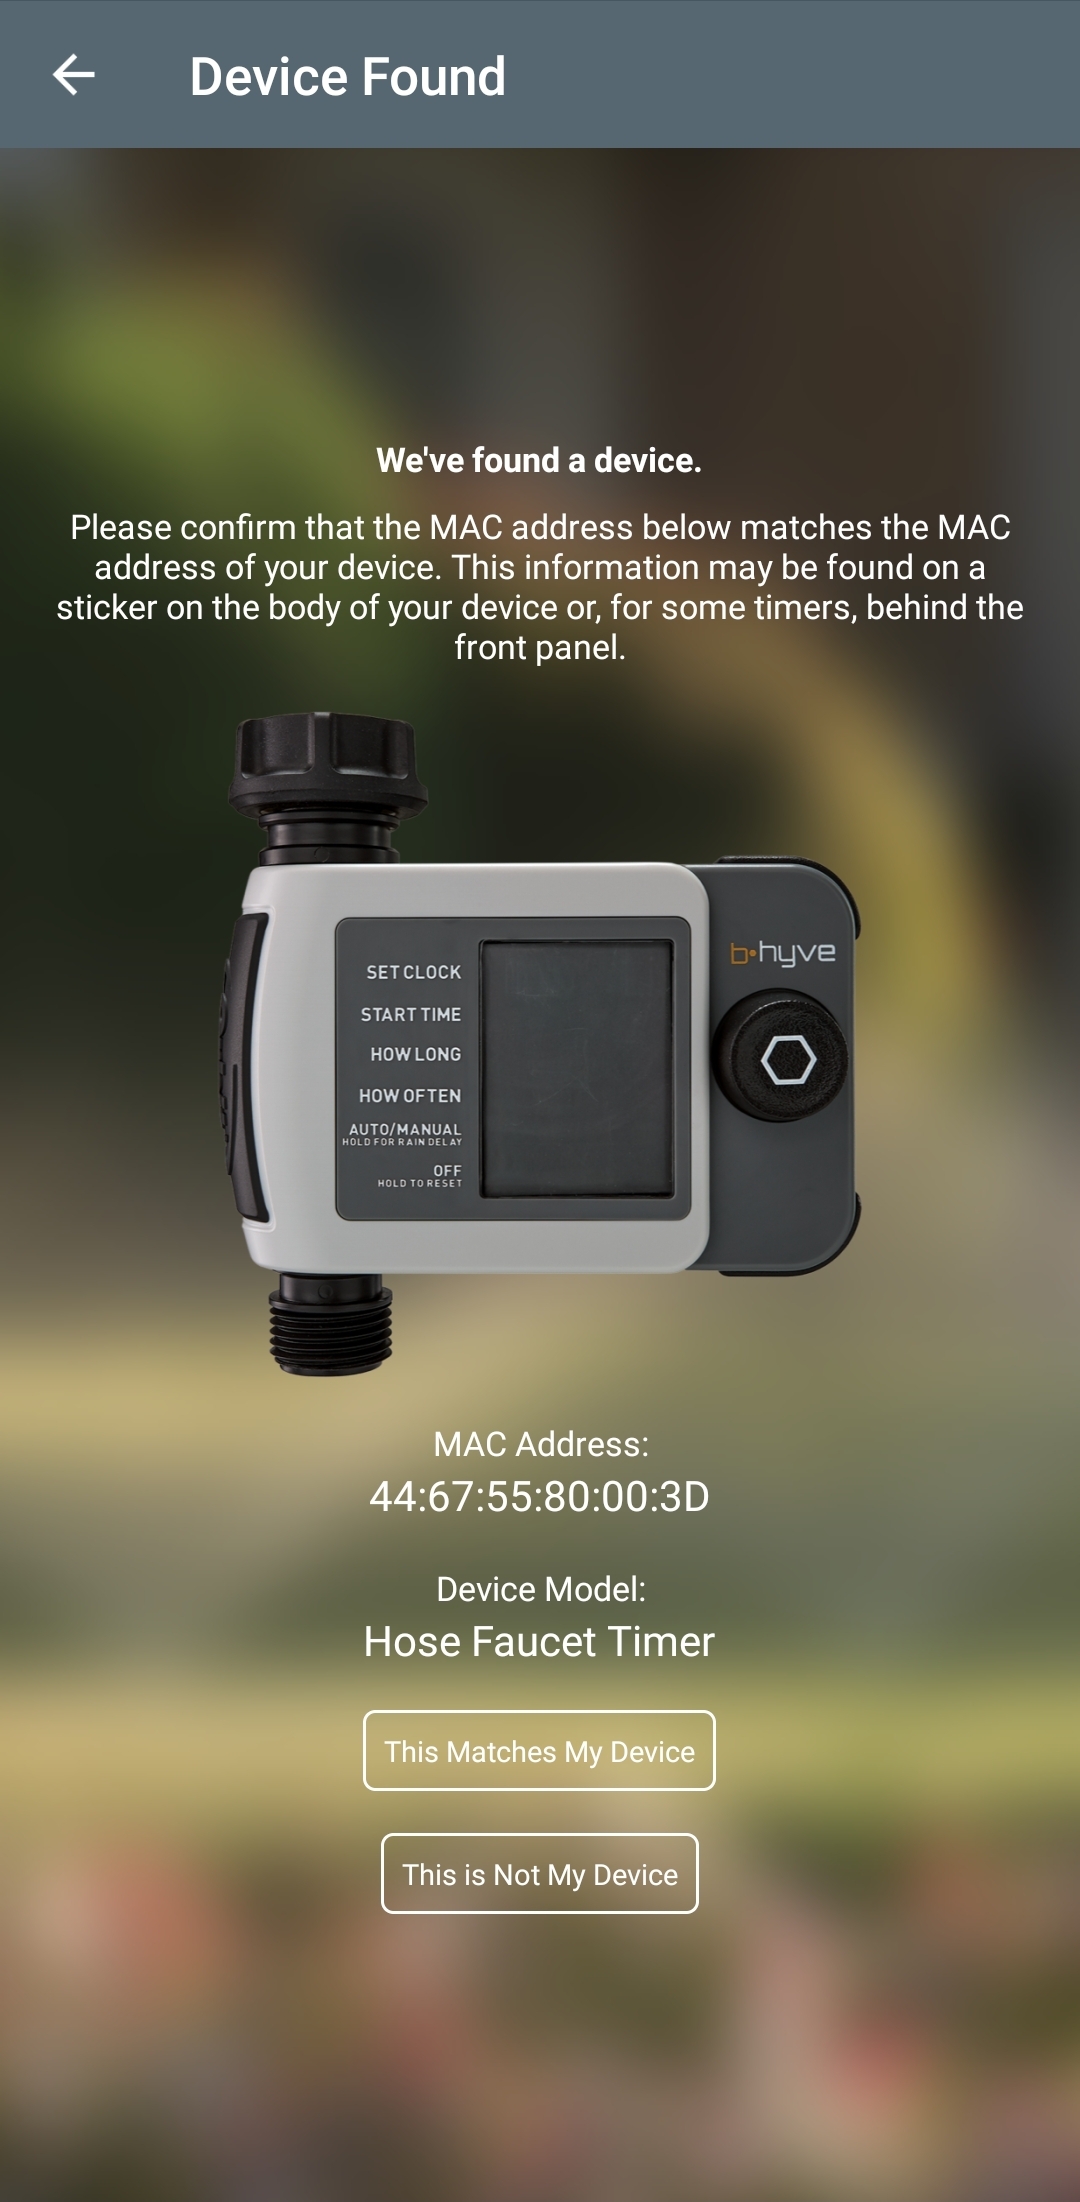
Tap “This Matches my Device”
Your timer will automatically look for a B-hyve Hub to connect to. Once it finds it and establishes a connection, the app will notify you.
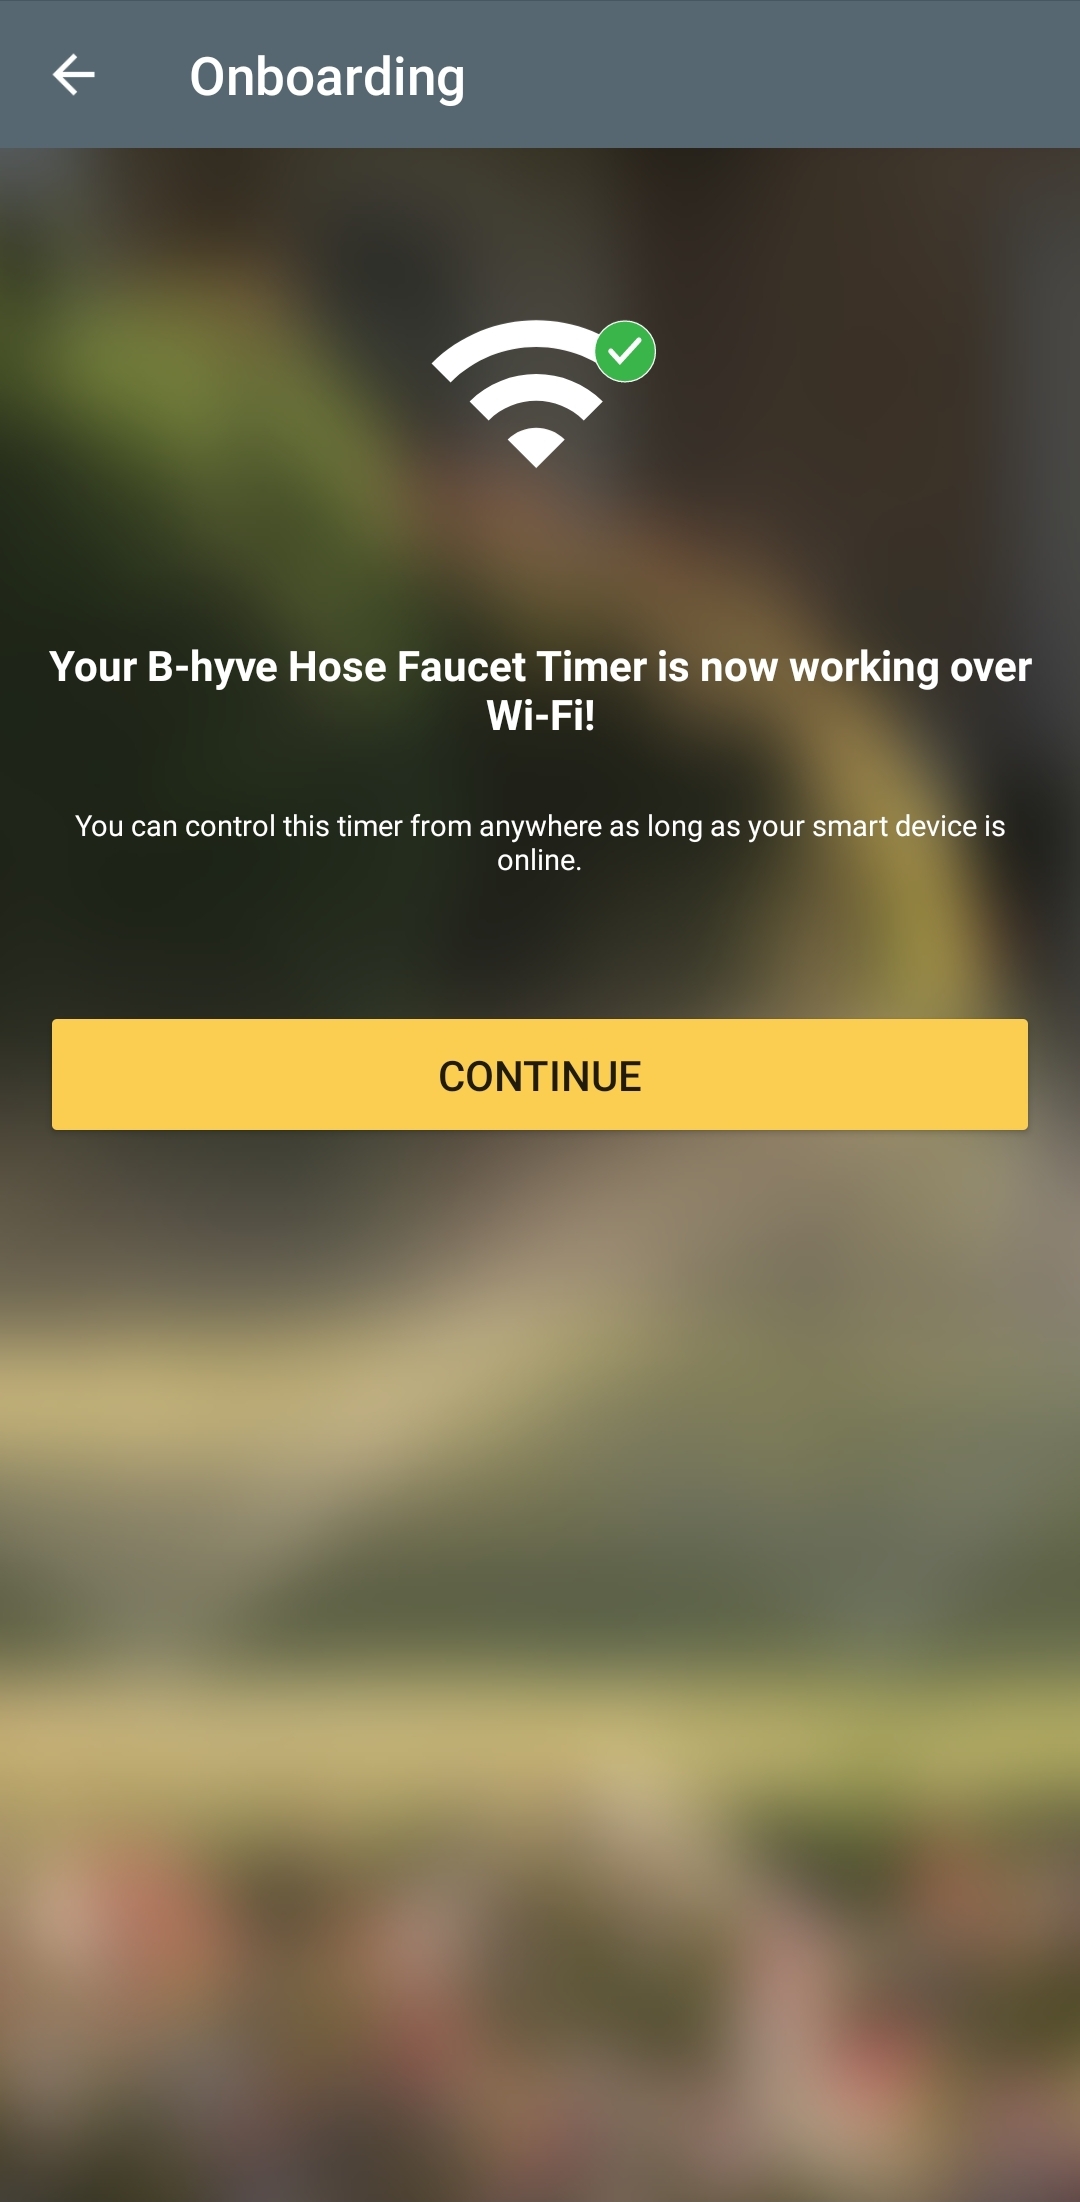
Tap “Continue”
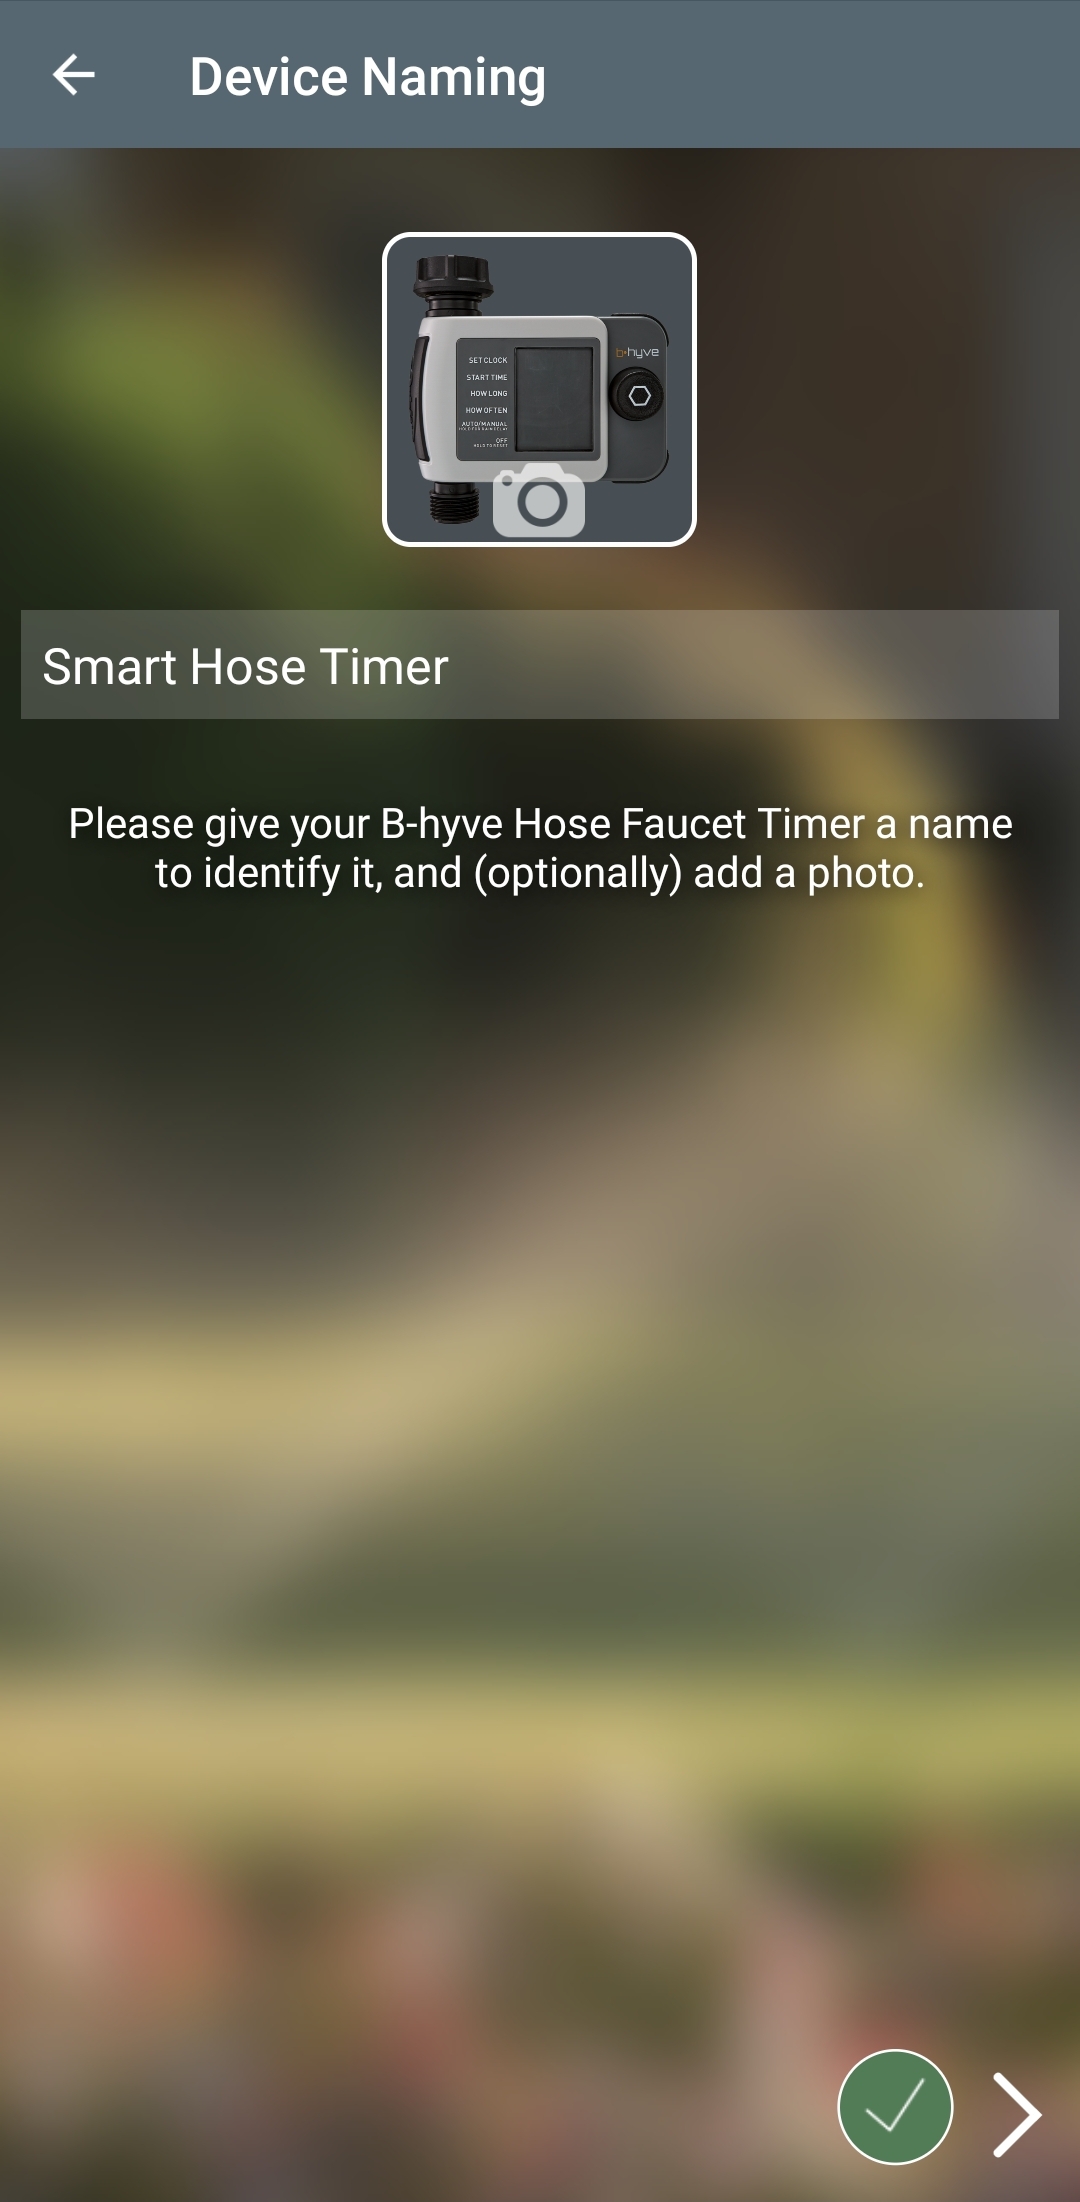
The timer will now ask you to input your address and name the timer.
It’ll now ask if you’d like to water via Smart Watering or Traditional watering. (For more information on smart watering, please click here)
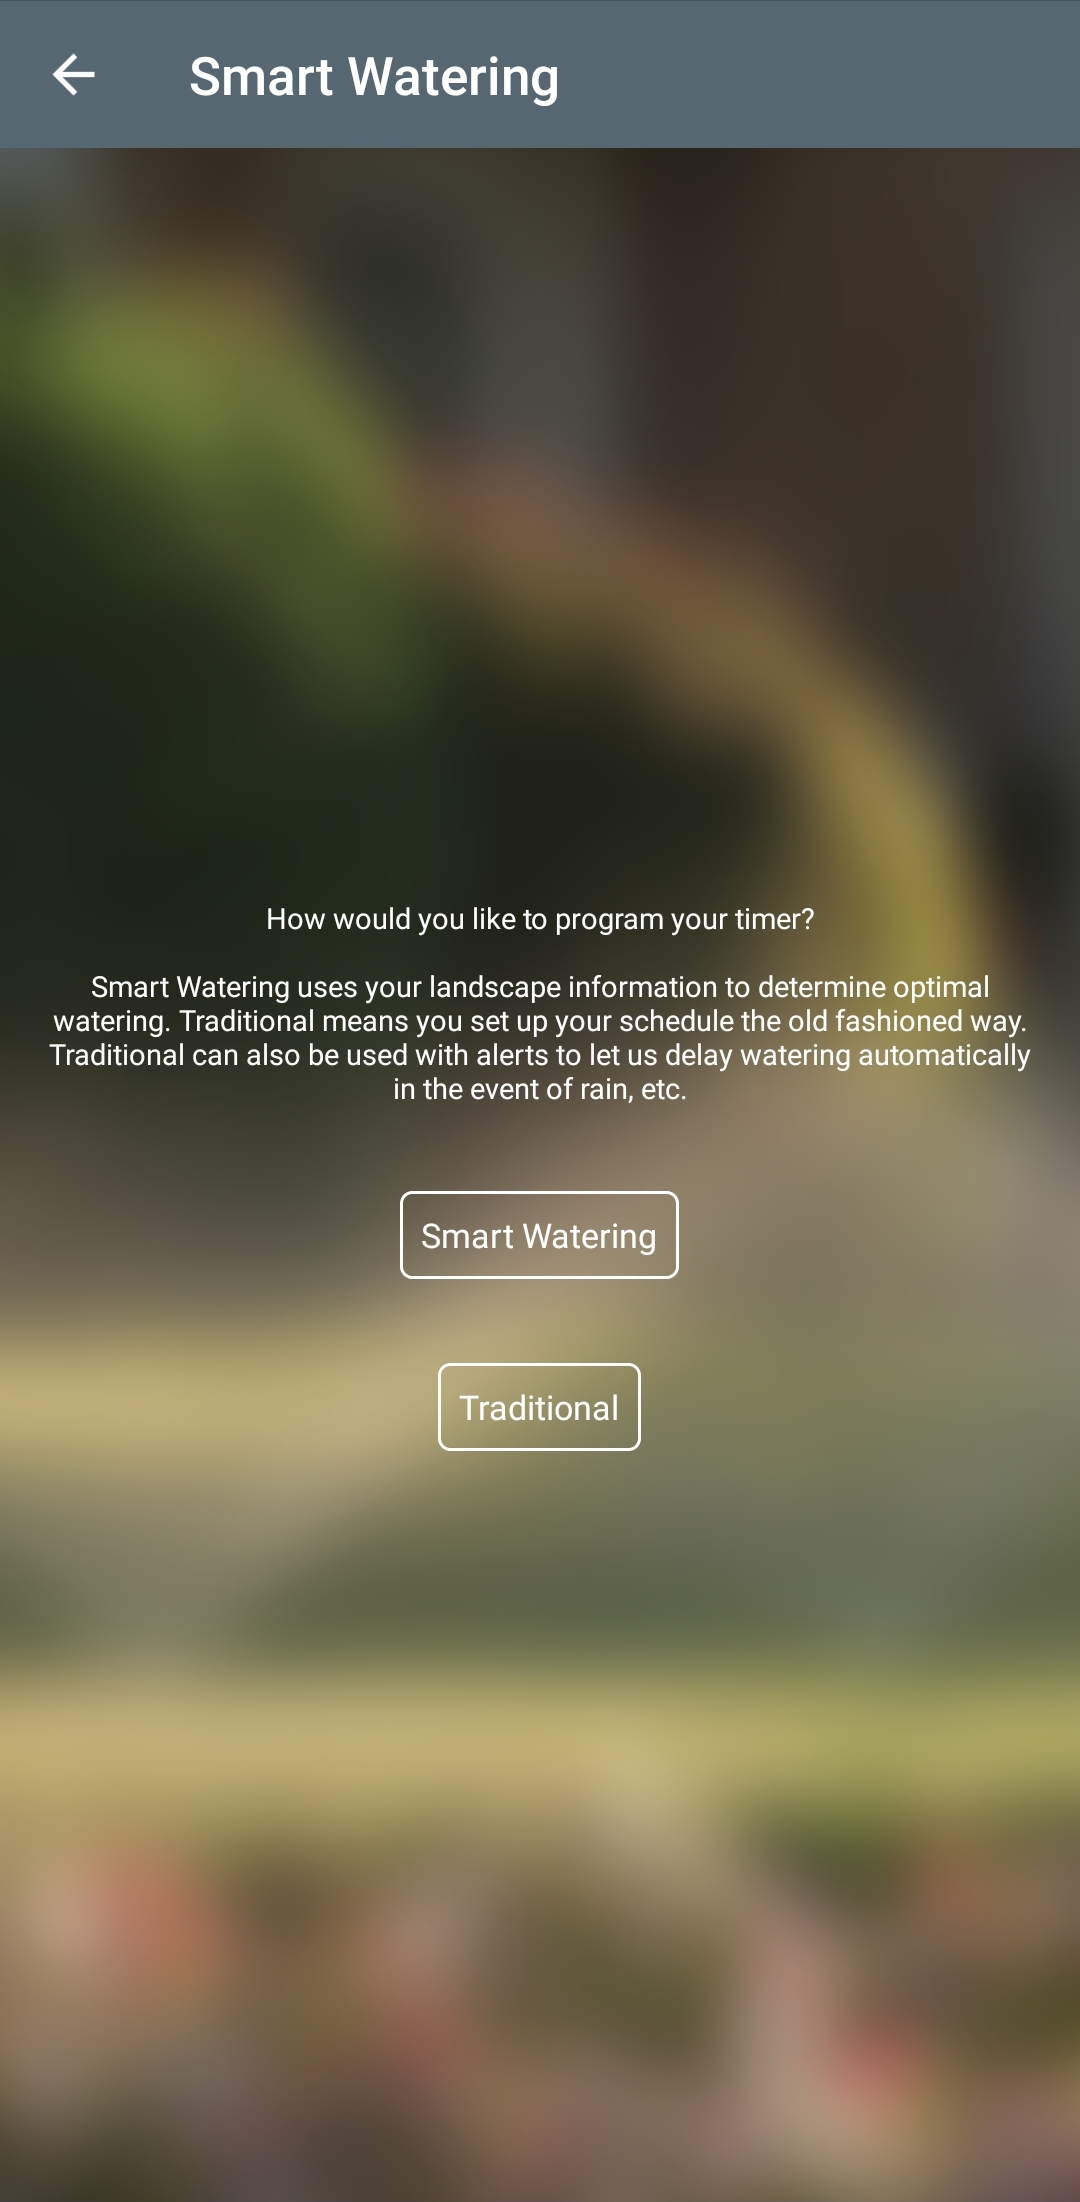
Smart Watering:
If you select Smart Watering, the app will first run a test of the valve to get the flow reading.
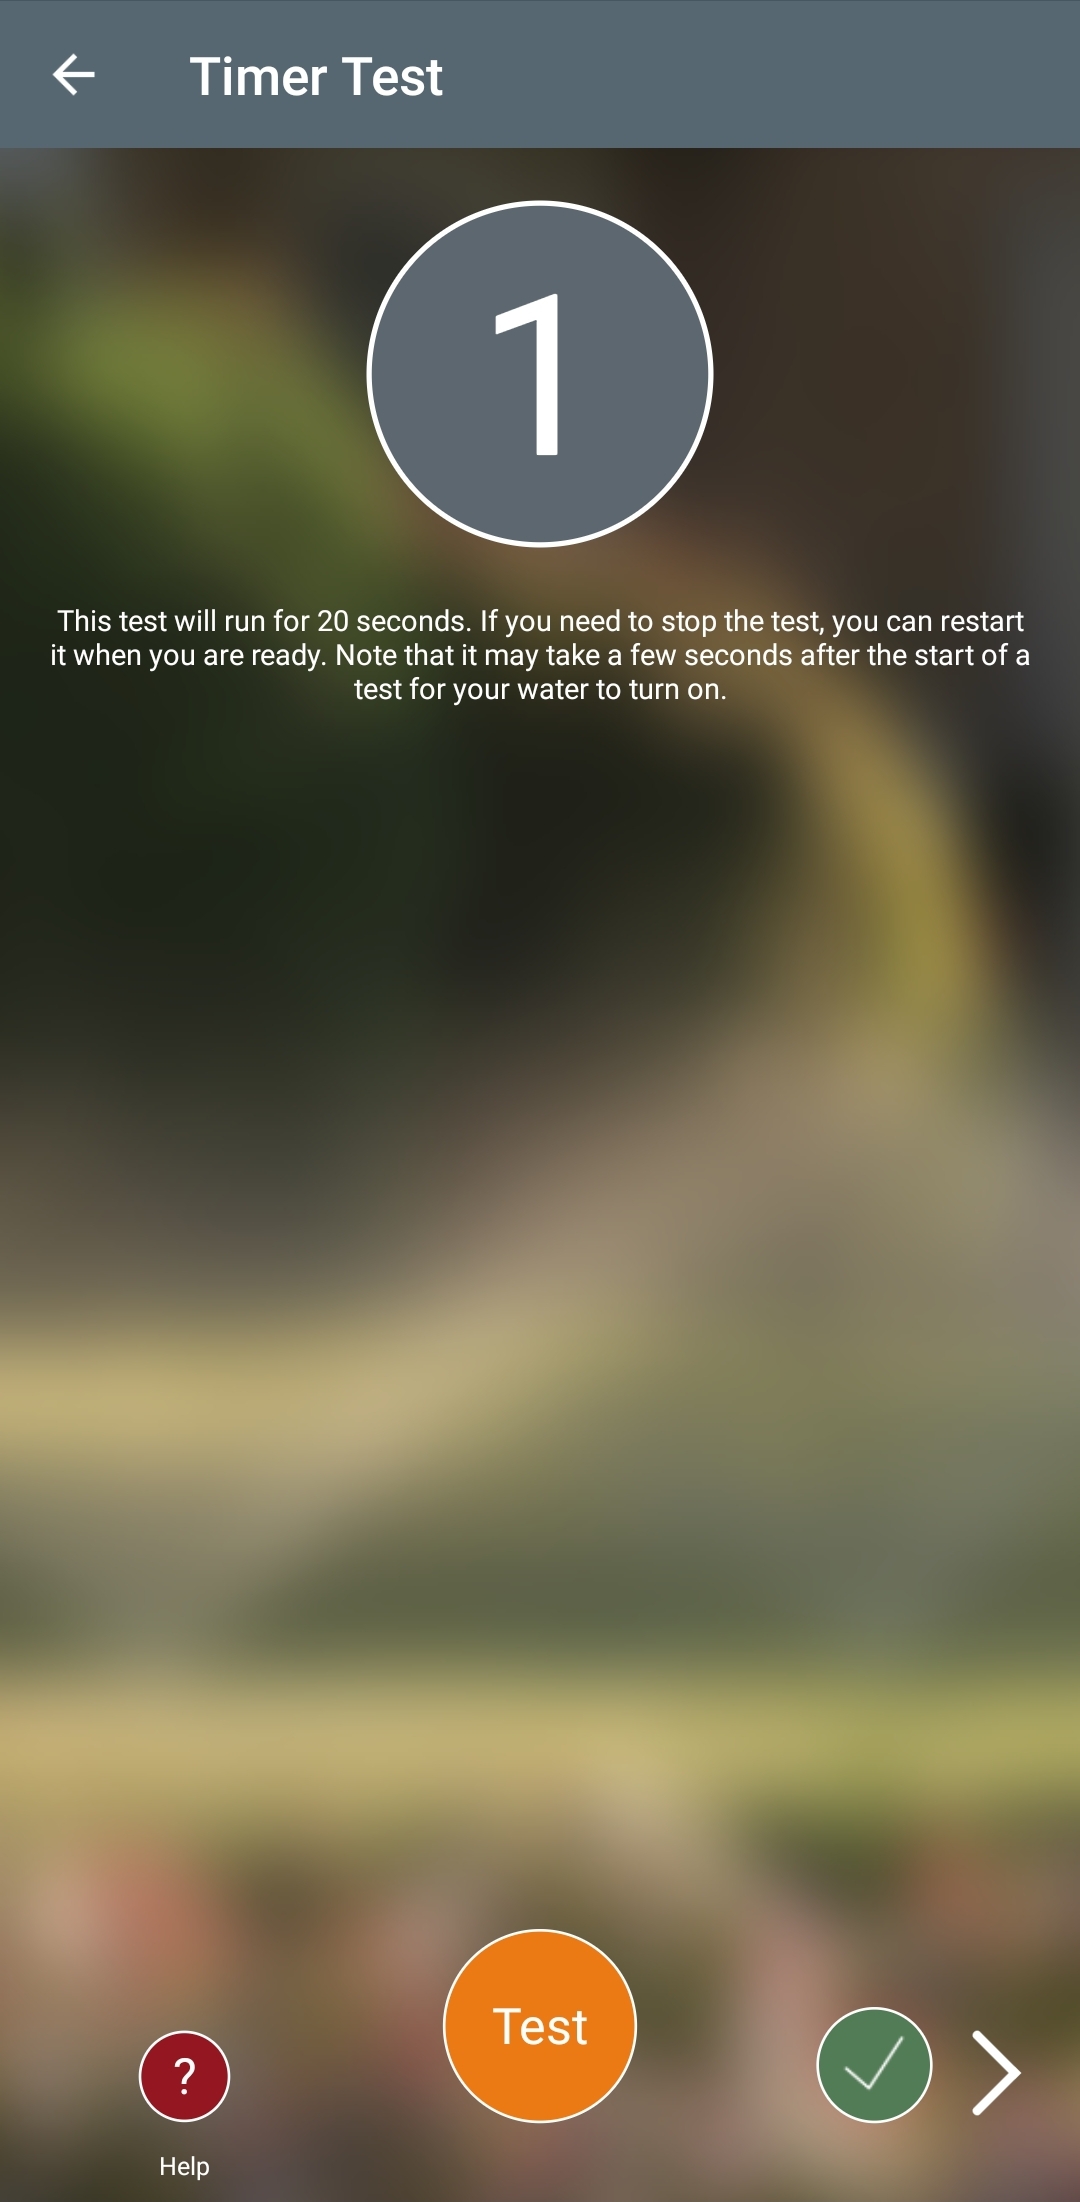
You will now tap the zone to edit the settings
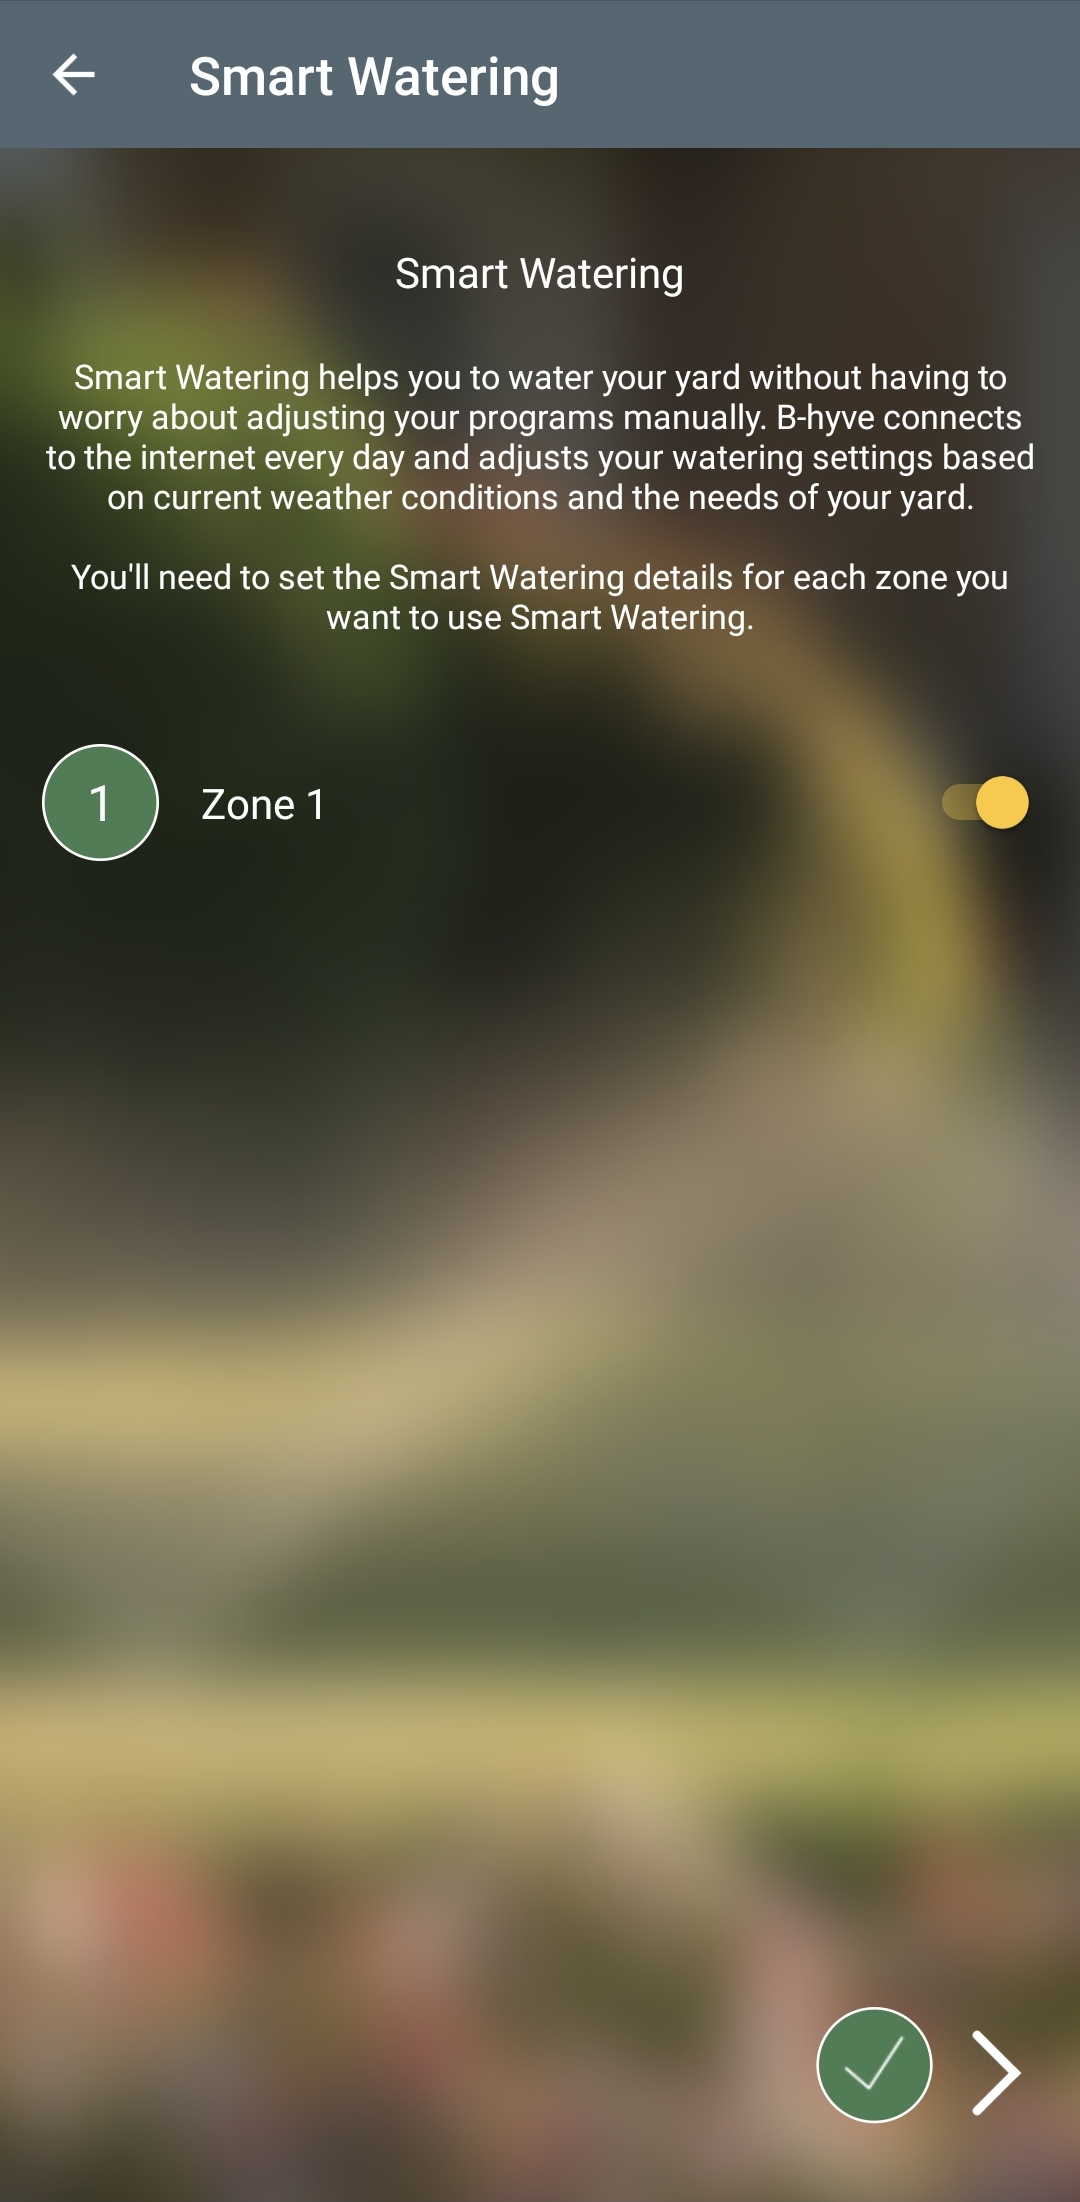
Tap “Zone 1”
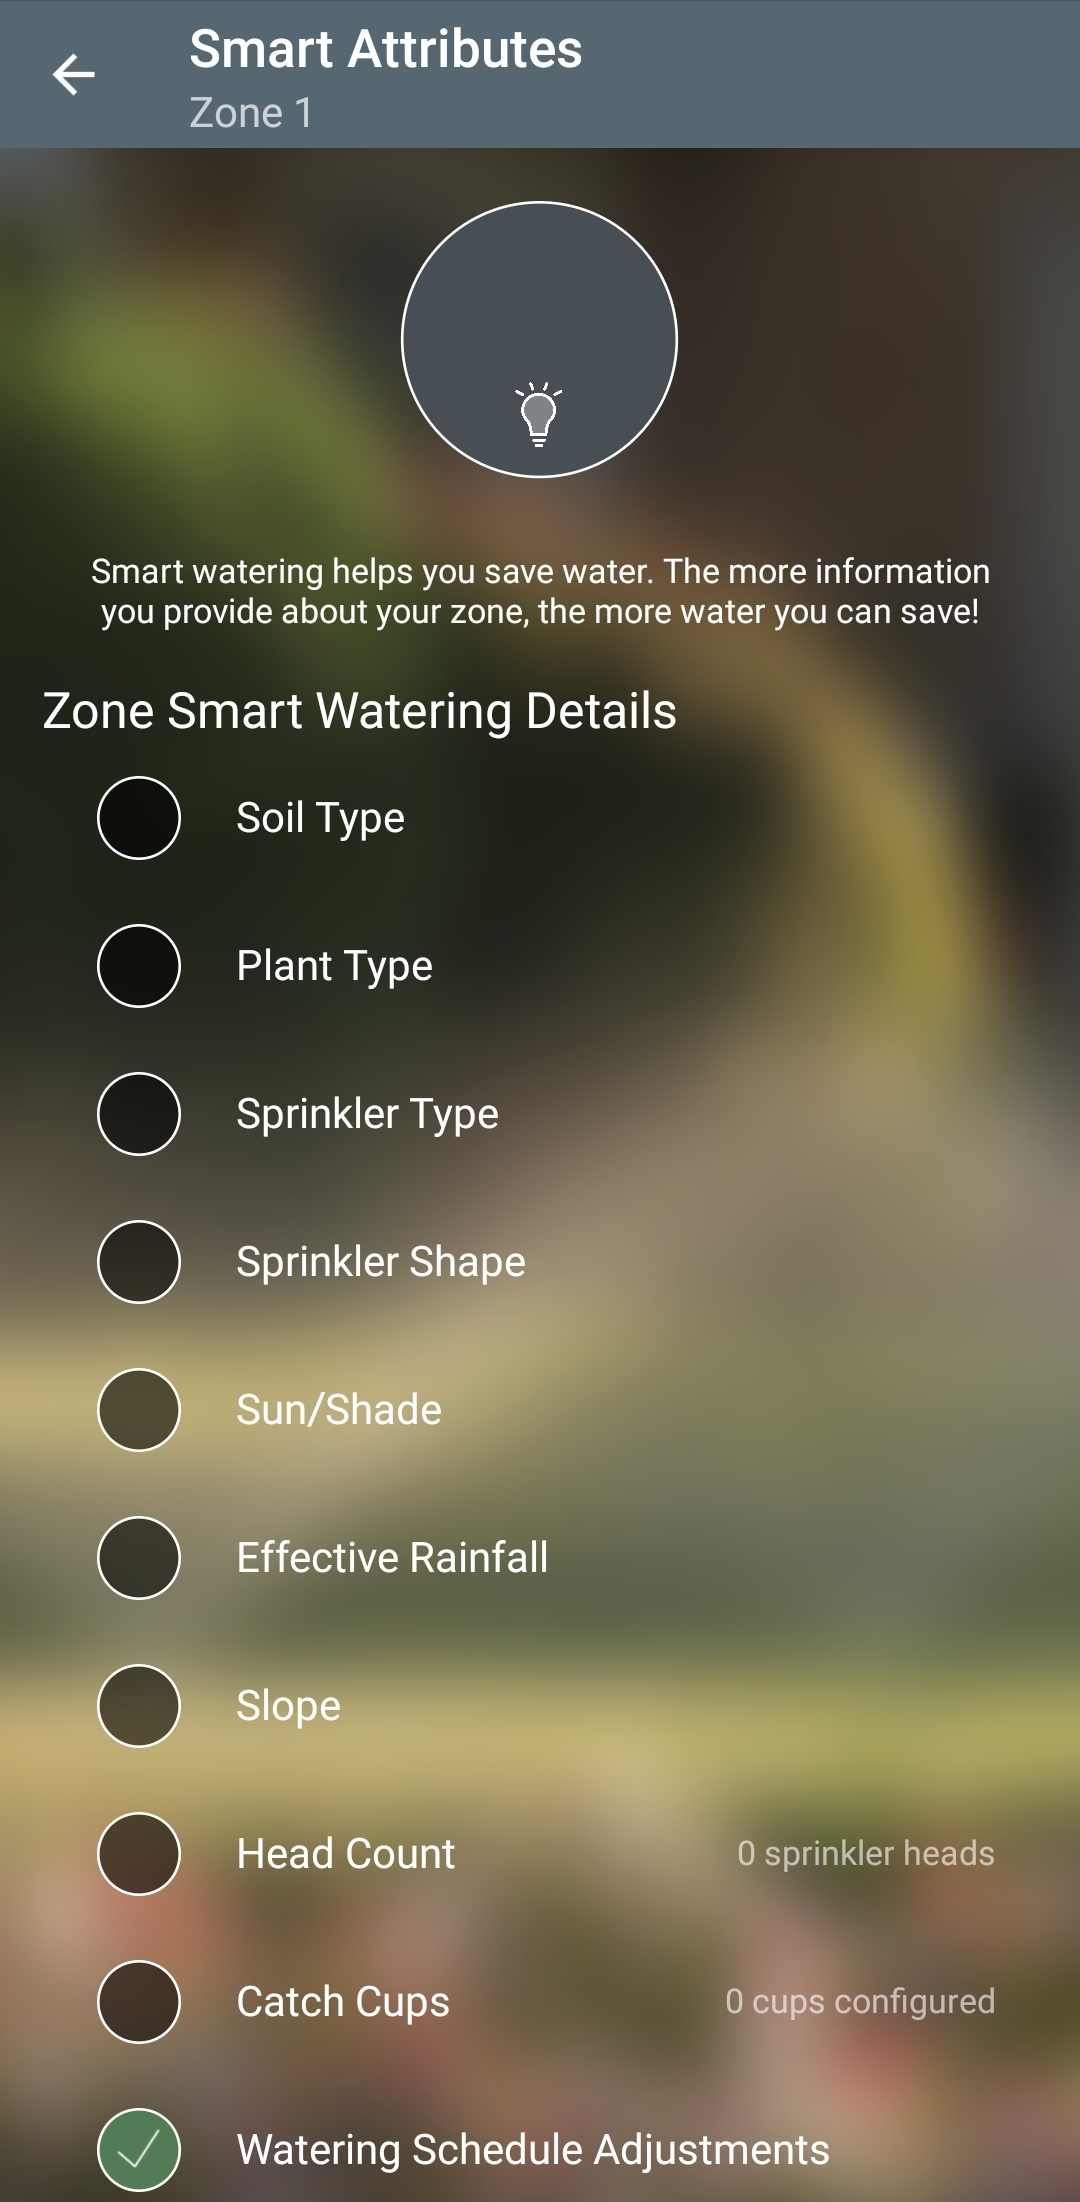
You need to fill out all of the “Zone Smart Watering Details” in order to get the most accurate smart program.
Here are a few links to each smart detail setting
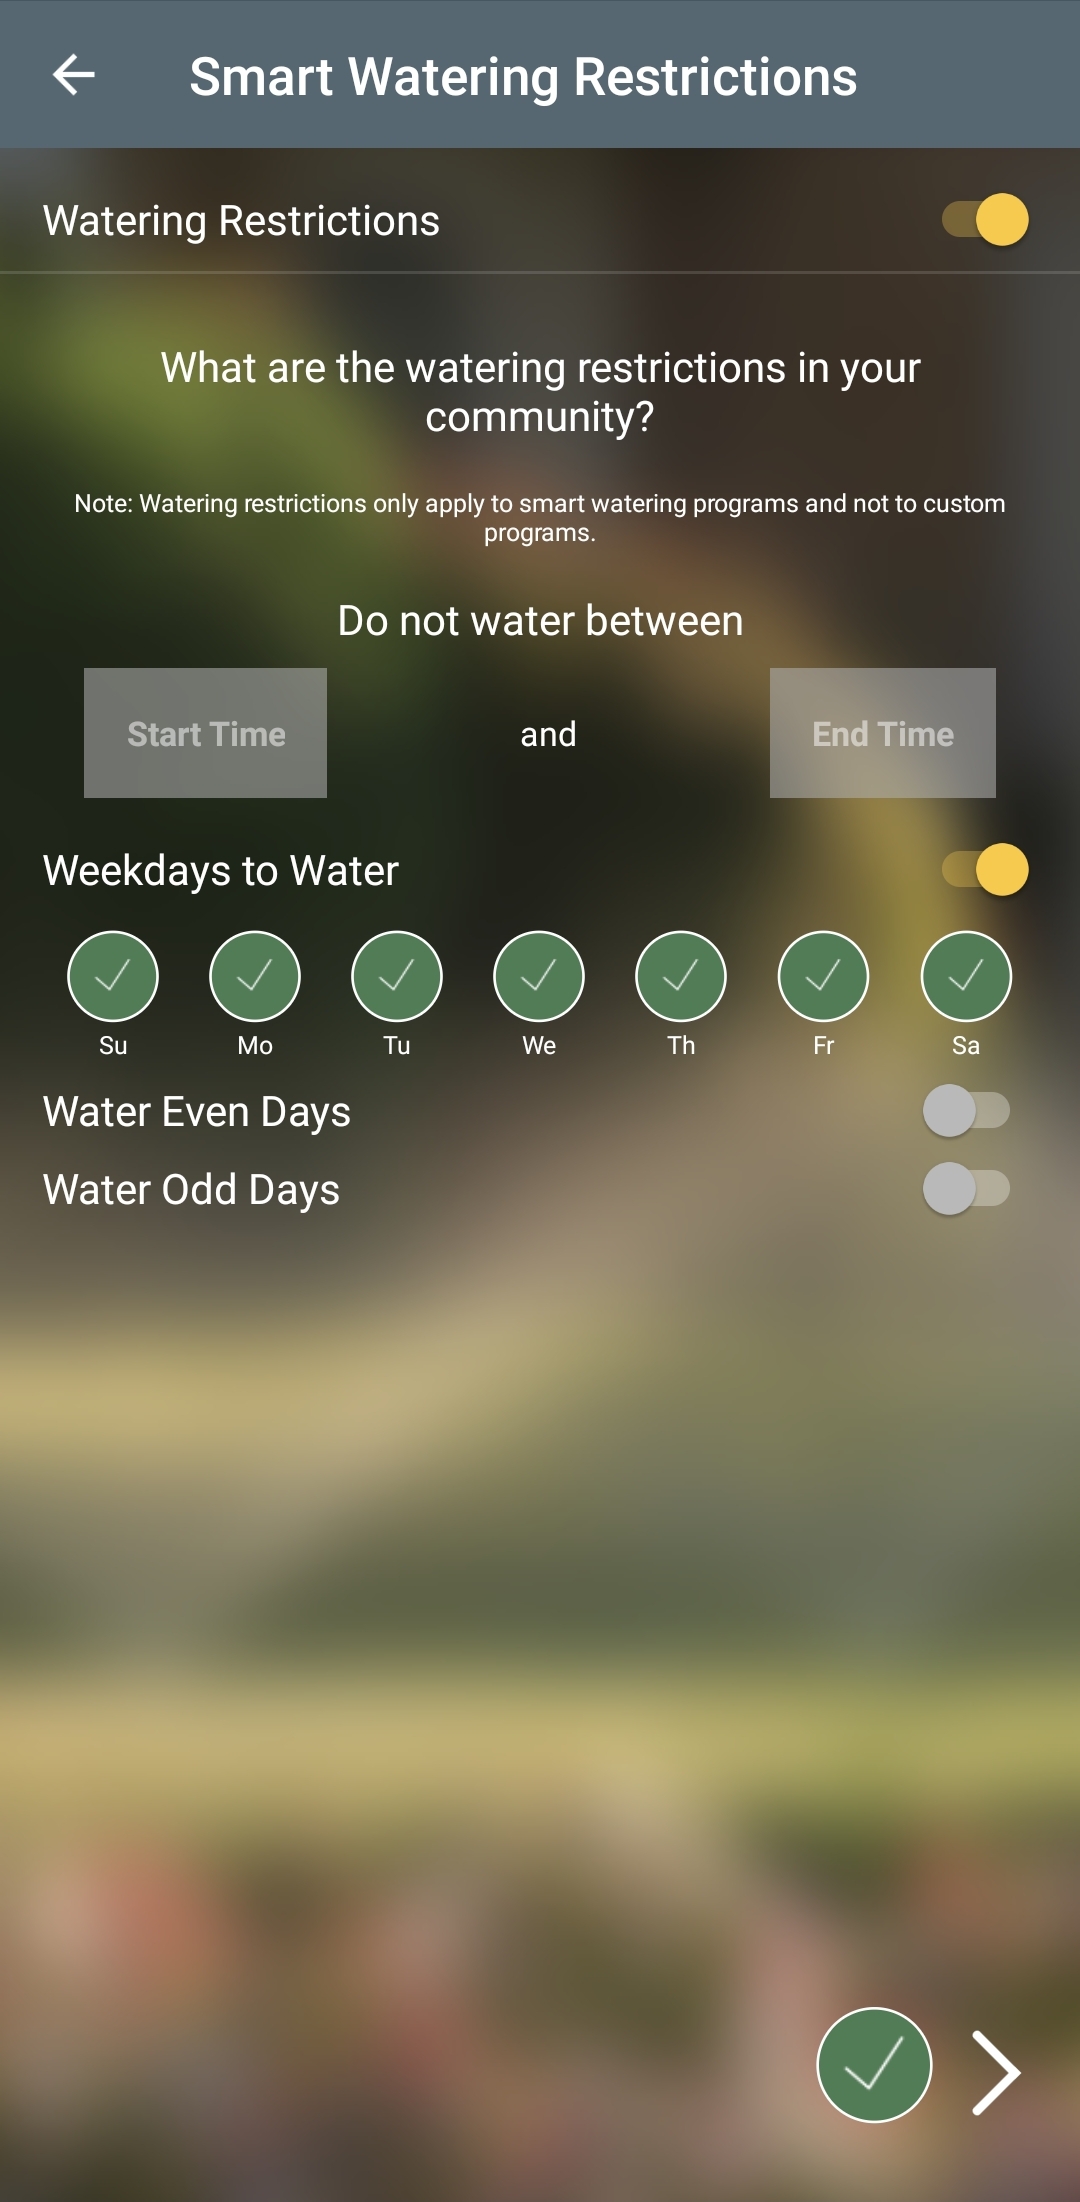
Once you have set all of these settings set, your app will ask if you have any watering restrictions. (Note: these will only affect the smart program, custom programming will ignore these restrictions)
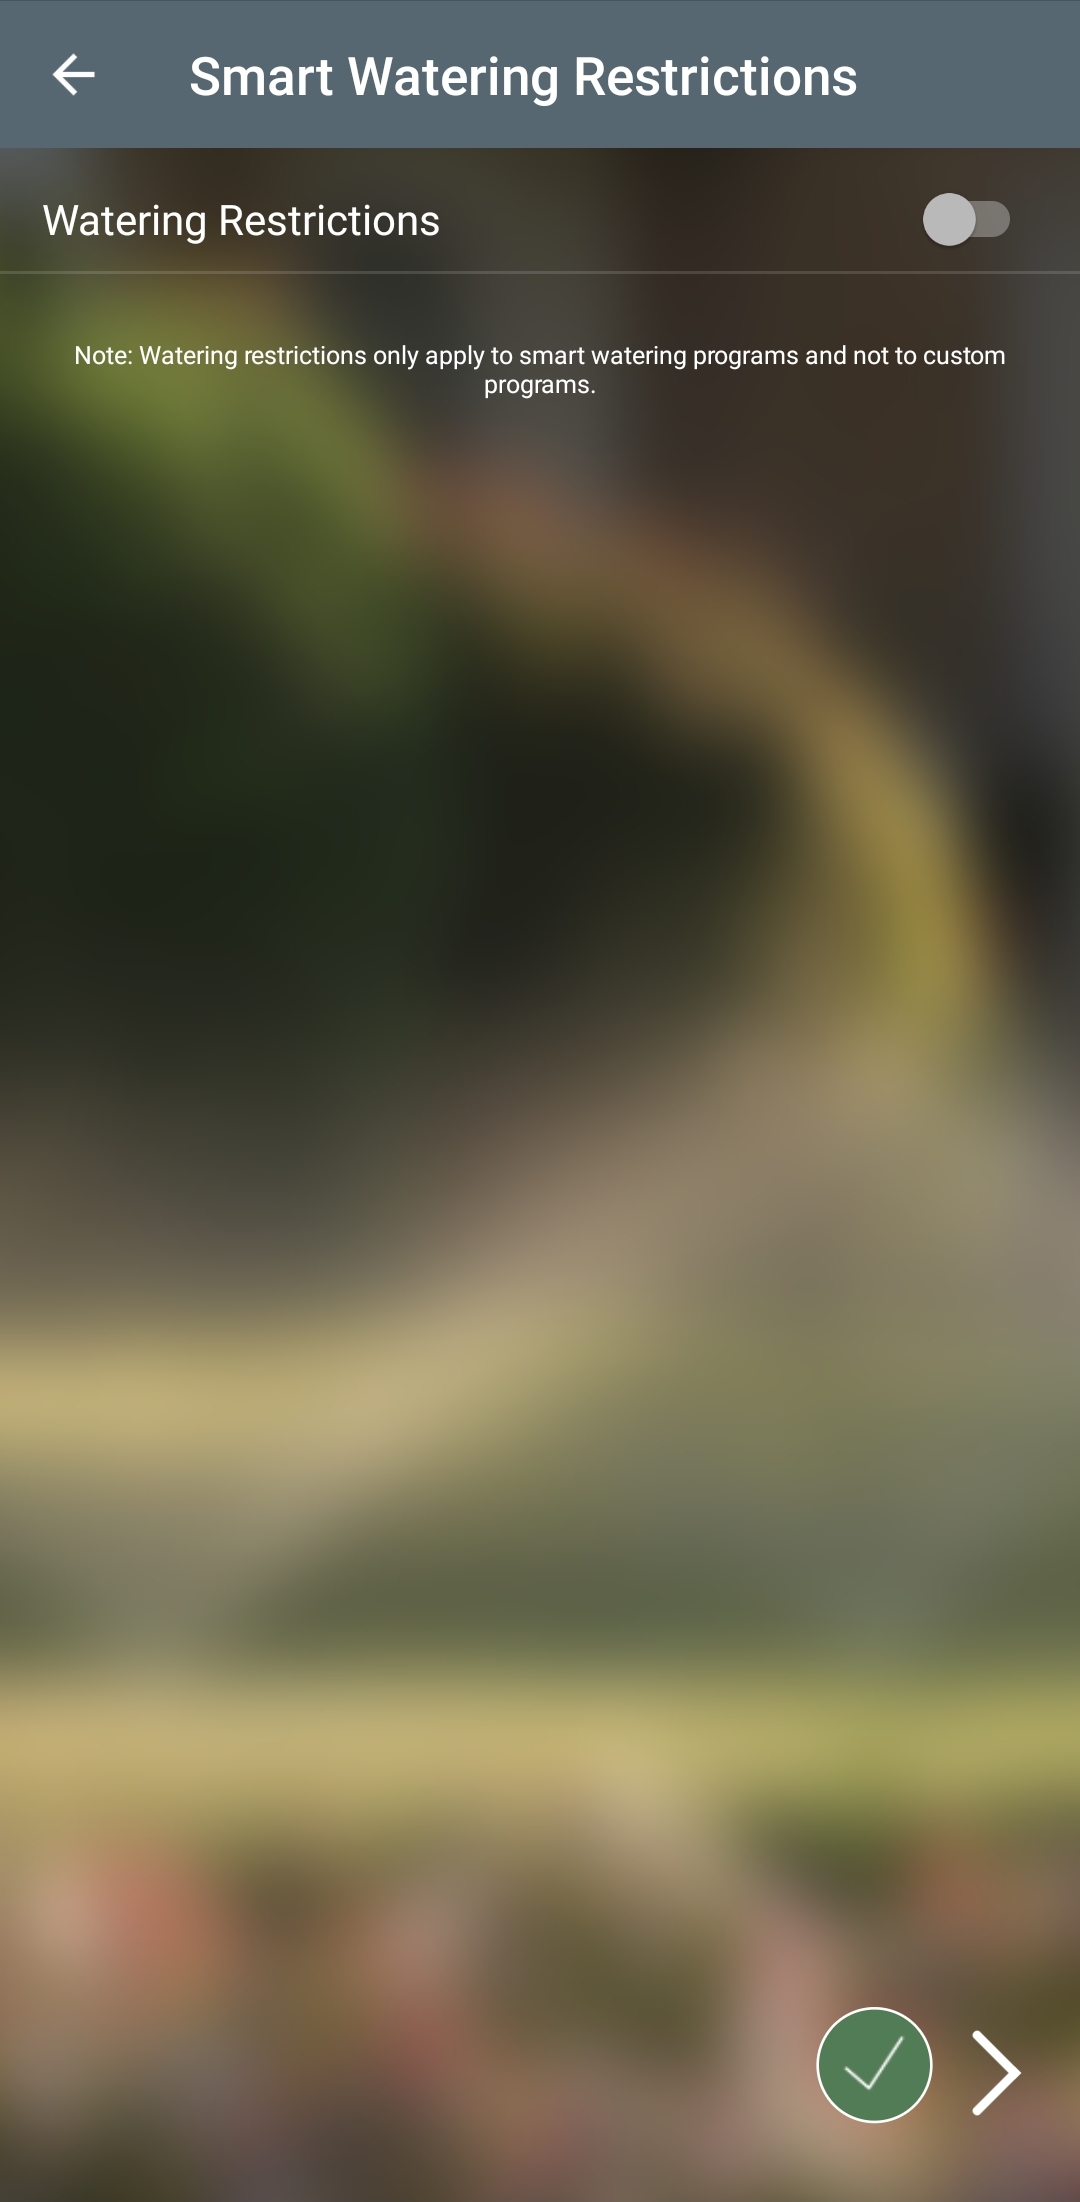
If you do, tap the slider to turn them on.
Your Smart Program is now set. The app will take you to the home page and show your next watering cycle.
Traditional Programming
If you select “Traditional Programming” the app will first test the zone.
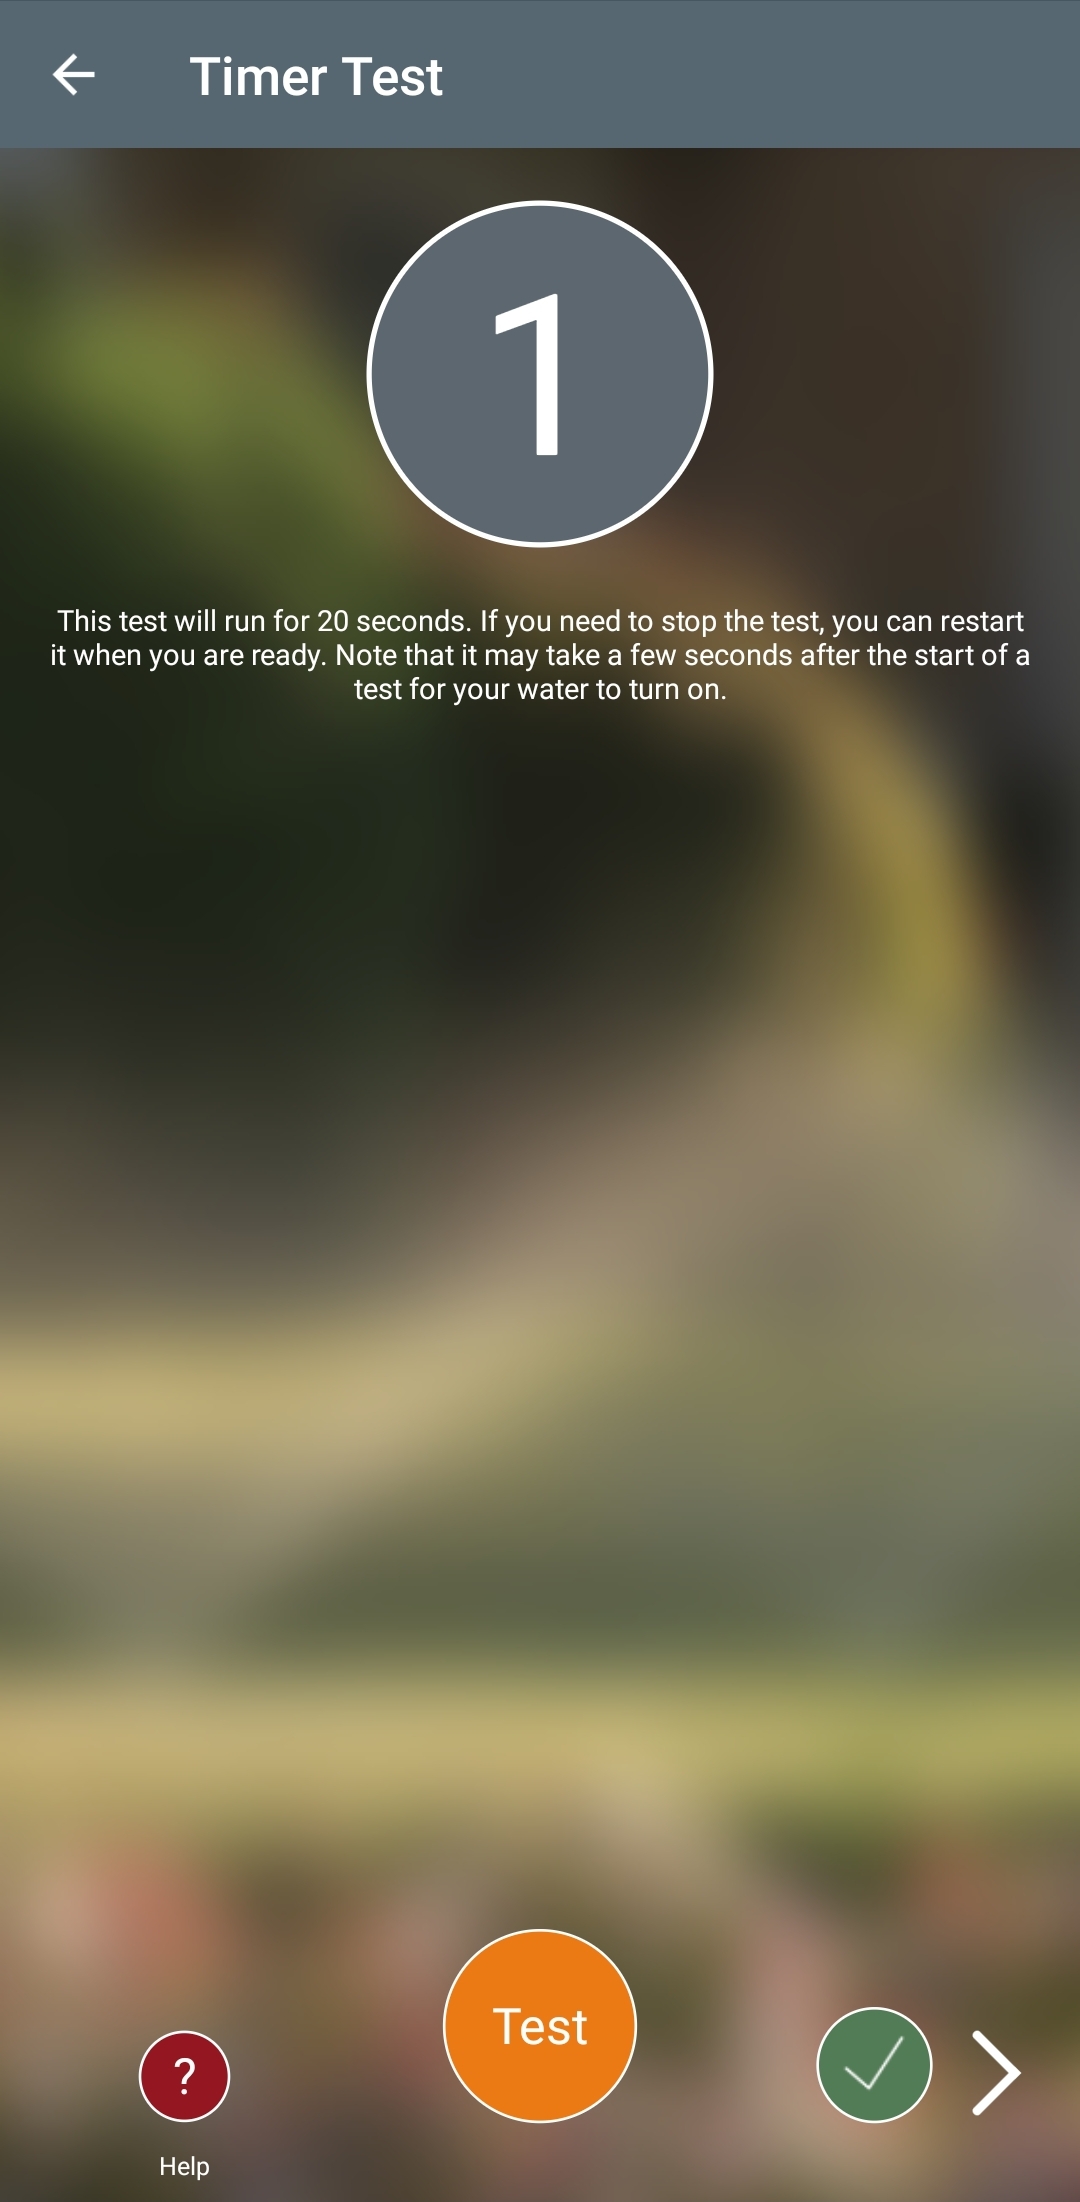 Once the test has been completed, the app will give you two different options for pairing
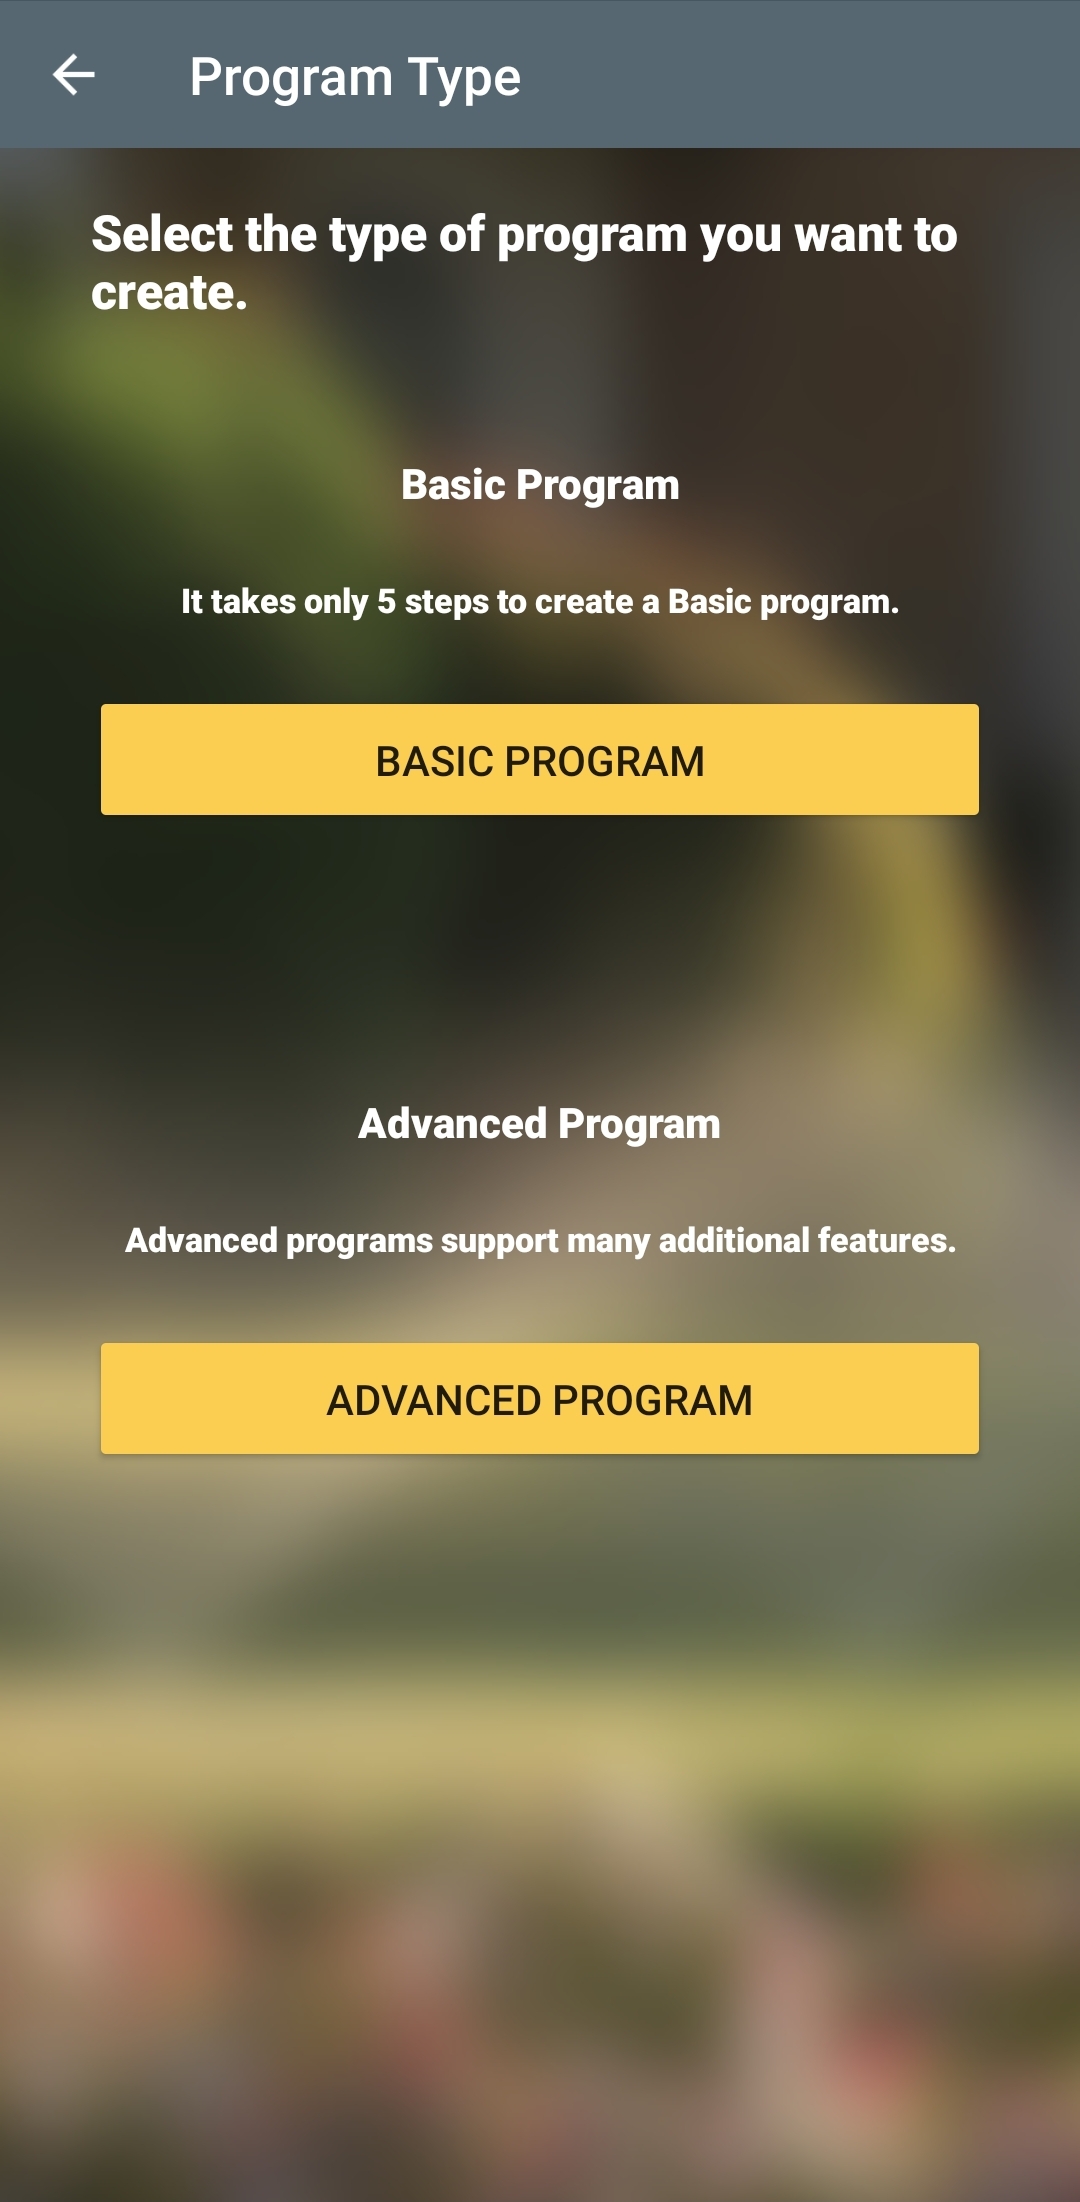 Basic Program: The basic program will walk you through, step by step, and allow you to set one start time, a duration, and a watering interval.
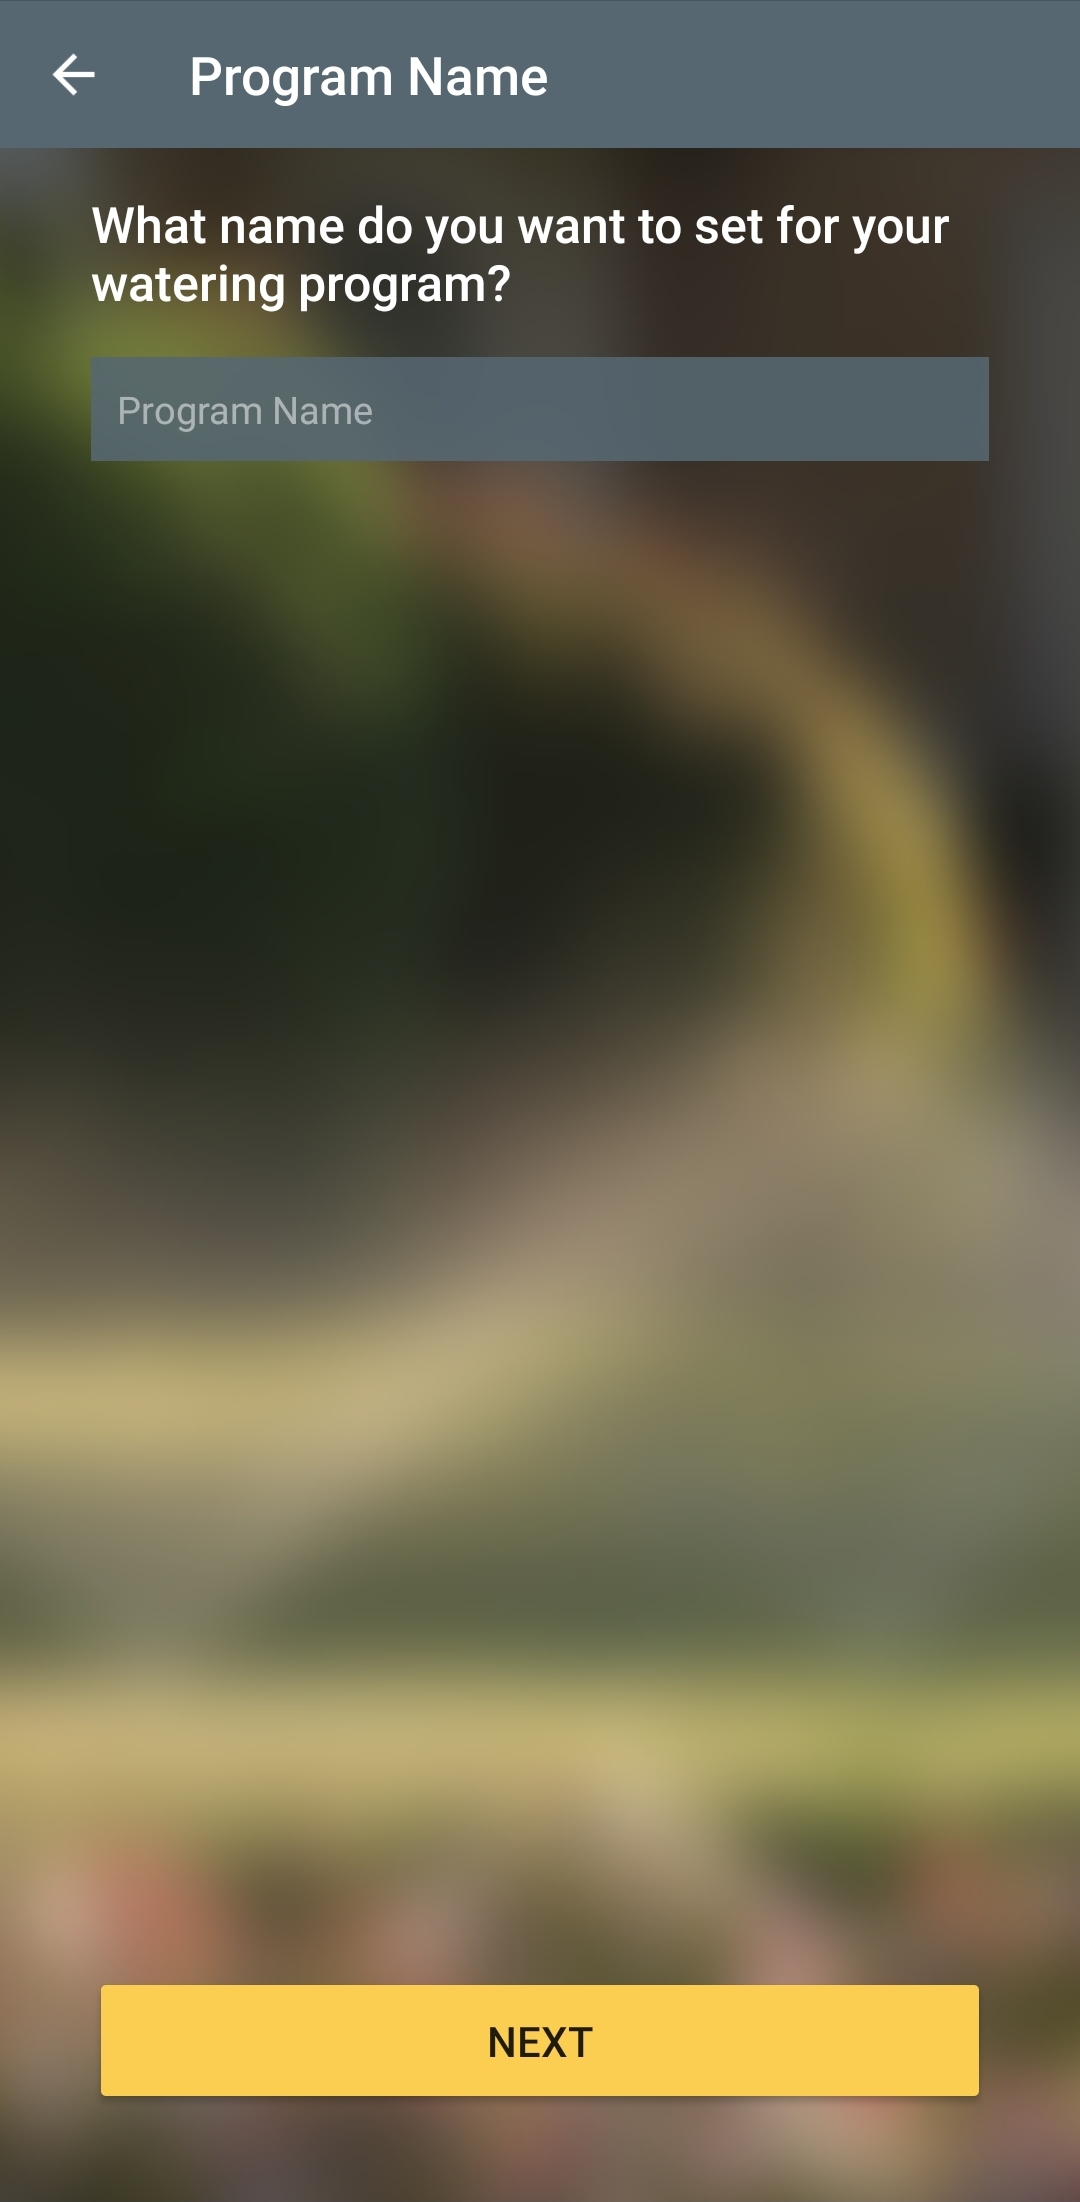
First, you’ll name your program.
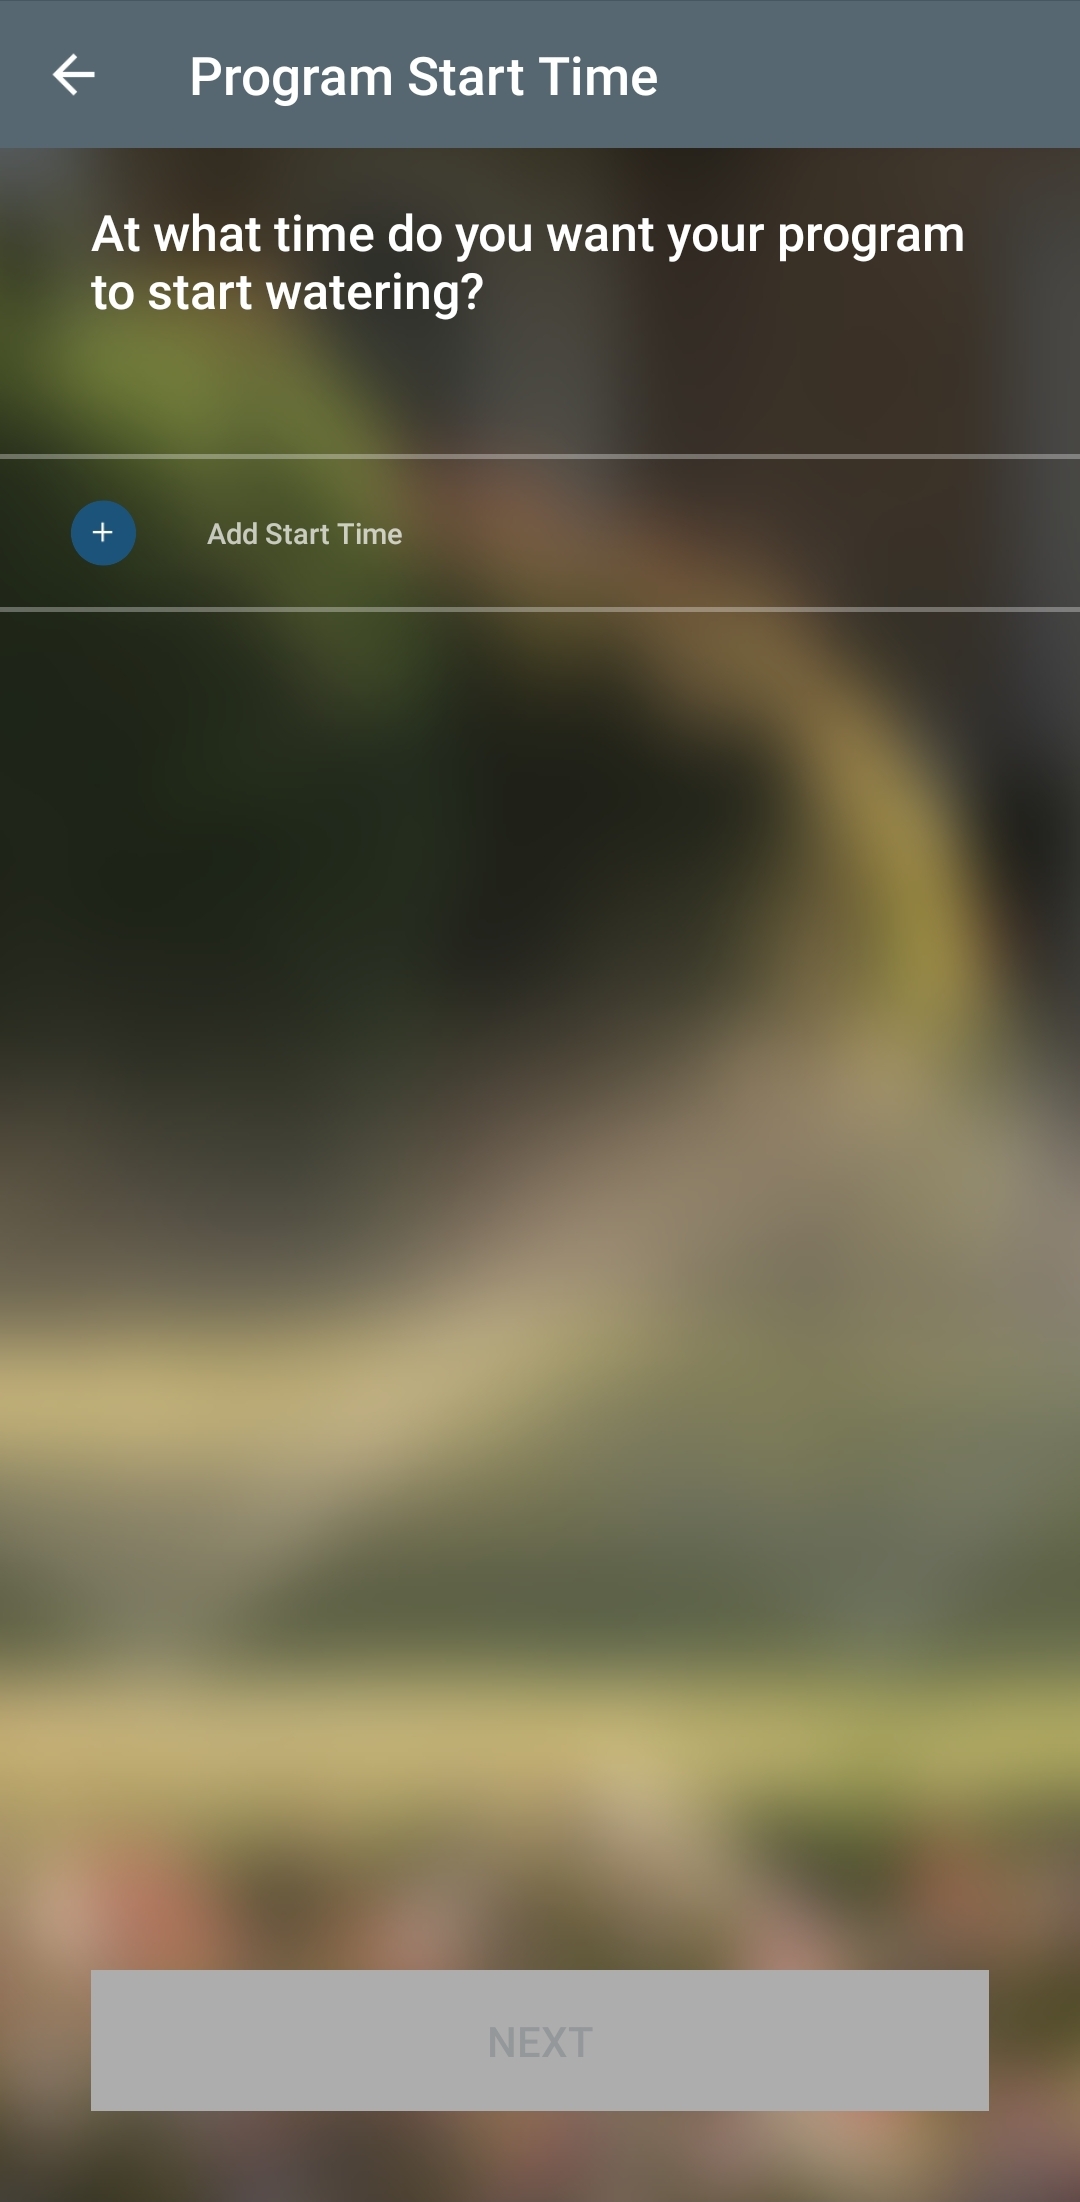
 You’ll then give the program a Start Time
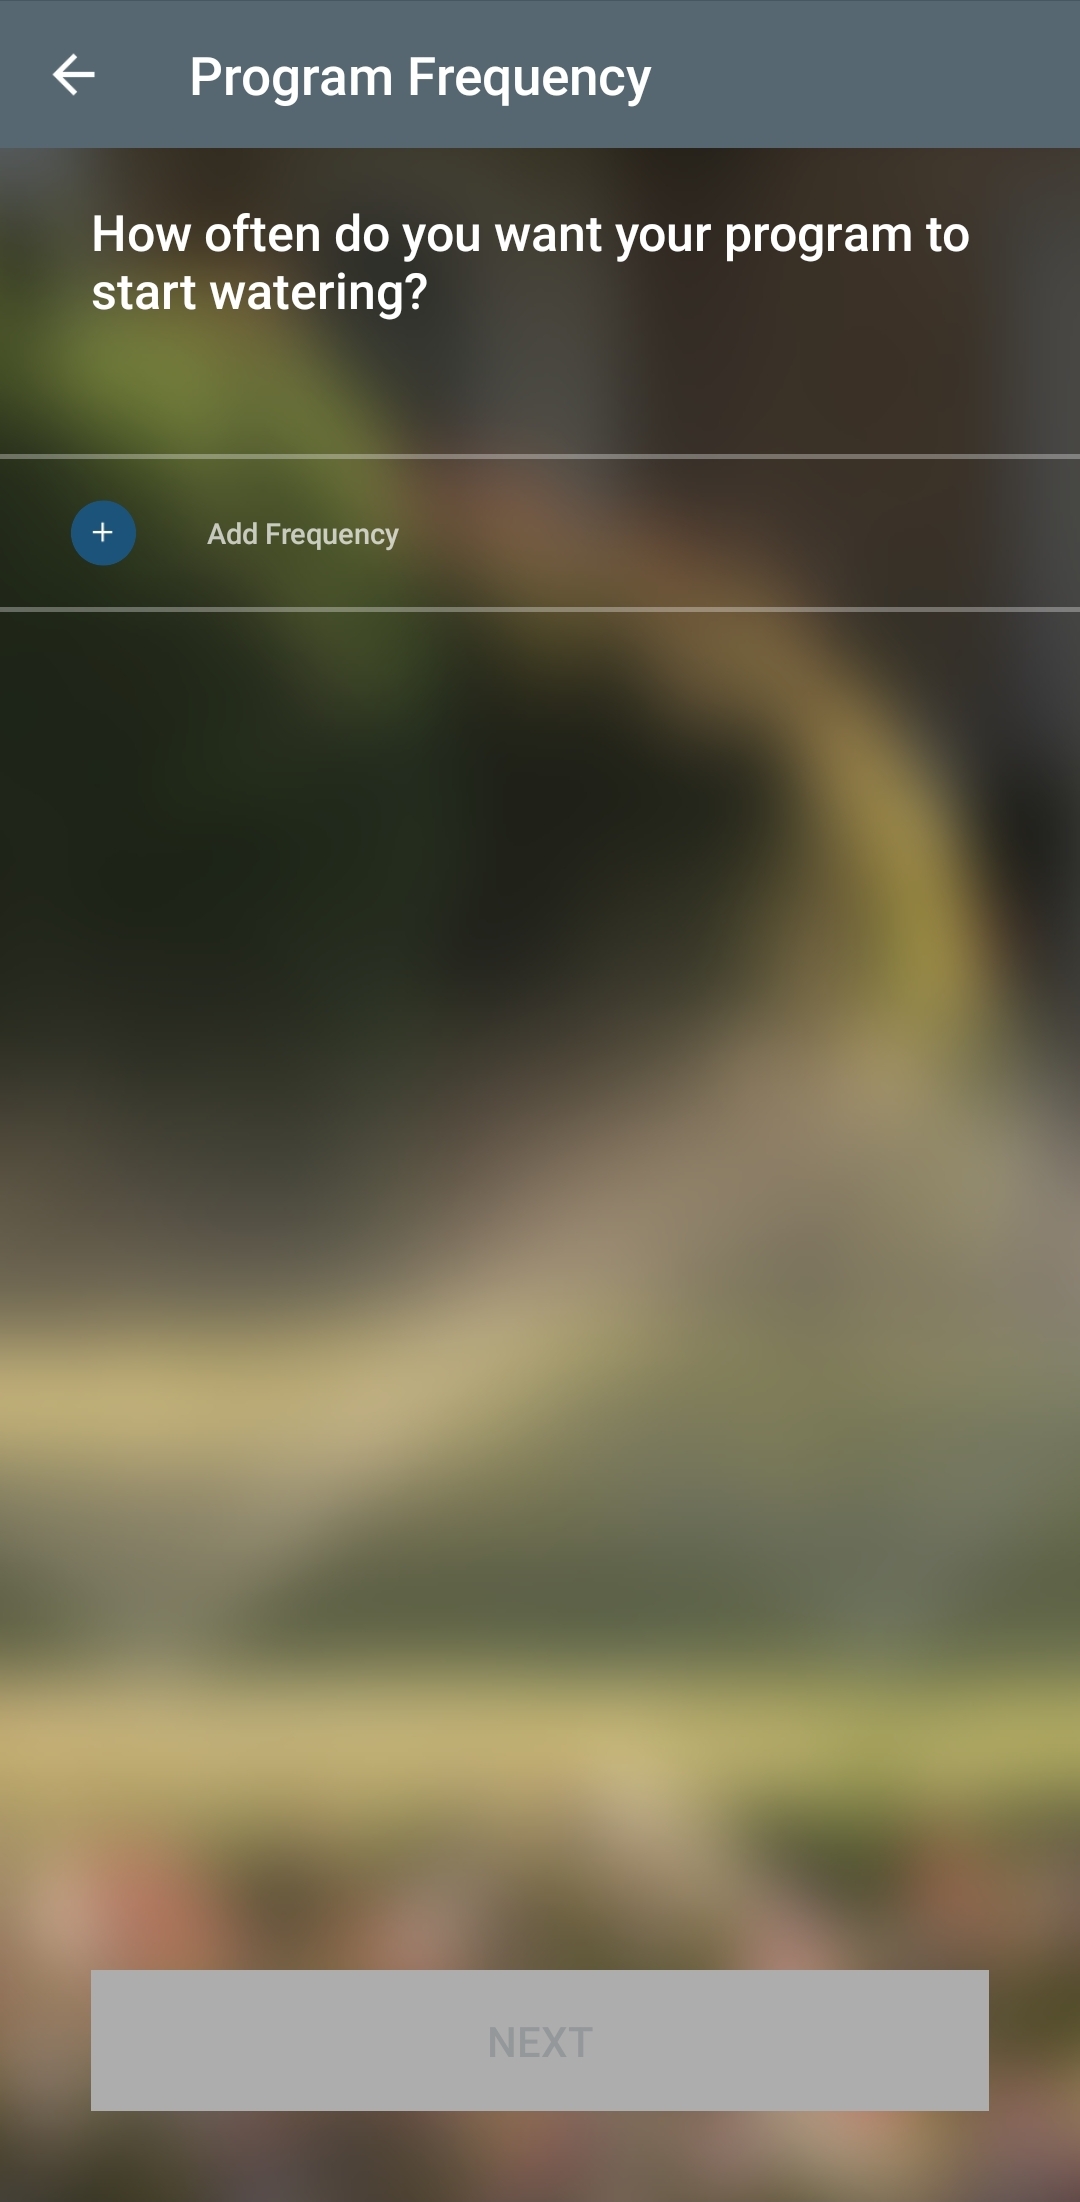
 Next, you’ll program a “watering frequency”
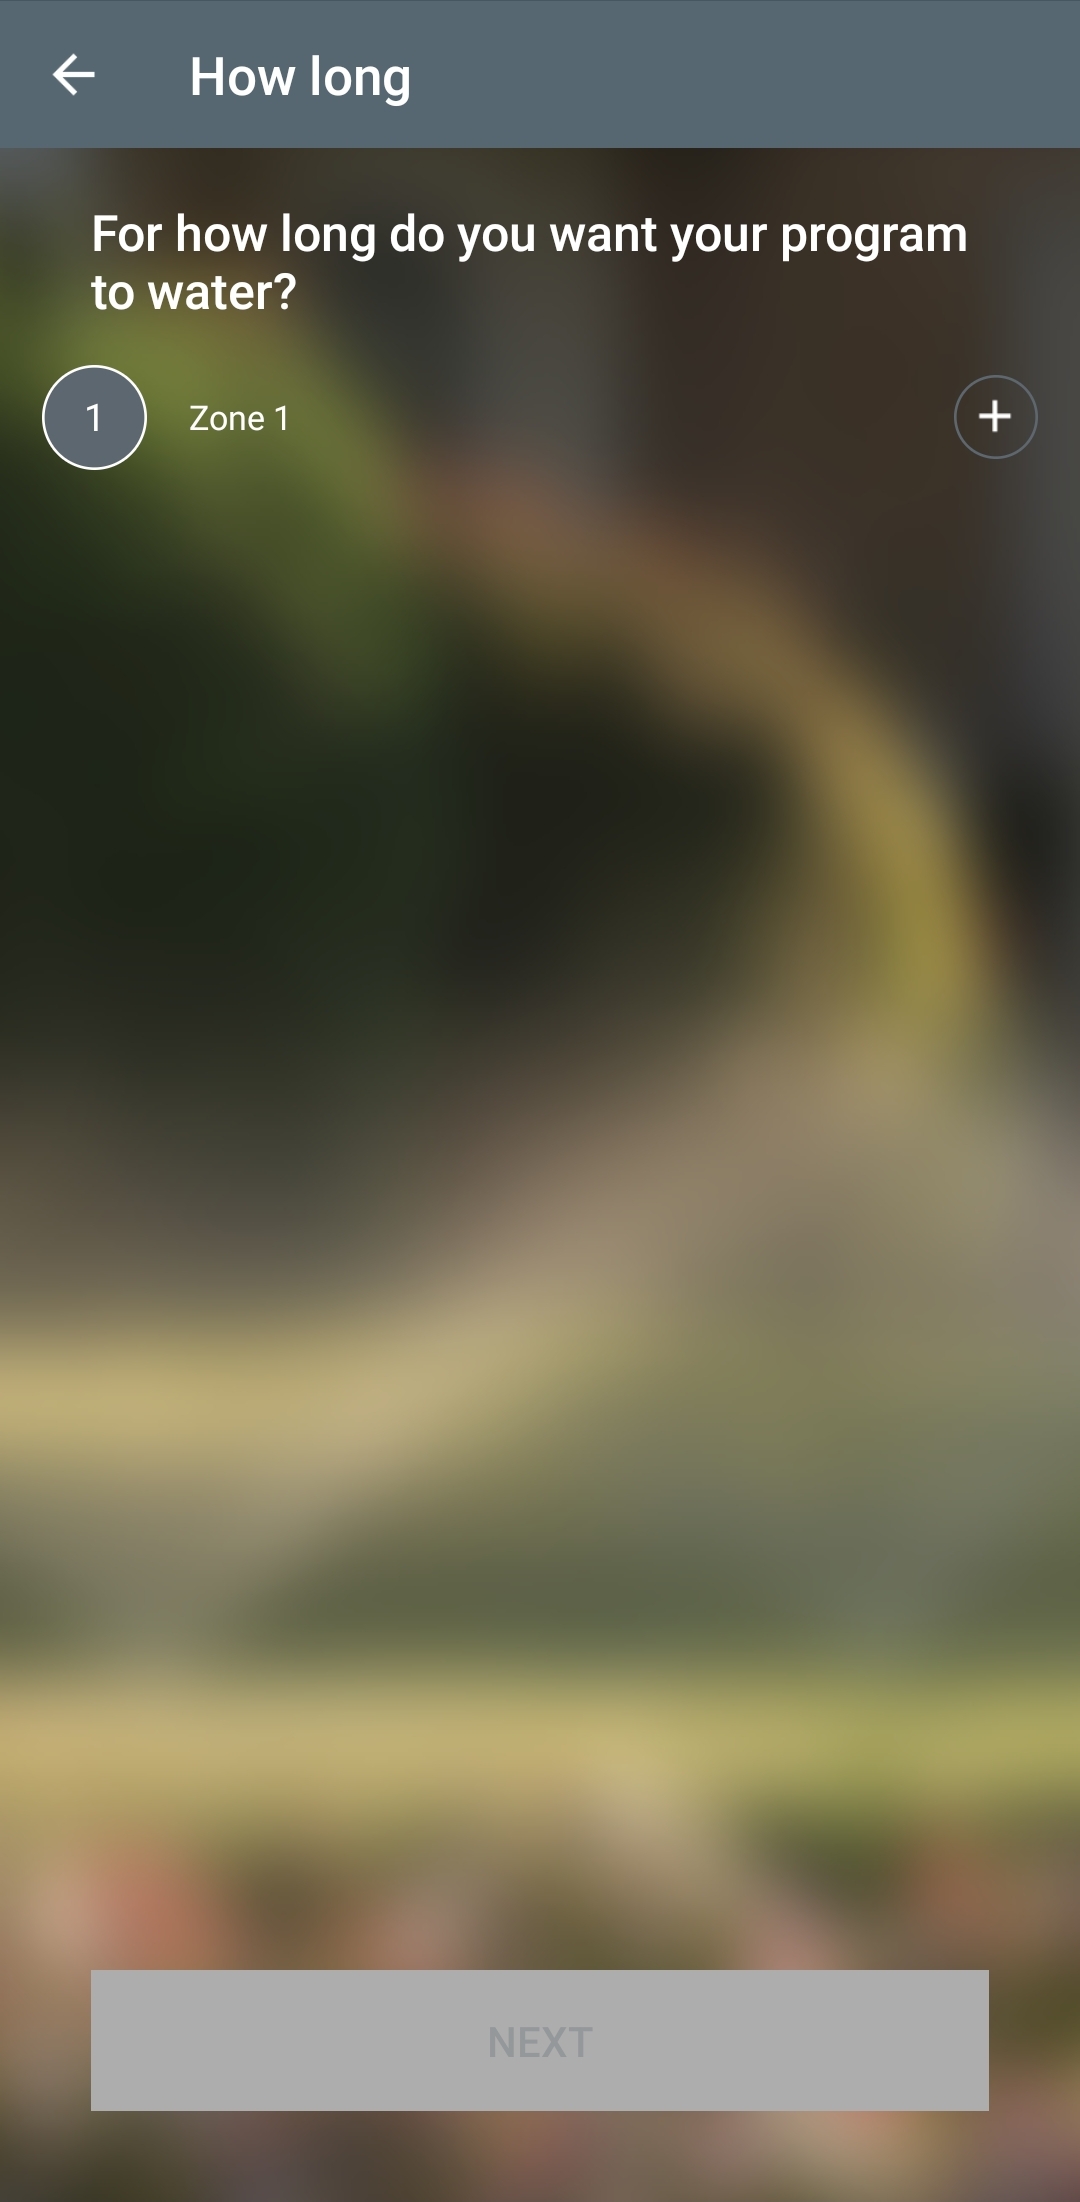
 Then you’ll input a Run Time
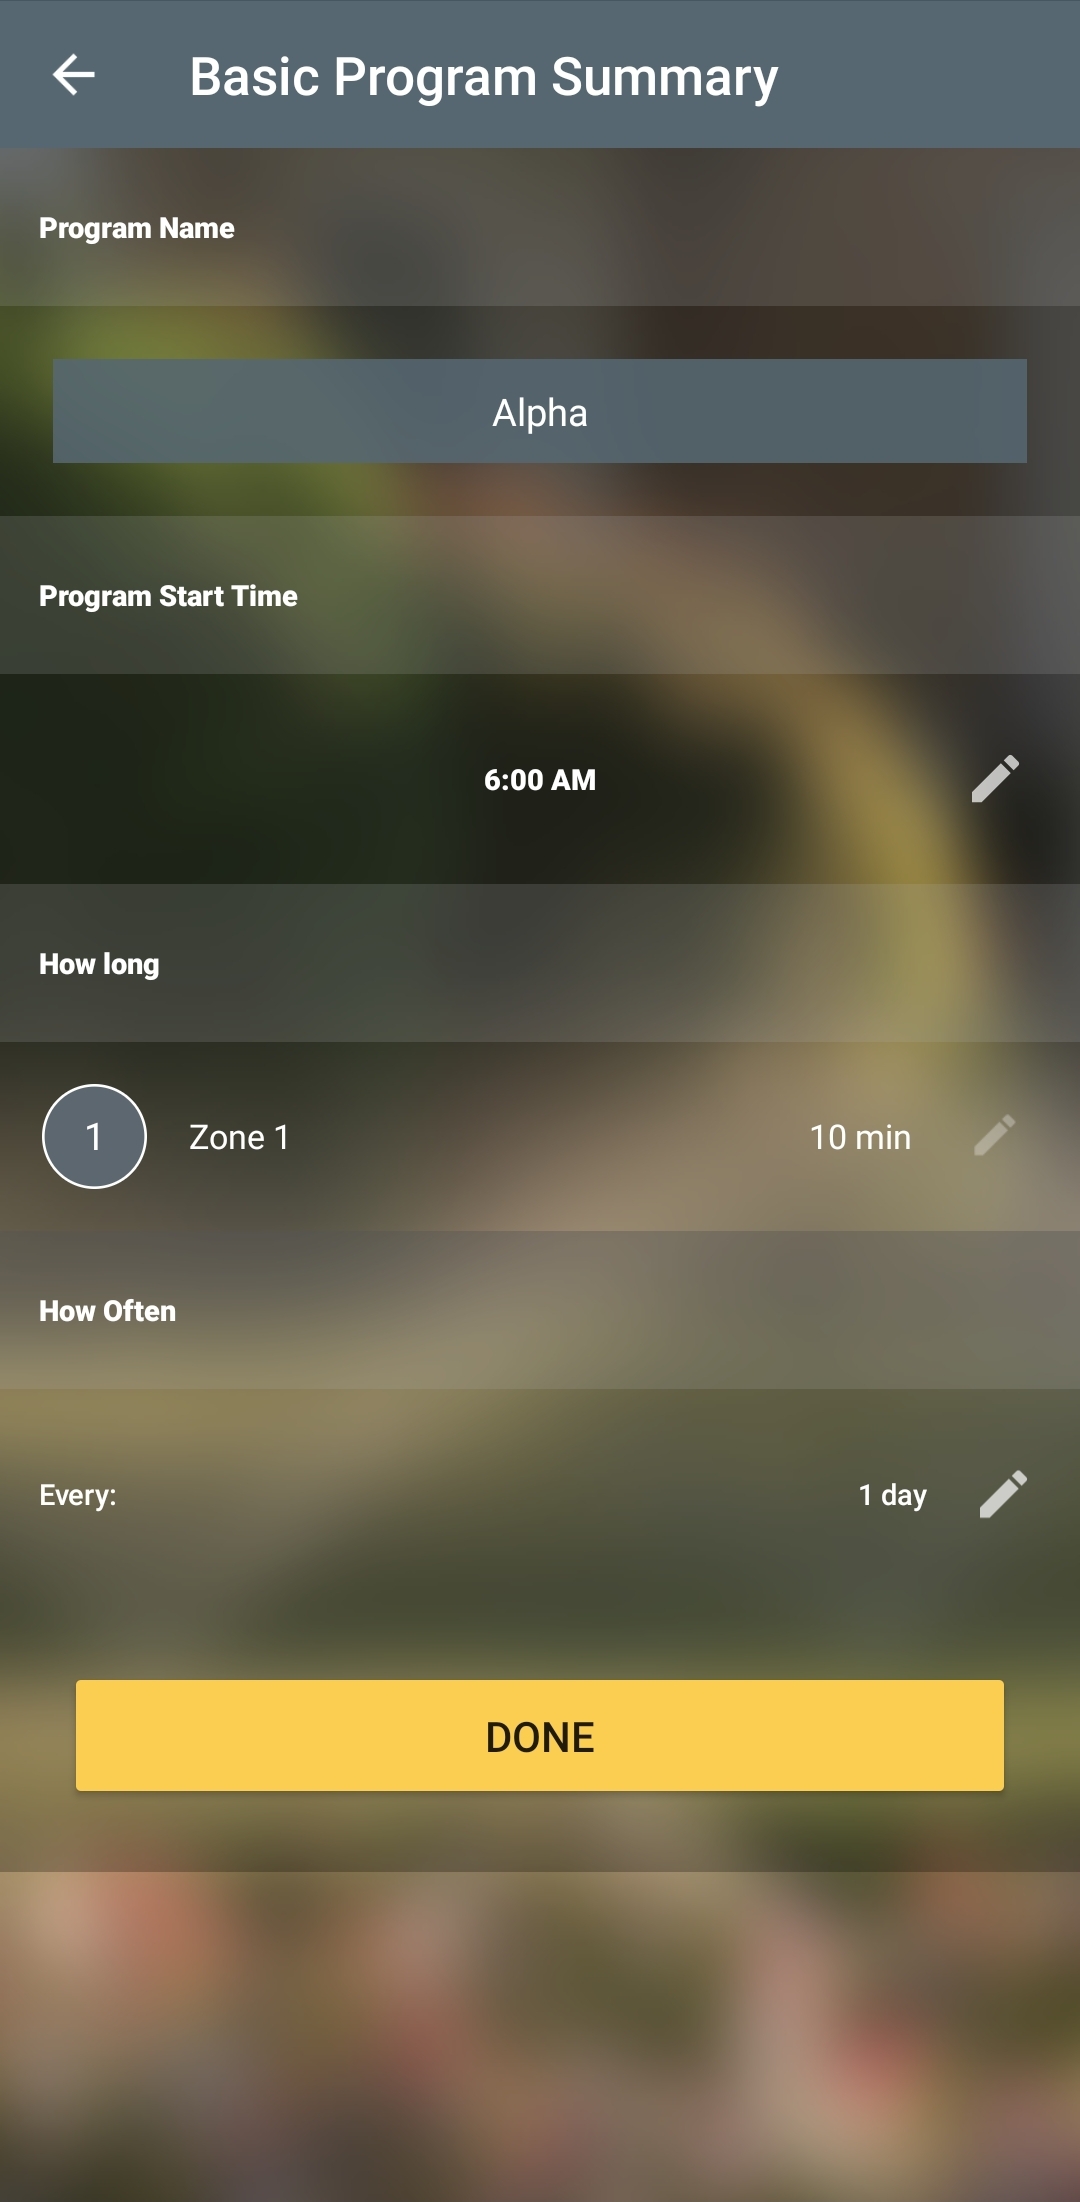
 The app will then confirm that the program is set up correctly.
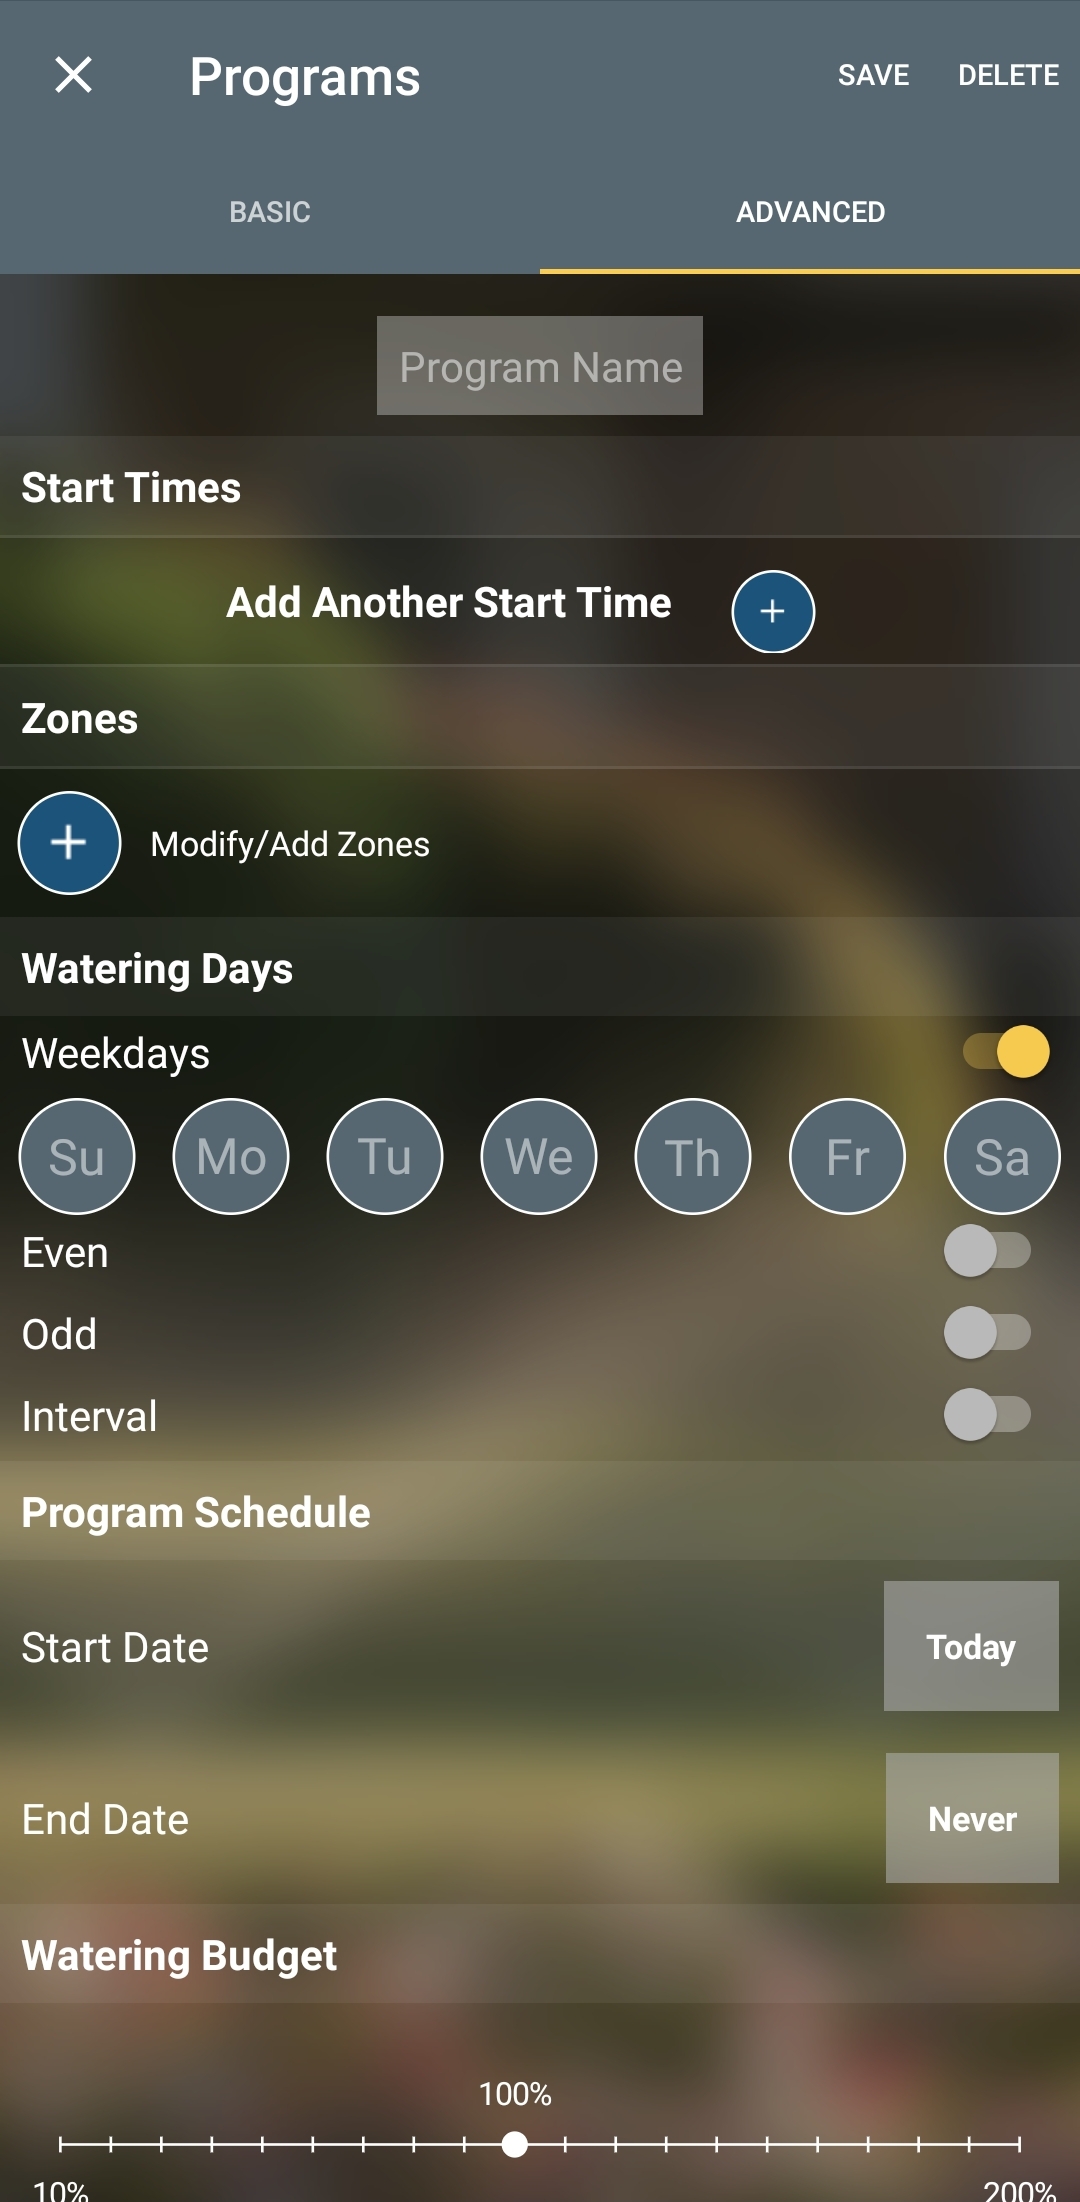
Advanced Program: The advanced program option will take you to the program edit page, where you can input as many start times as you like, a run time, and watering days.
If you have any questions or have any trouble getting everything working the way you want, please click here to reach out Customer Care team.
Back to Support pageTags: bhyve, bhyve-app, connection, HoseTimer, pairing, XD