How to troubleshoot Leaking / Valve Issues – Hose Timer
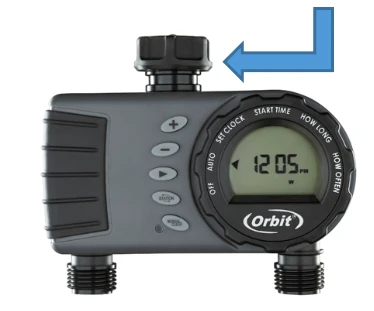
This article will show a 2 Outlet Hose Faucet Timer, but these steps will work for any of our hose timers.
Leaking/ Will Not Close Troubleshooting
Before we get started, here are a couple of very important tips when using and caring for your timer.
***It is important to remember to make sure your Timer is drained and stored in a warm dry place before temperatures drop below freezing. Typically when water freezes inside anything metal or plastic, the material expands and damages the product.
***Also, only use water pressure between 5 and 100 PSI. Water pressure below 5 PSI can cause the valve not to open or close properly. This is common with drip systems, gravity feed systems, rain barrels, etc. Pressure over 100 PSI can cause leaking and damage to internal parts of the timer. This can also cause the connections to leak and can damage the diaphragm and solenoid inside the timer
Leaking Between Faucet Connection and Timer
First, be sure your screen washer is clean and free of any debris and does not have any creases or tears so it can make a good seal.
If you have a worn or damaged screen washer you will need to get a new one.
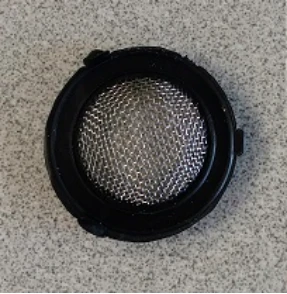
Be sure the screen washer is inserted into the hose faucet side of the timer.
Always make sure when attaching the timer to the hose faucet the threads are not bent or damaged on the timer or the faucet. Also, the threads need to be clean of dirt or debris.
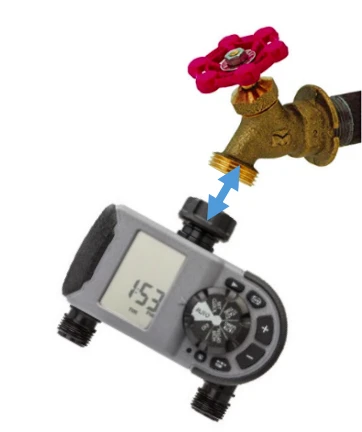
Be sure you thread the timer on straight and hand tighten the timer firmly on the hose faucet.
Leaking from one or both of the timer outputs?
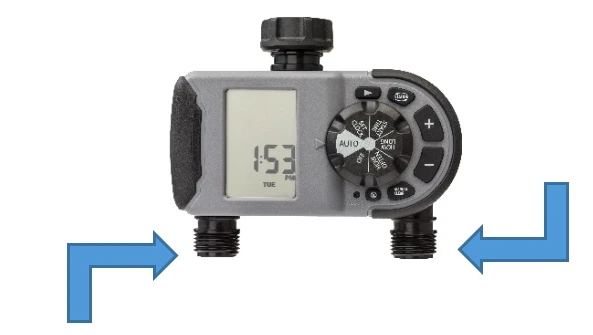
Make sure you have a hose washer inside of the hose you are attaching to the timer. You should only use hose threaded product not pipe threads or the connection will not seal and could leak. Hose threads and pipe threads are not compatible with each other and cannot be interchanged with systems using one or the other. They do make adapters from hose to pipe that can be used.
Differences in hose and pipe threads:

If you have a worn or damaged hose connection, bent or not round, please replace before attaching to the timer or the connection may leak.
Next, turn on the station manually at the timer that is leaking.
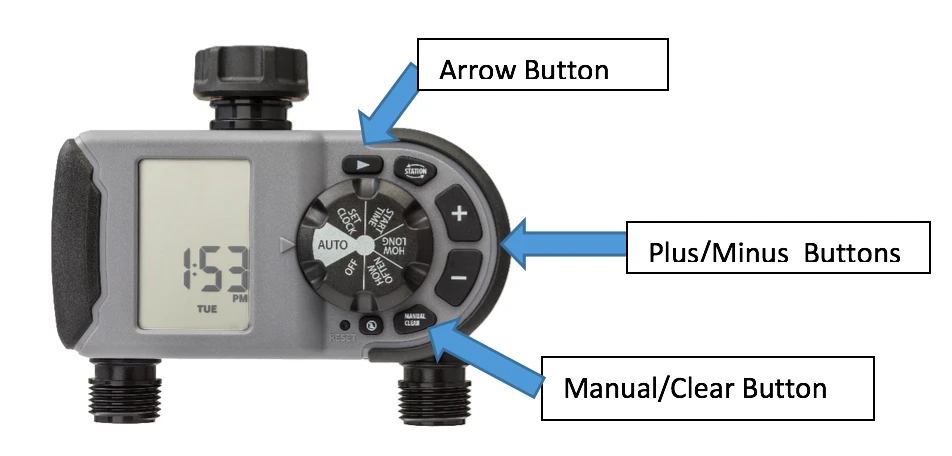
To do this you will push the manual button on the timer. You will then push the arrow button to desired station and push the plus to 1 minute. Wait for the timer to make a clicking sound, then turn the station to off by pushing clear on the timer.
Keep in mind, whatever is hooked to the output of the timer, may cause the timer valve to not close. You may have a clog in the line, a plugged sprinkler or dripper, which can lessen your flow and cause the timer valve to not close.
If you are using this timer with a drip system, there may not be enough water flow to open and close the timer station. Try adding more drippers to the line or check for clogged lines and clogged drippers.
Important tip: If you are using a pressure reducer, be sure to remove the reducer before testing.
Leaking from the body of the timer or casing
Two common causes of leaking from the body of the timer or casing are:
- A timer that has been exposed to freezing temperatures, especially if not drained of water, or
- Water pressure is too high.
Ensure that during the freezing months of the year, your timer is removed from the hose faucet and stored in a warm, dry location.
Your water pressure needs to be between 5 and 100 PSI. Pressure under 5 PSI can cause the valve not to open or close properly. This is common with drip systems, gravity feed systems, rain barrels, etc. Pressure over 100 PSI can cause leaking and damage to internal parts of the timer.
If any of these steps did not work, click here to begin the warranty replacement process.
Devices Covered: 04138 21205 24511 24632 24634 62056 62061Z 58910Z 56082 56233D 56544
Back to Support pageTags: Hose Timer, pressure, Troubleshooting