B-hyve Indoor/outdoor 1st Gen Android Pairing (ABC model)
If you have the B-hyve Indoor/outdoor timer (First GEN model) and you are trying to pair your device using an Android phone/tablet, then this article will help with getting your timer connected to your home WiFi.
First-Time Setup
- Make sure the timer is plugged in and powered on.
- Verify that the Wi-Fi connection signal in the top left corner of the timer’s display is not solid or blinking but emanating upward one line at a time.
- If you have not already, install the B-hyve App from the Google Play Store.
- Open the App, you will be prompted to either create a new account or log in to your existing account if this is your first time completing the Wi-Fi connection and setup you will need to create your account.
- Once you are logged into your account you should see a screen similar to the one below.
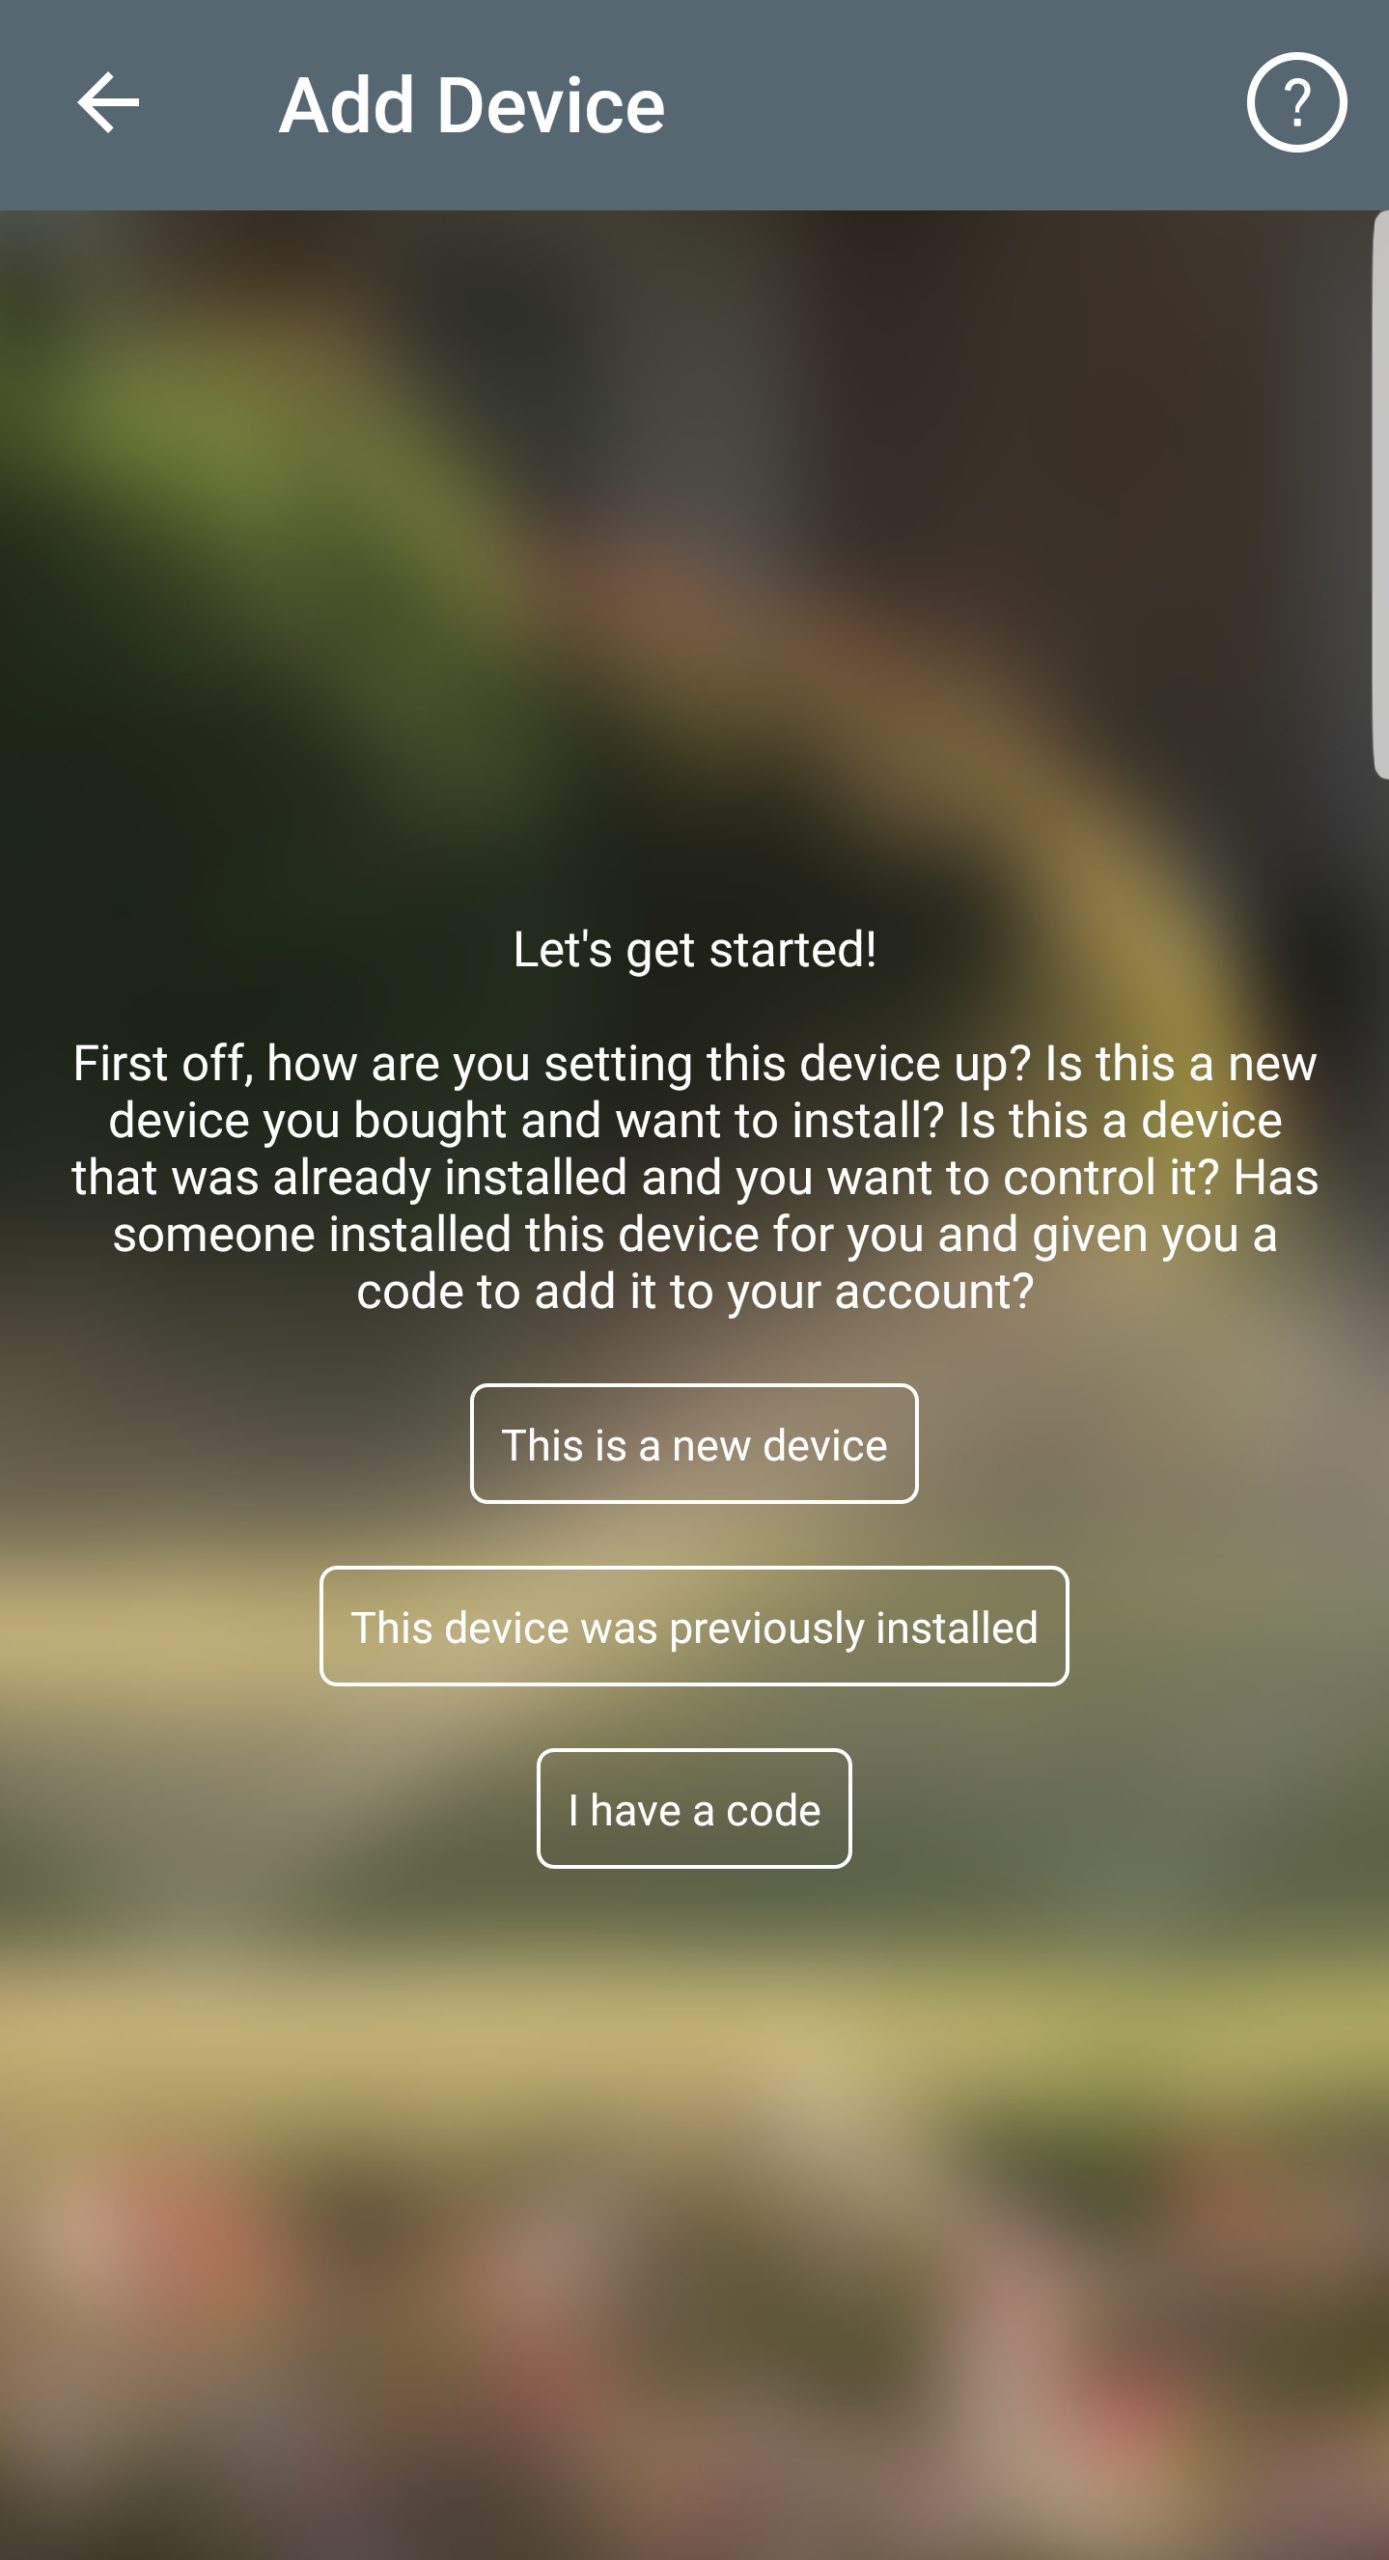
- Click “This is a new device” to proceed.
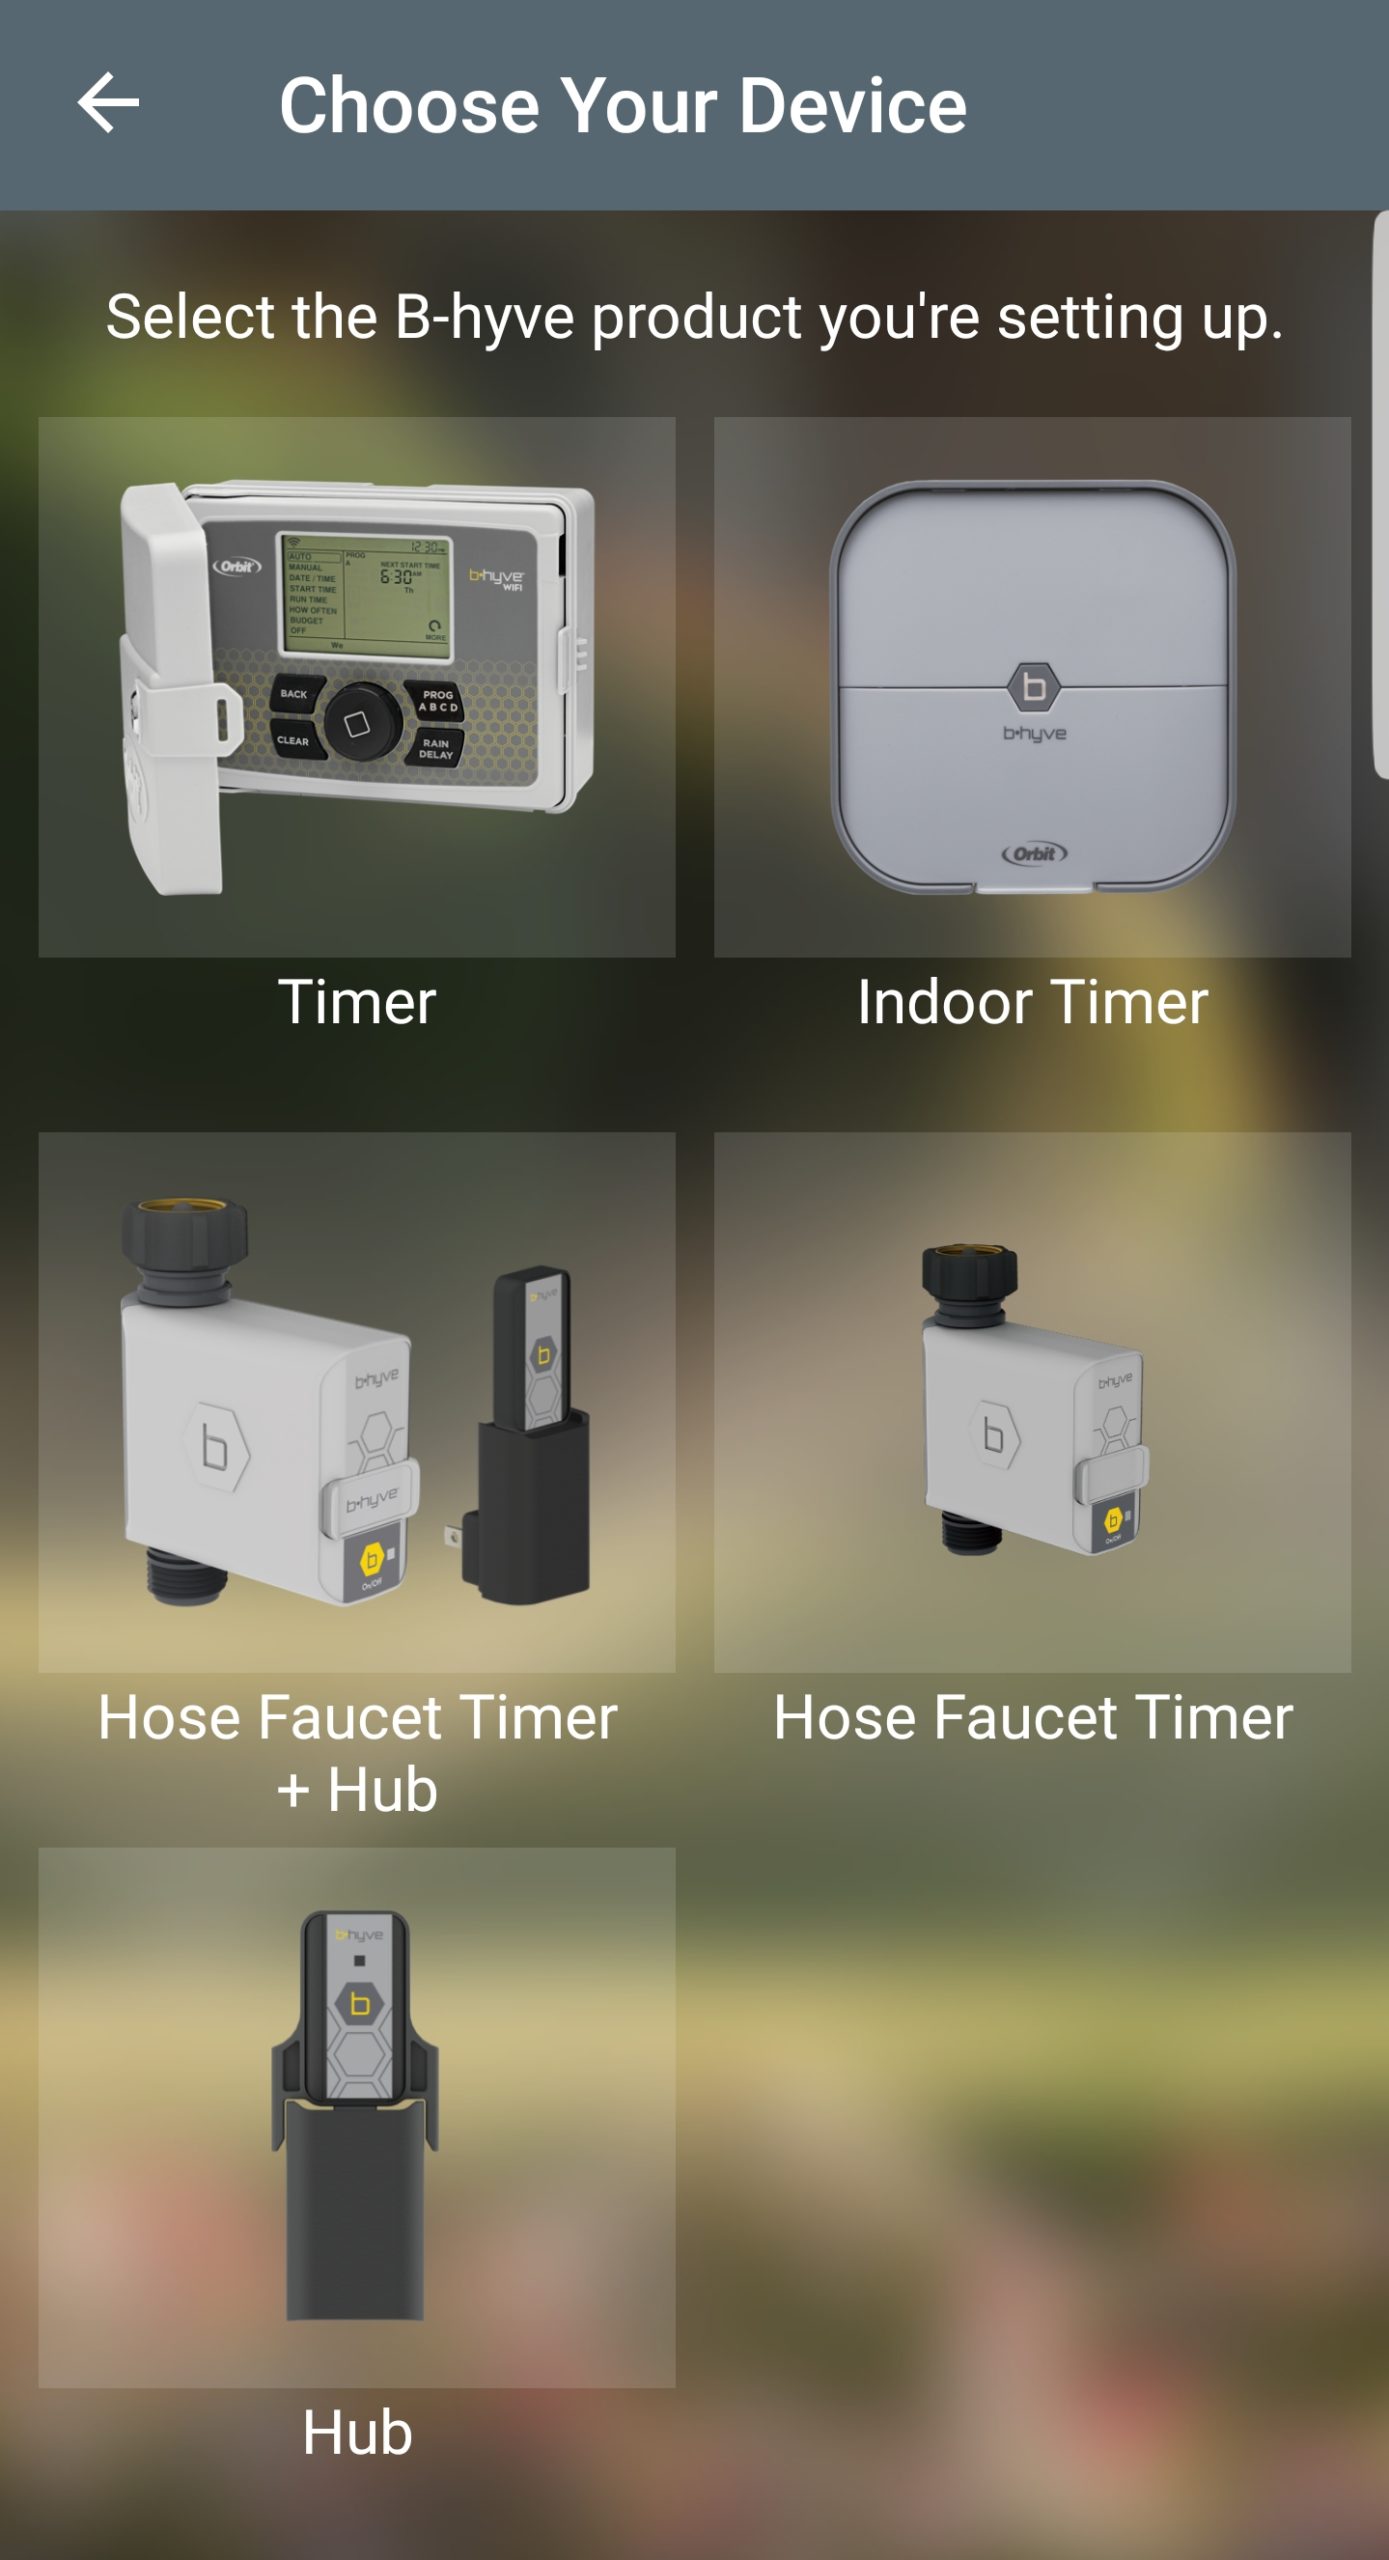
- You will be taken to the device selection screen. Tap on the “Timer” option.
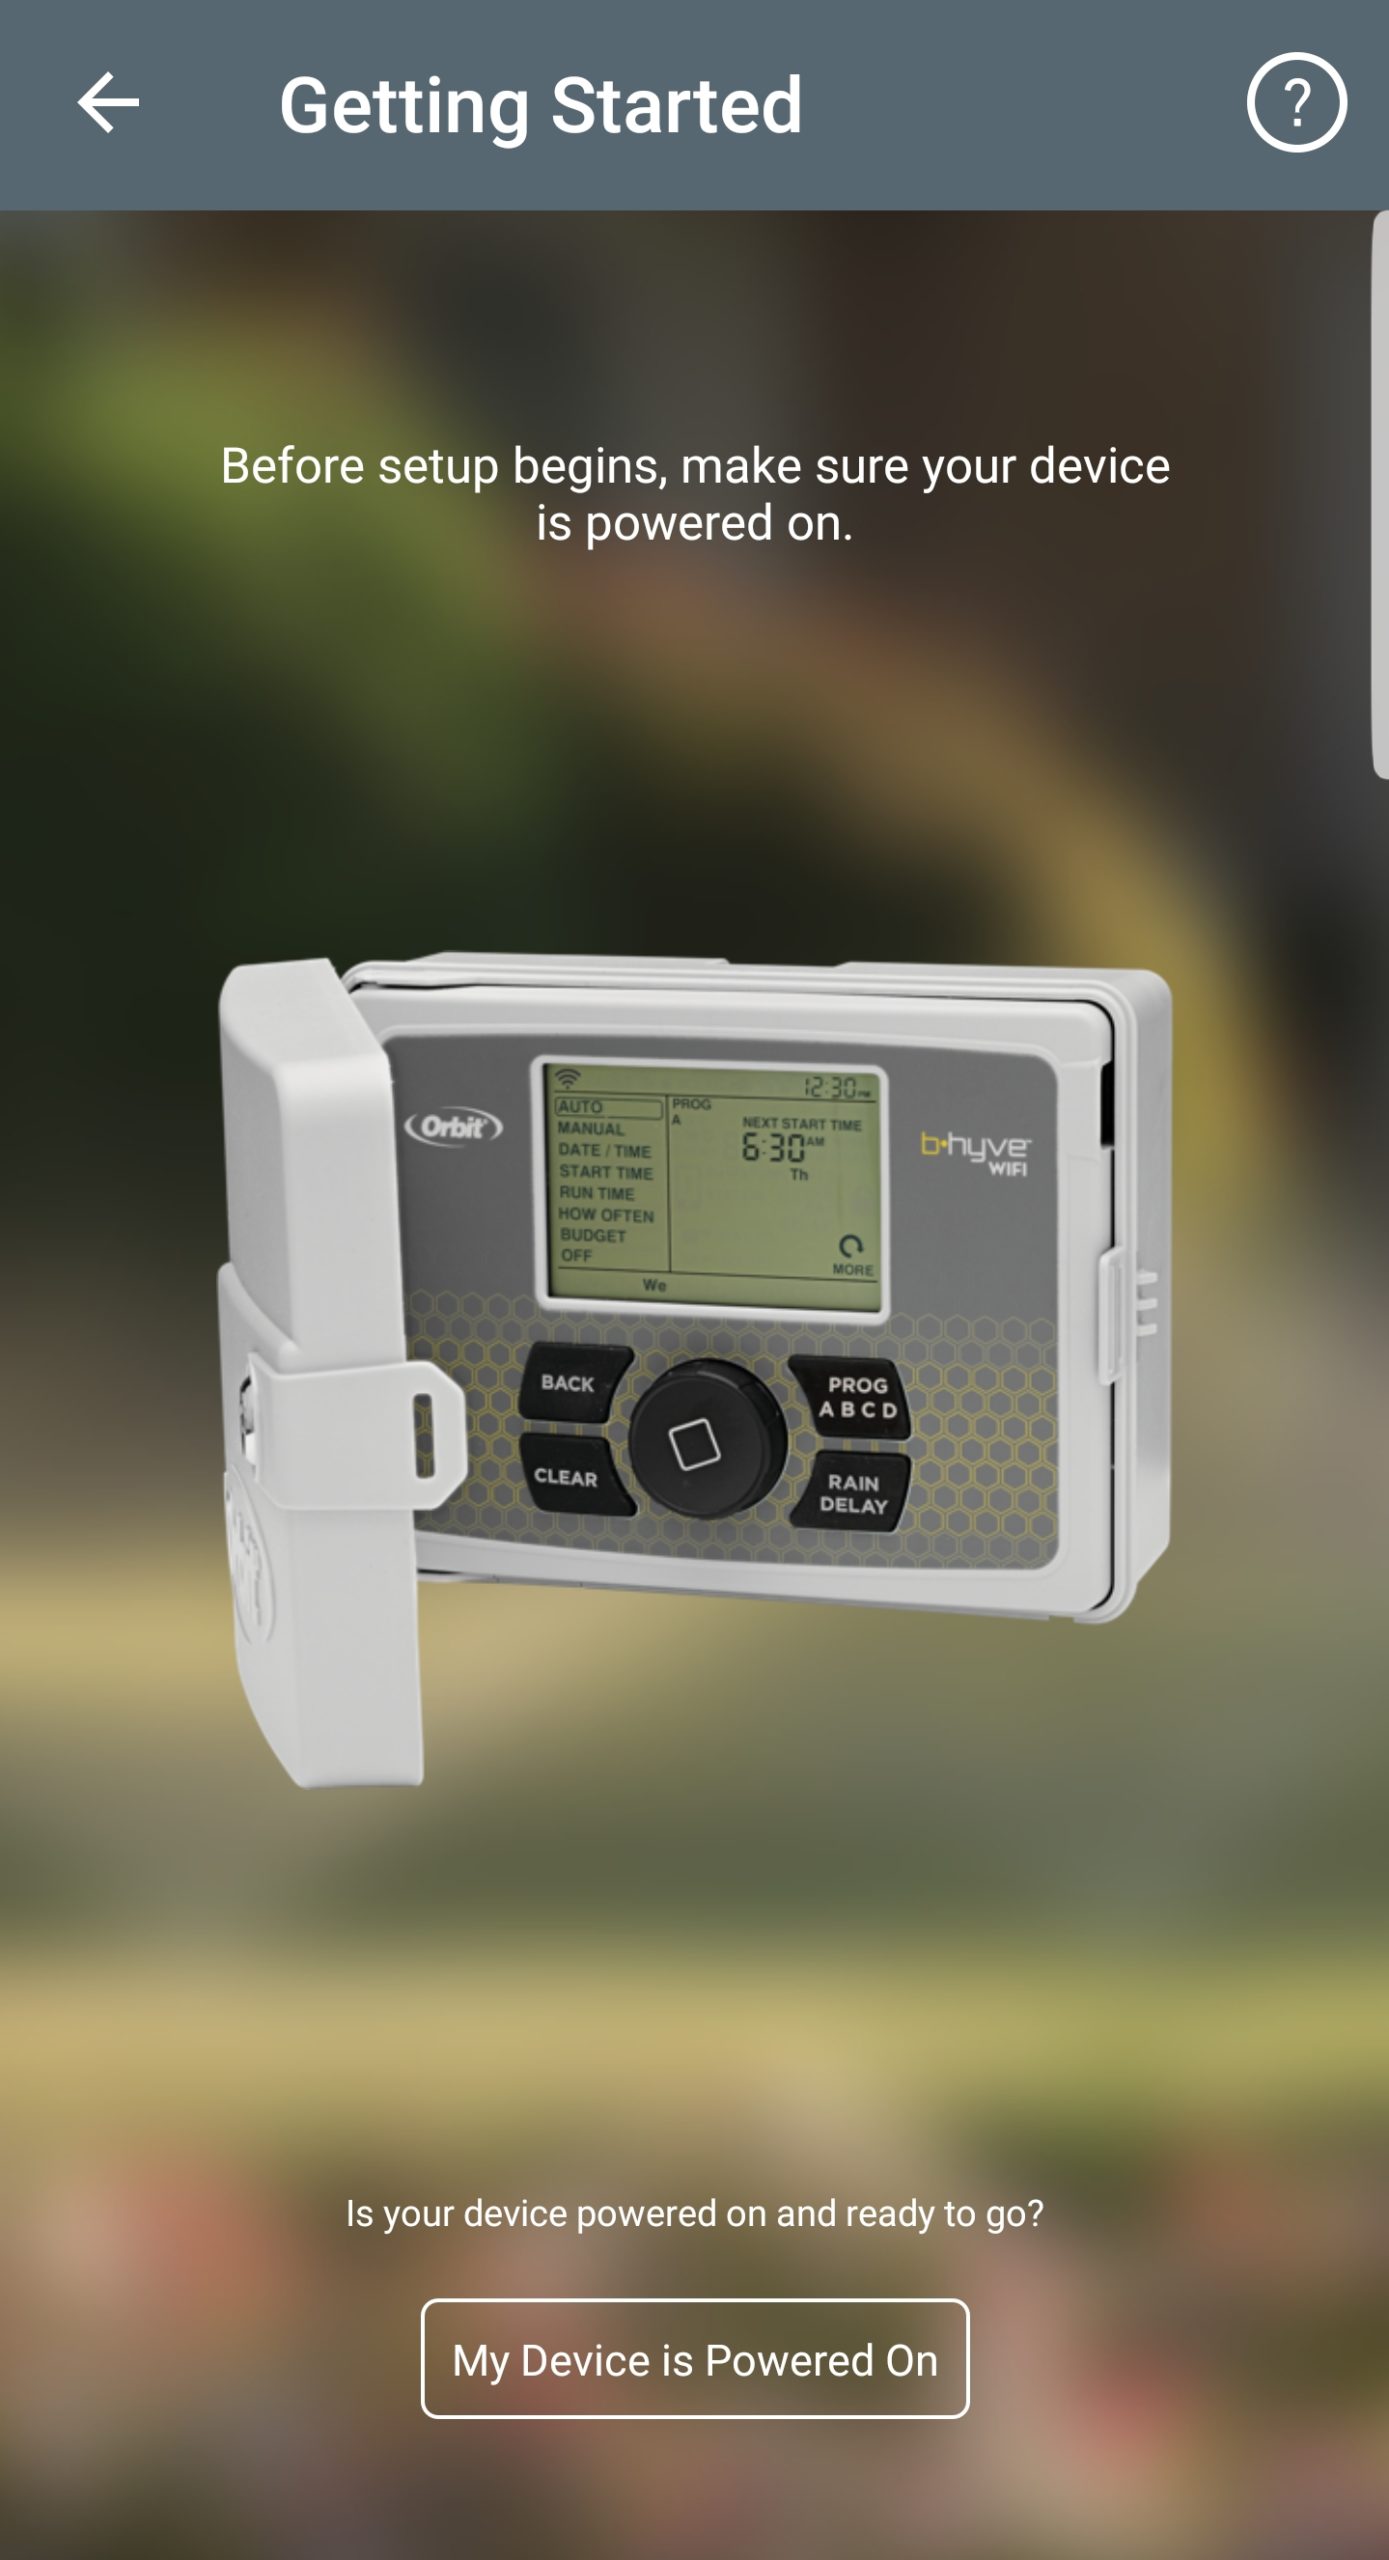
- The app will then alert you to make sure your timer is plugged in.
- It is going to the first search for a Bluetooth connection. If your timer only has the ABC on the Program button, your timer will not broadcast a Bluetooth connection. After it doesn’t find a timer, it will automatically take you to the next step.
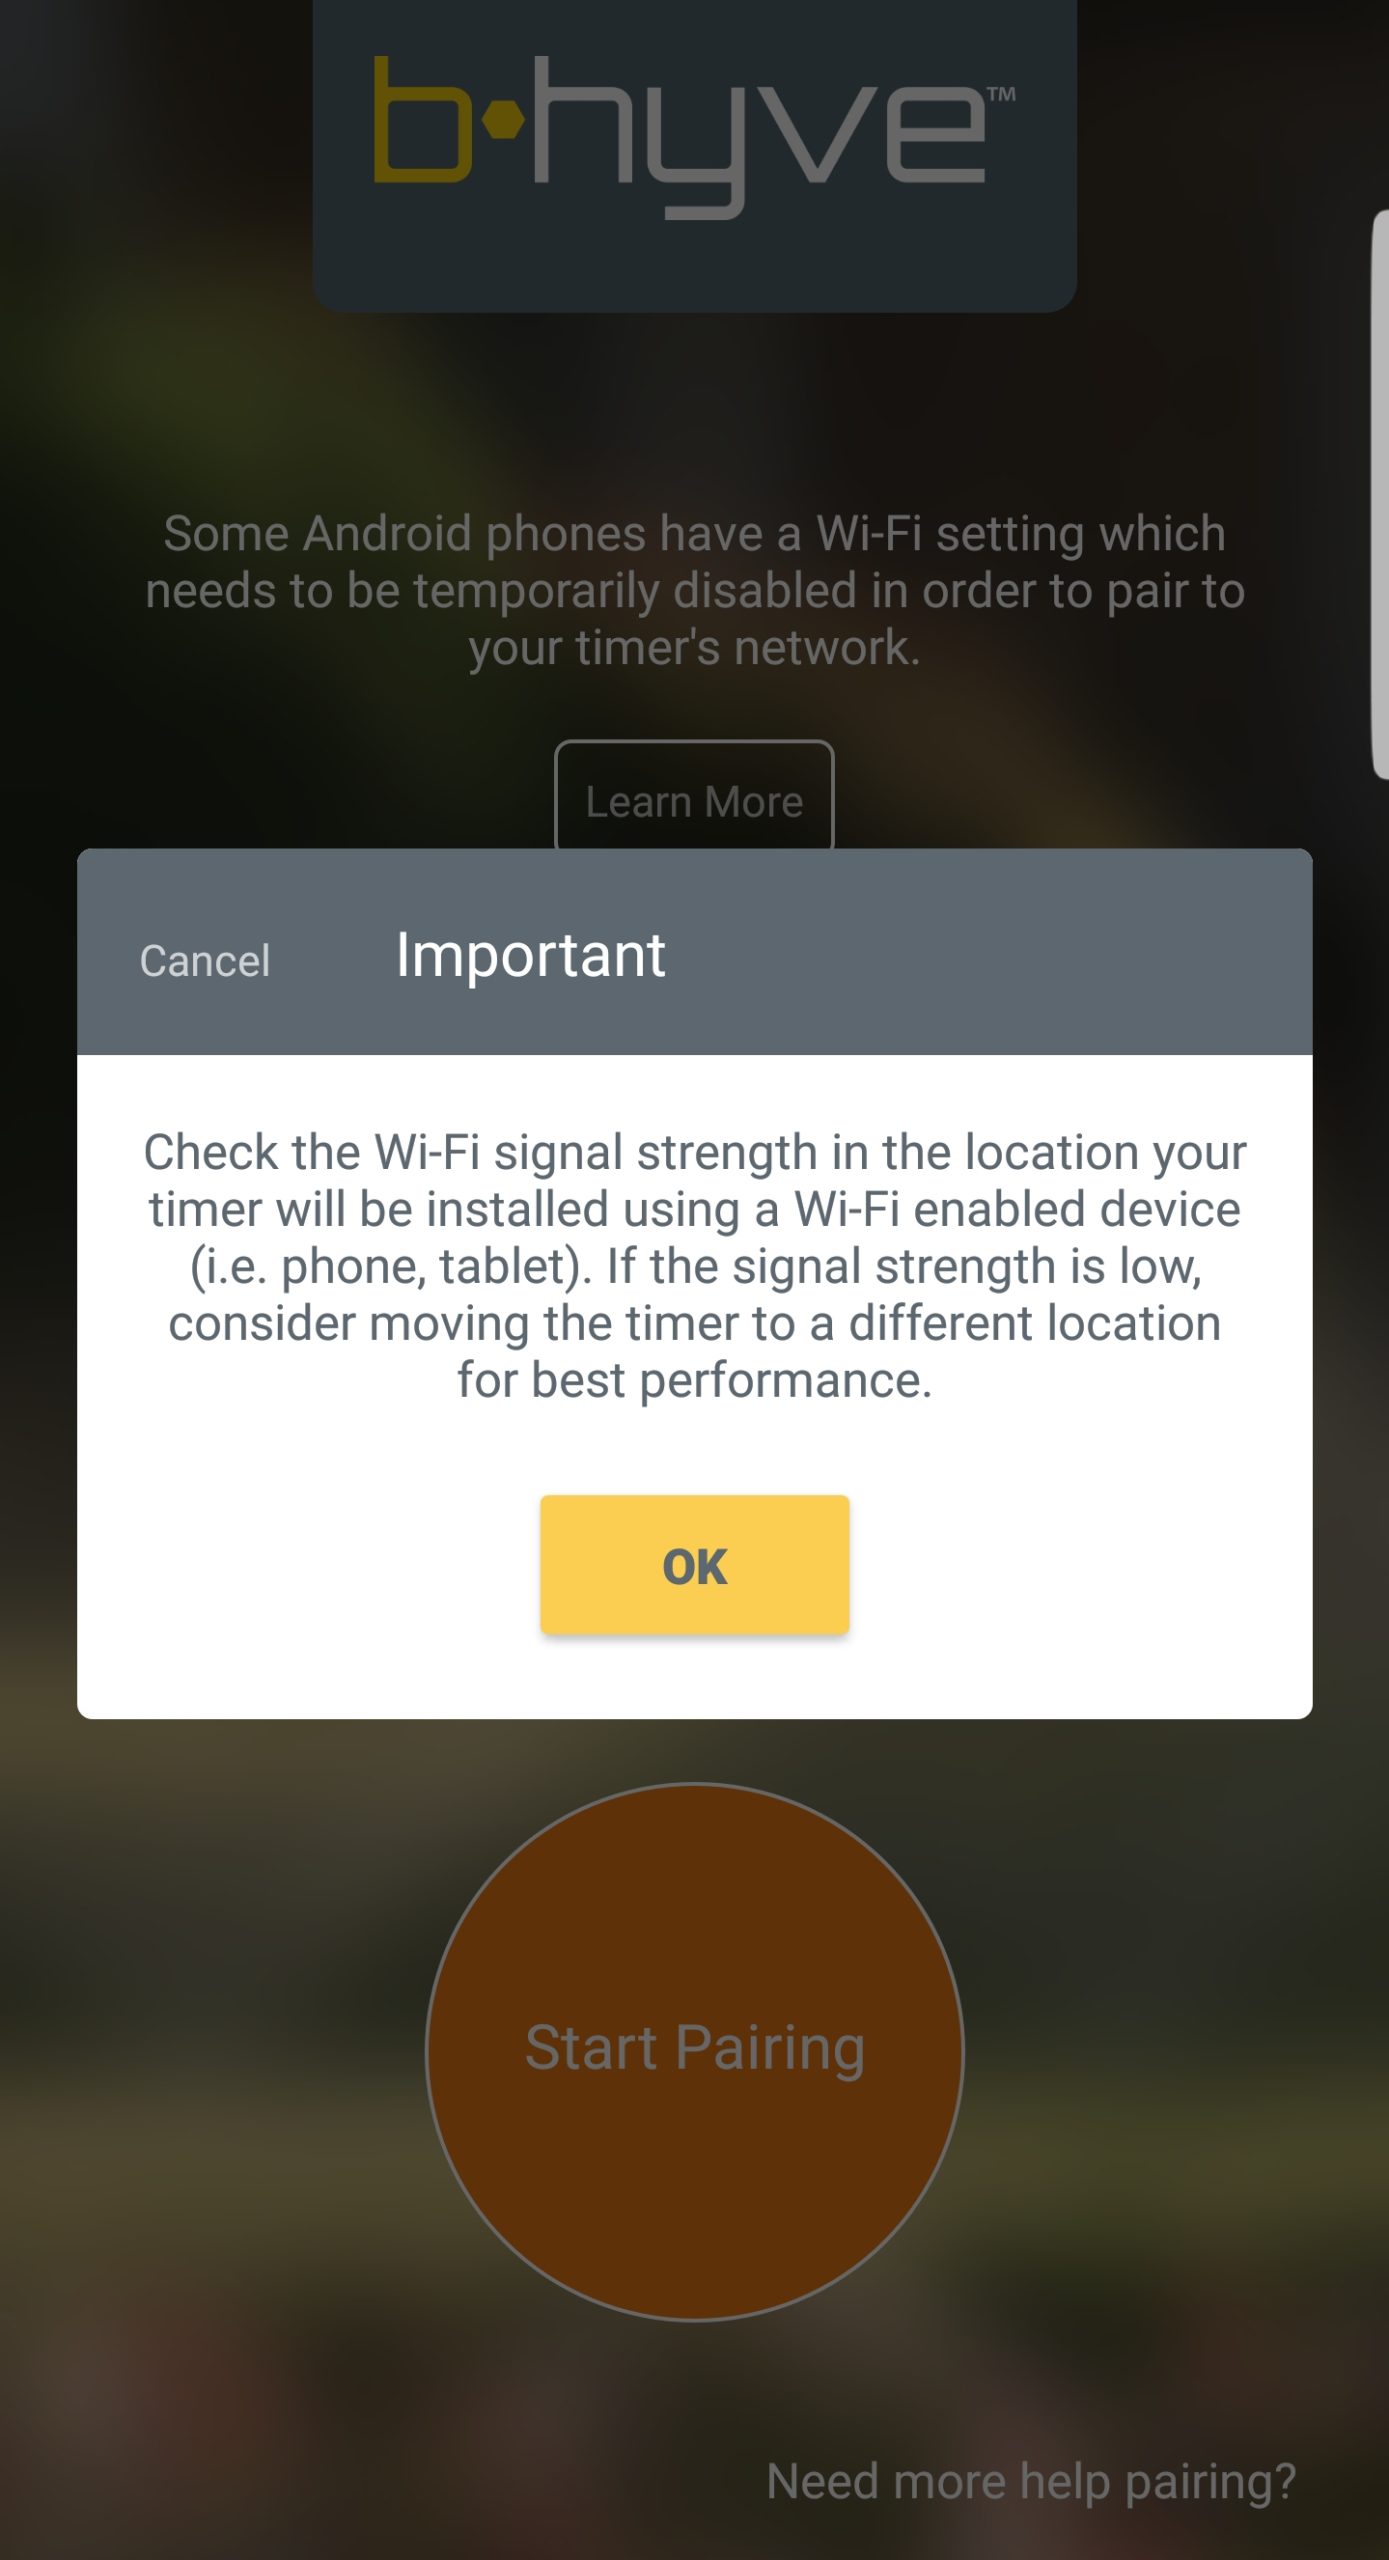
- You will be taken to the timer network connection screen, on this page you will select your timer’s network to connect your phone to temporarily.
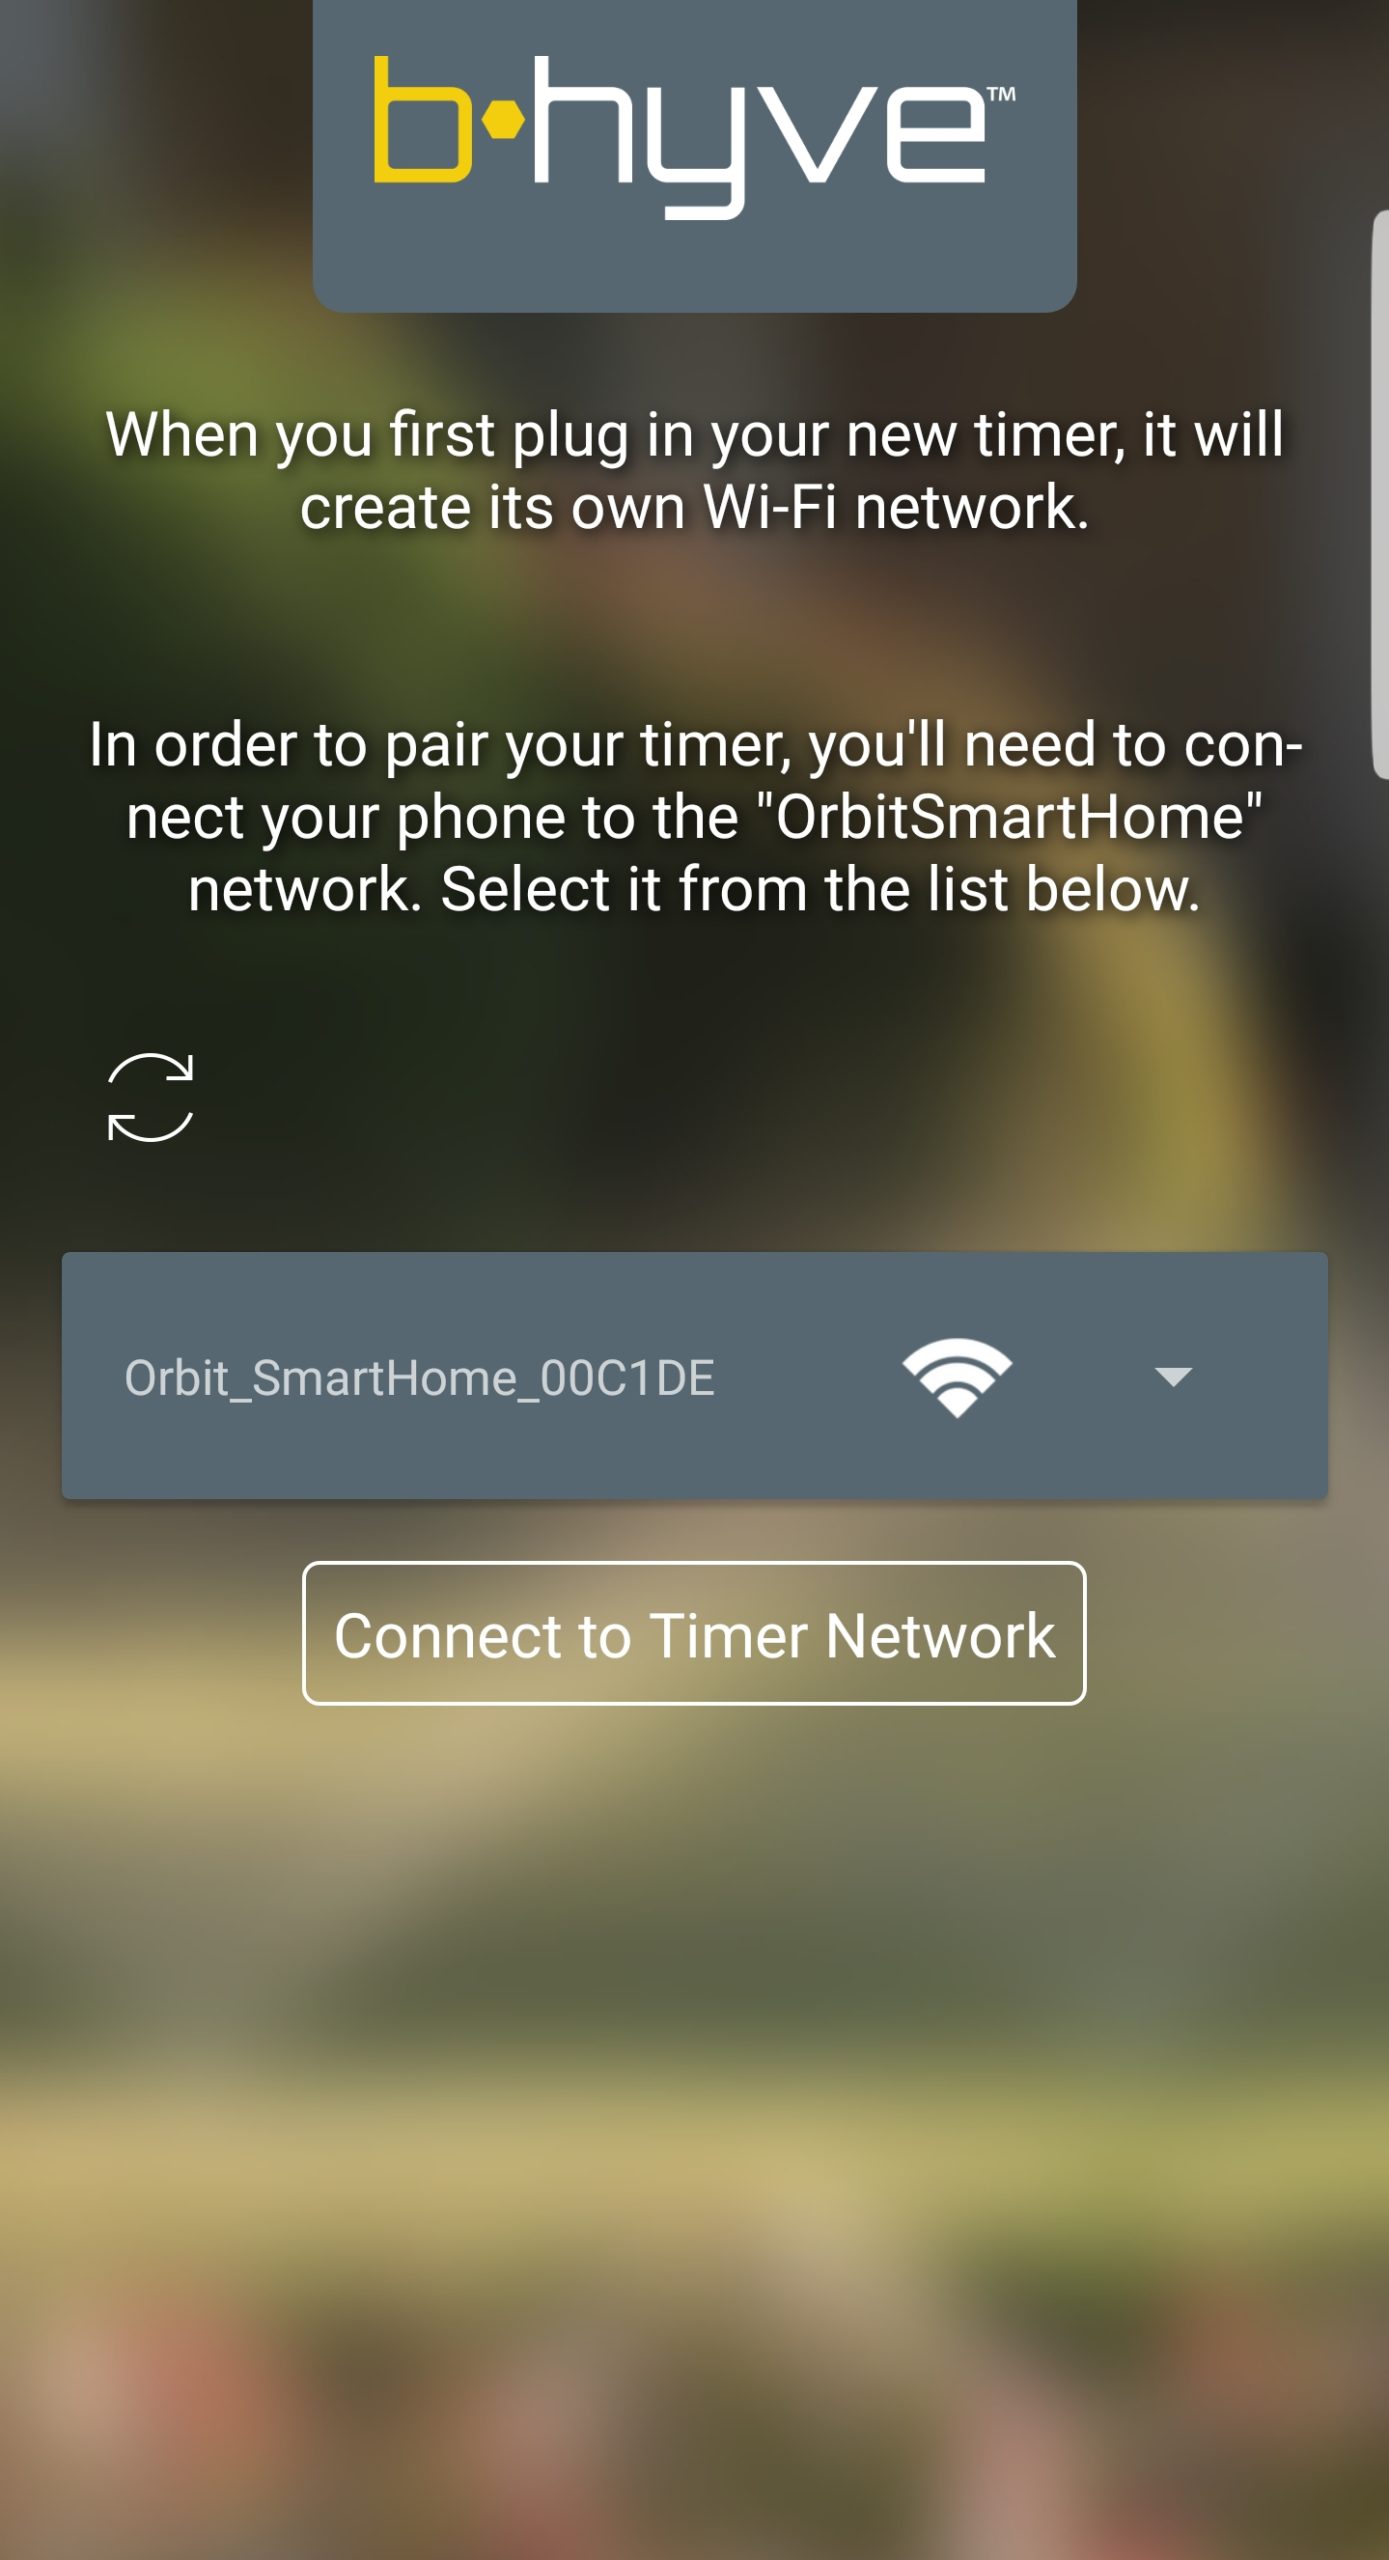
- Click “Connect to Timer Network”.
- The timer will look for available Wi-Fi networks to connect to and display the top ten results in order of signal strength. If you don’t see your network initially you can click on the “refresh” button to try again. If you still don’t see your network you may need to move your timer closer to your Wi-Fi router during the initial setup.
-
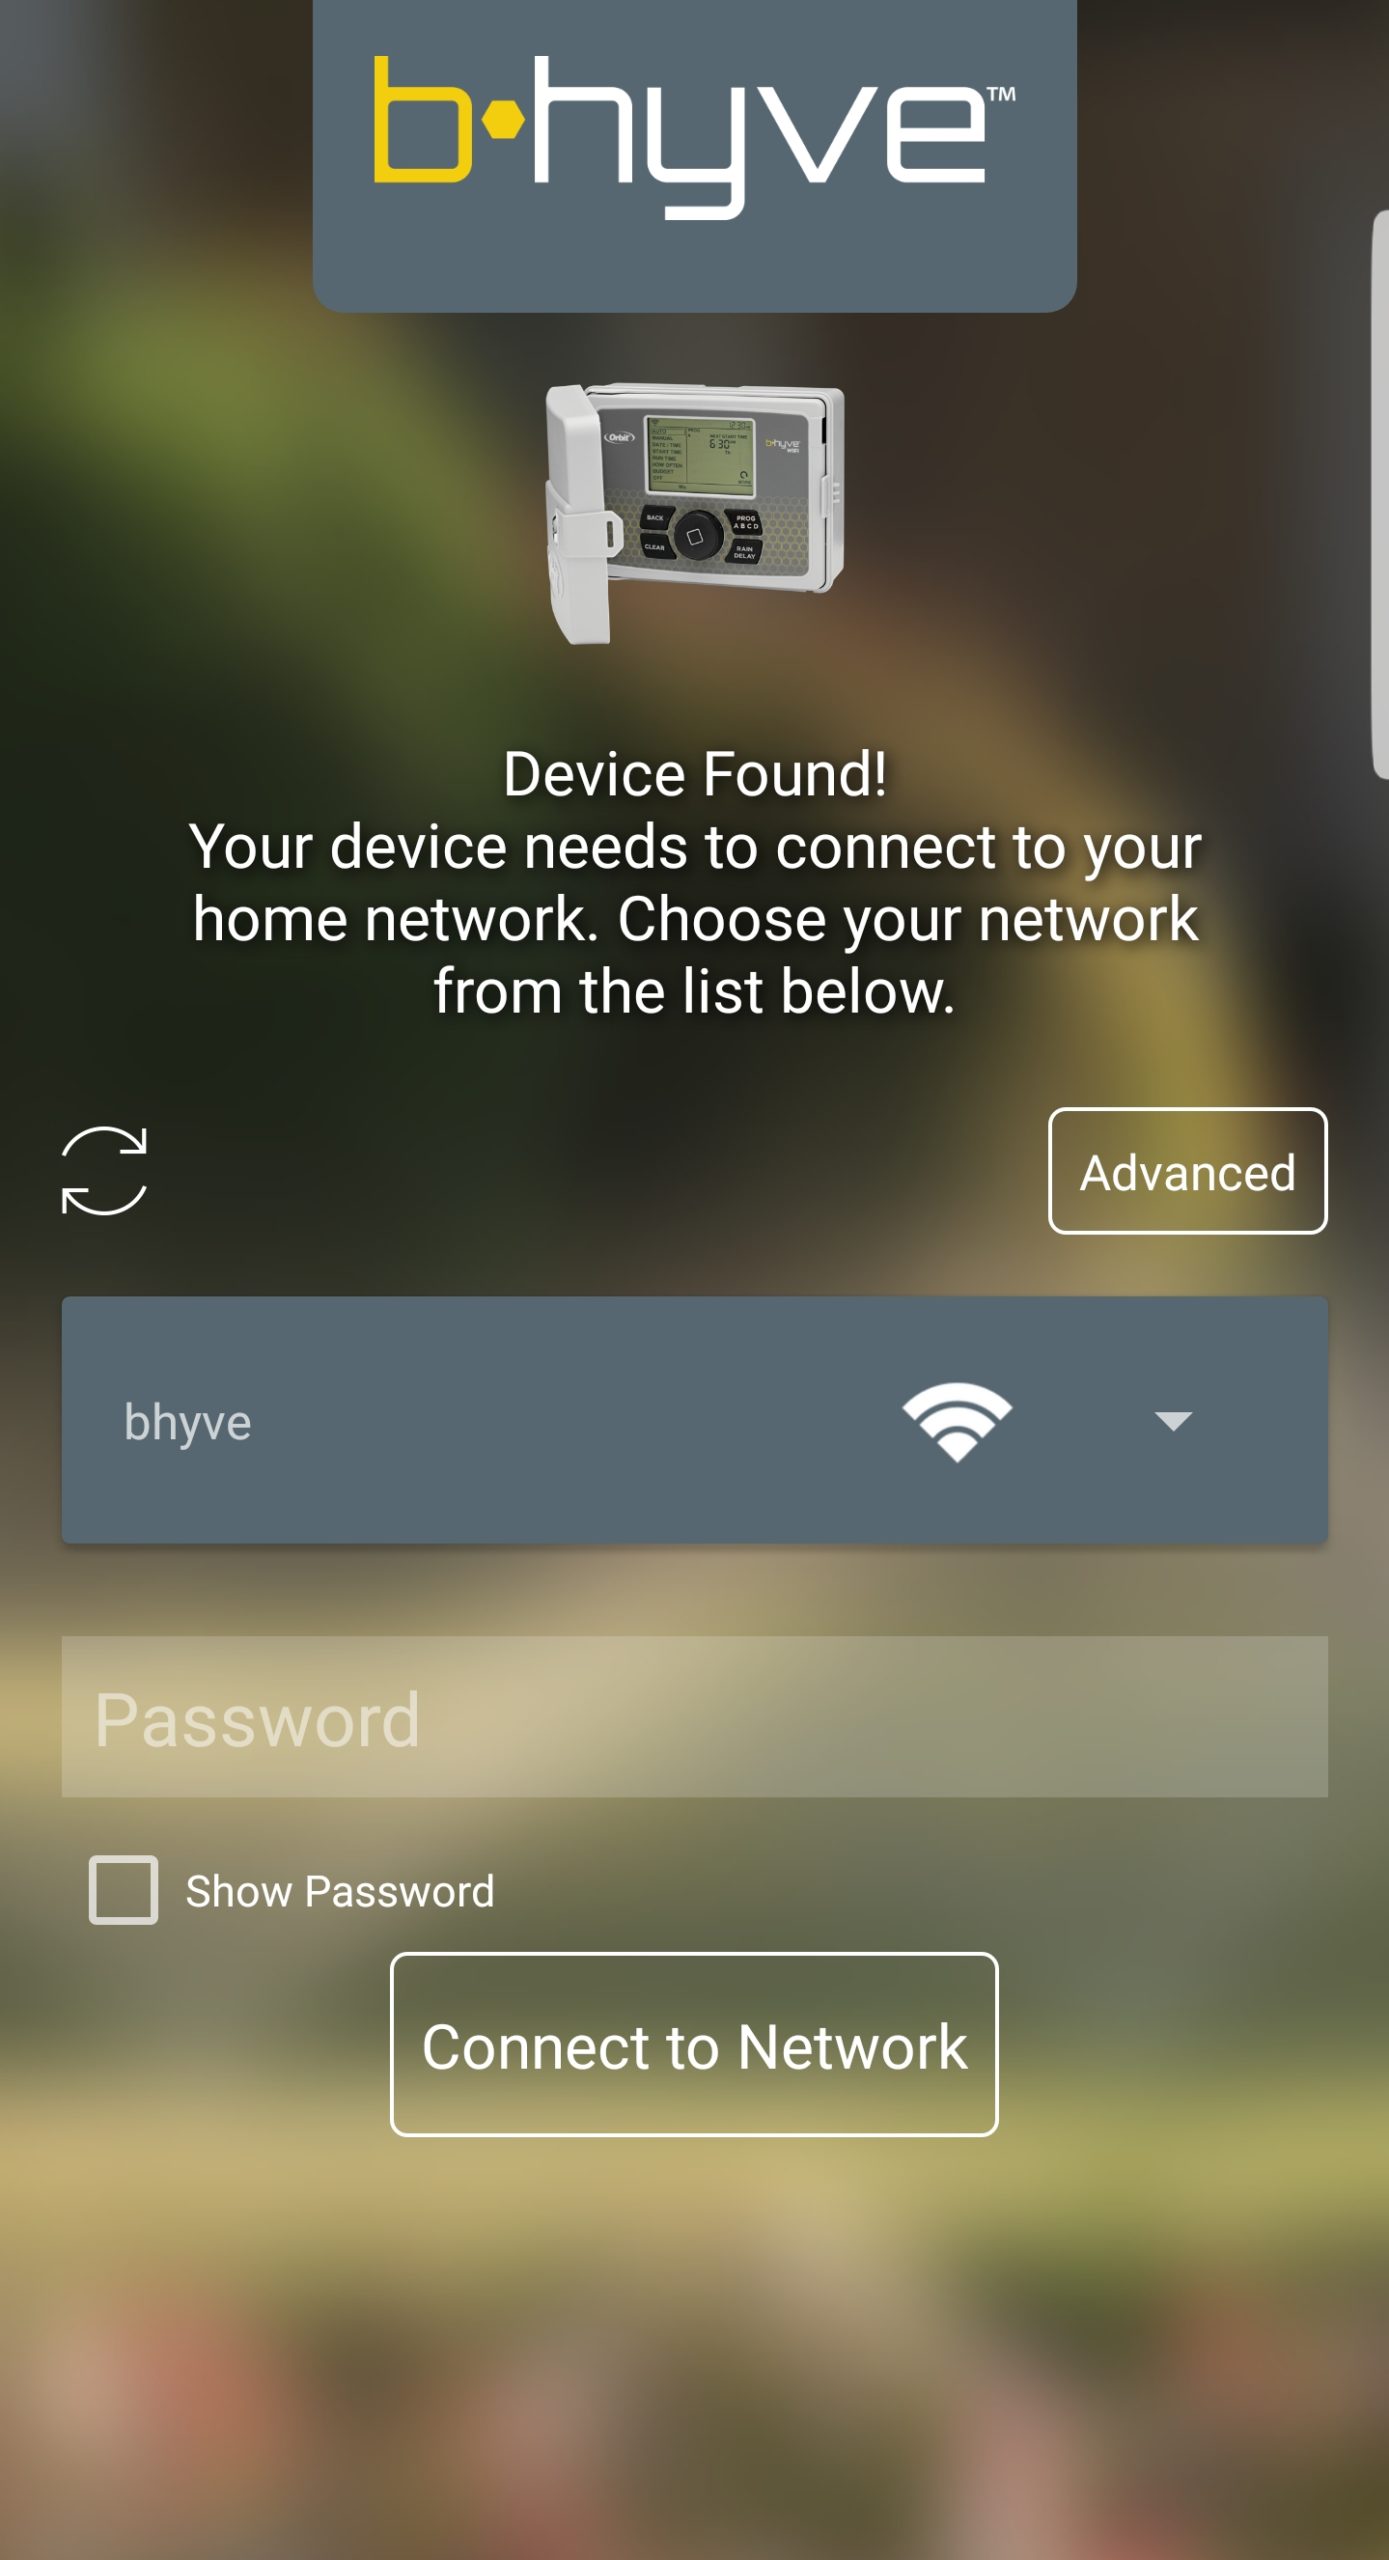
- If your network is not secured you can click “Connect to Network”.If your network is secured, you will be prompted to input the network password (security key).
- Once your password is entered click “Connect to Network”.
- *If your timer will use a Wi-Fi network that is not broadcasting its SSID (name) you will use the Advanced button to enter your network’s connection details.
- While the timer is connecting to your wireless router you will see the connecting screen.
- Once you have connected to your Wi-Fi network you will see the location screen which is the first step in setting up your timer’s zones and programming.
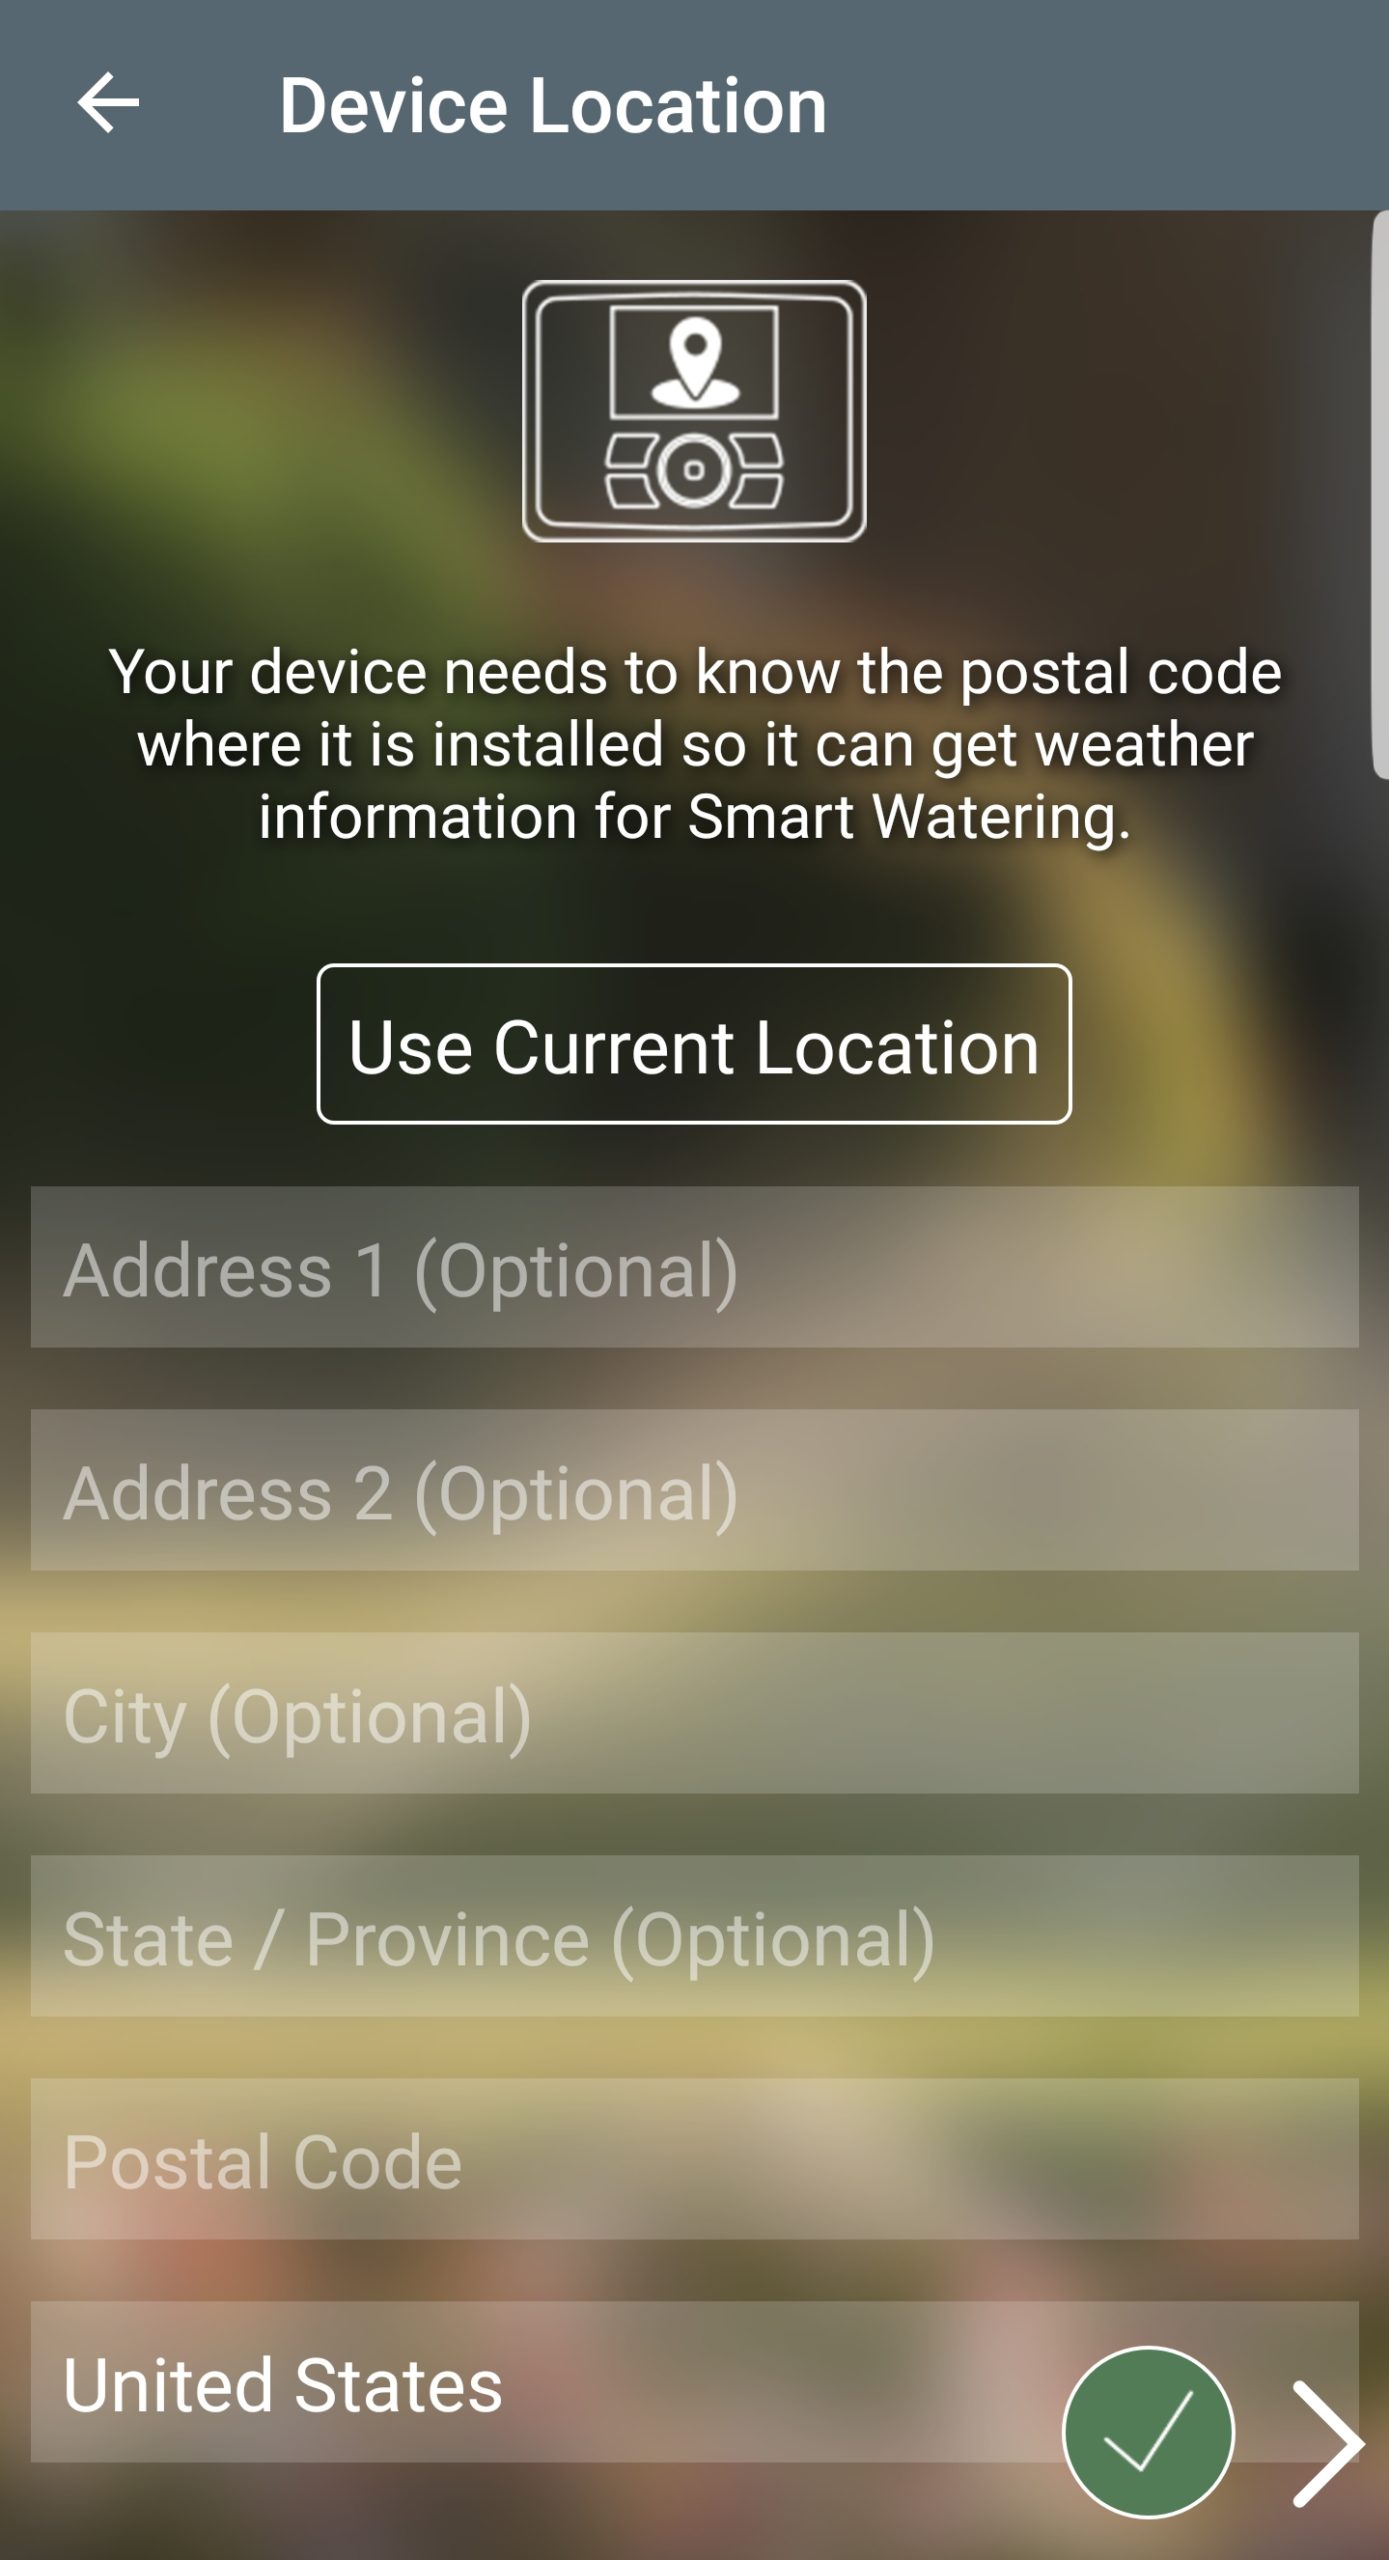
Congratulations! You have successfully connected your timer to the internet.
Known Wi-Fi Connection Issues
Phone Won’t Stay Connected To Timer
There’s a setting in your phone’s Wi-Fi settings that when set will force the phone to revert back to cellular data if an internet connection can’t be established via Wi-Fi. Since the timer will not be able to connect to the internet while in pairing mode this setting will force the phone to lose connection with the timer.
To resolve this, go to your phone’s Wi-Fi setting screen then to the Advanced settings, usually found in a three-dot menu near the top right of this screen. Find the setting called “Switch to mobile data” or “Auto switch” or something similar and uncheck the checkbox if it is checked.
Should you continue to run into issues with getting your timer paired, please click here to us our OrbitAssist app.
Back to Support pageTags: b-hyve, bhyve, connectivity, videos