B-hyve indoor/outdoor 1st GEN iOS pairing (ABC model)
If you have the B-hyve Indoor/outdoor timer (First GEN model) and you are trying to pair your device using an iOS phone/tablet, then this article will help with getting your timer connected to your home WiFi.
First-Time Setup
First-Time Setup
- Make sure the timer is plugged in and powered on.
- Verify that the Wi-Fi connection signal in the top left corner of the timer’s display is not solid or blinking but emanating upward one line at a time.
- If you have not already, install the B-hyve App from the App Store.
- Open the App, you will be prompted to either create a new account or log in to your existing account if this is your first time completing the Wi-Fi connection and setup you will need to create your account.

- Once you are logged into your account you should see a screen similar to the one below.
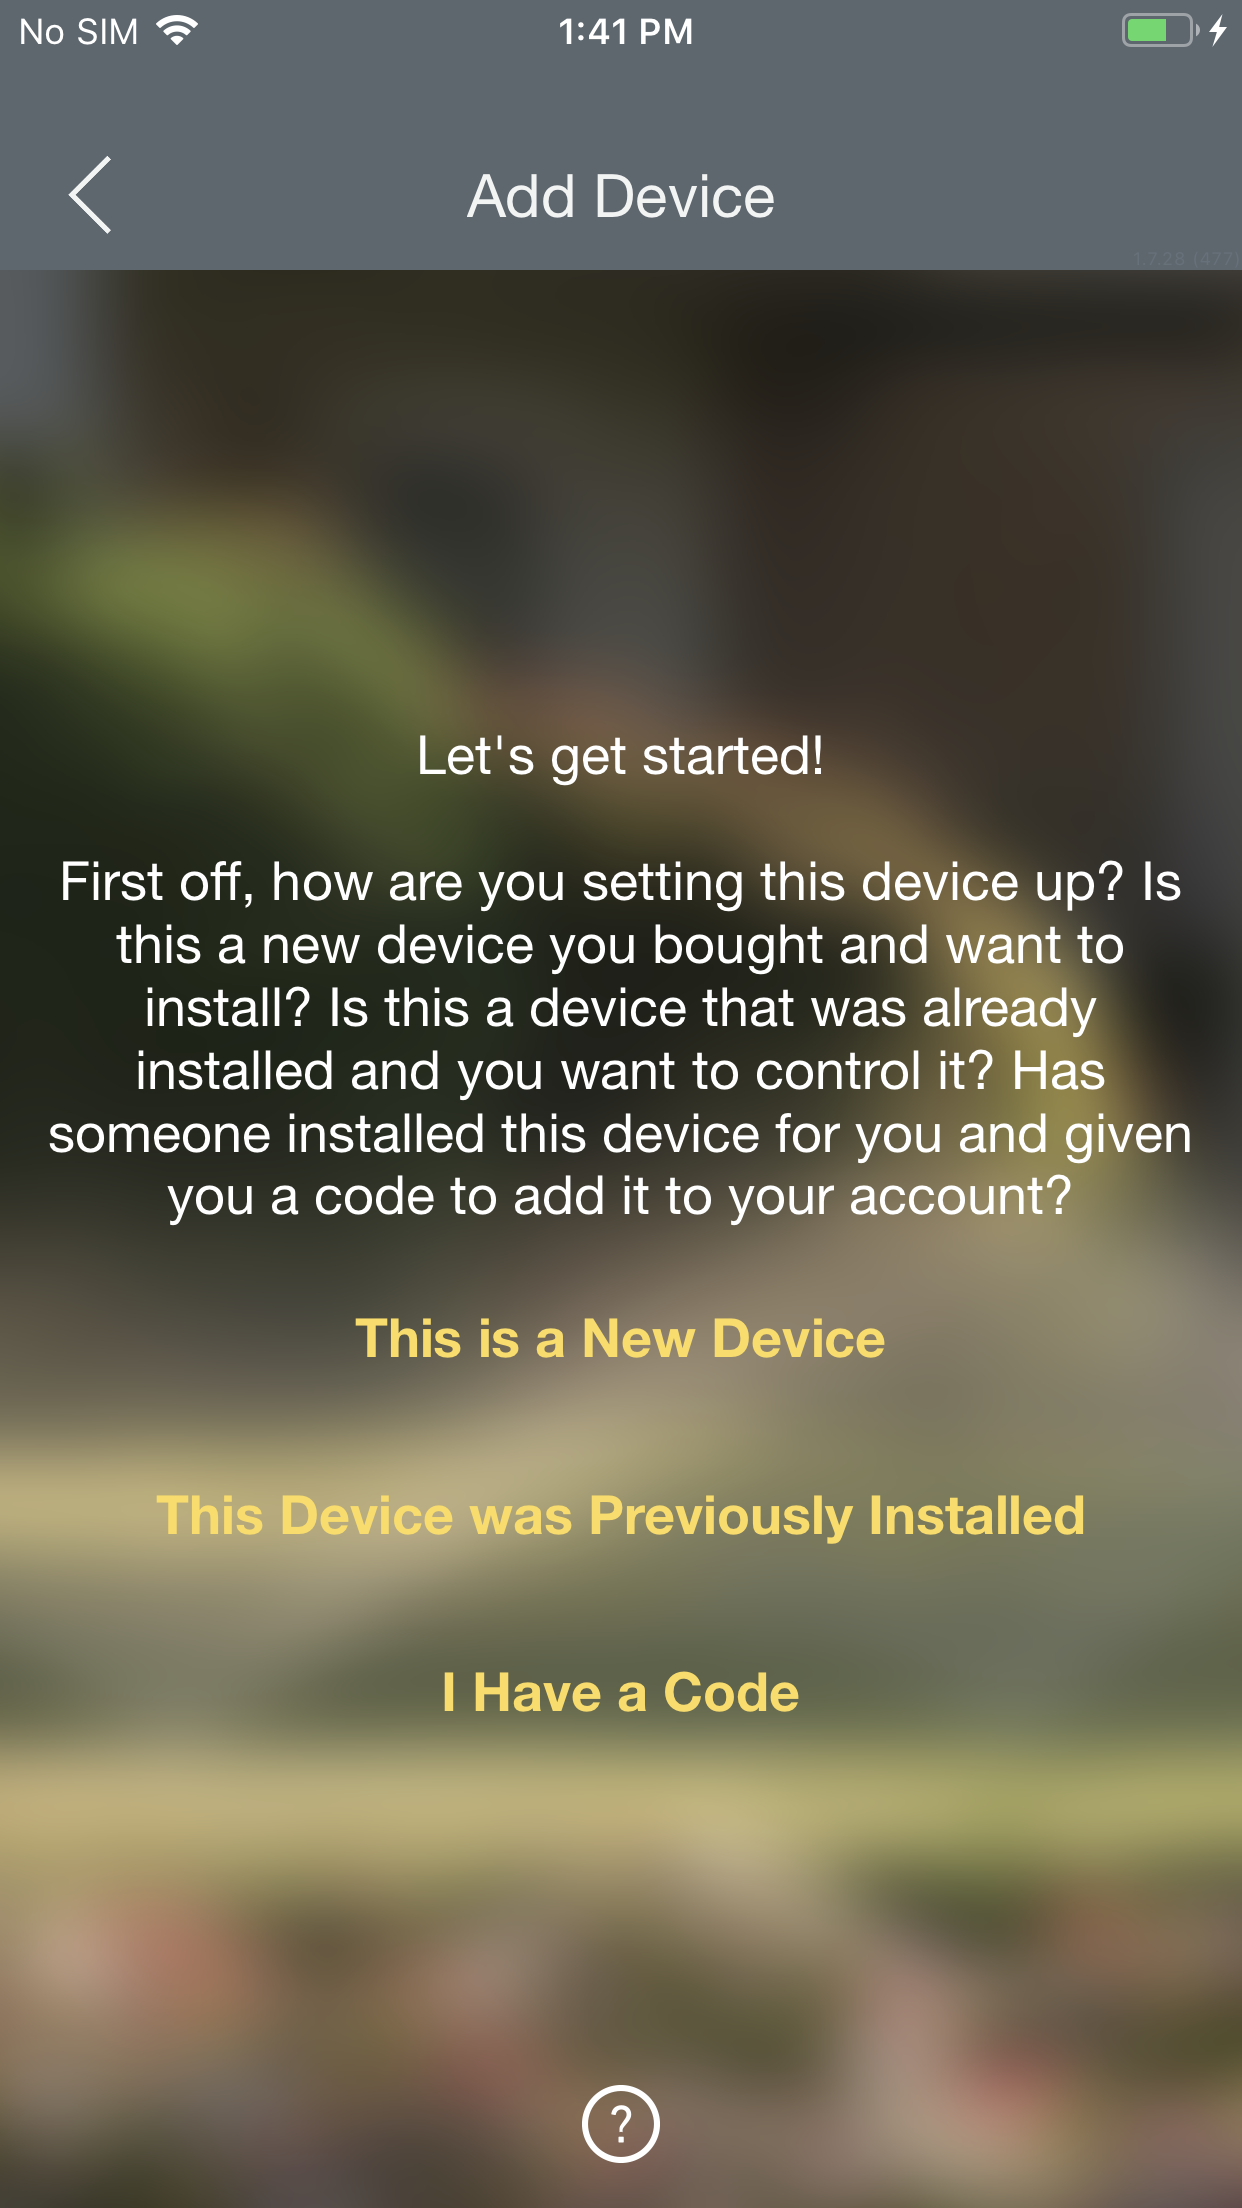
- If this is your first time completing the connection and setup, click “This is a new device”.
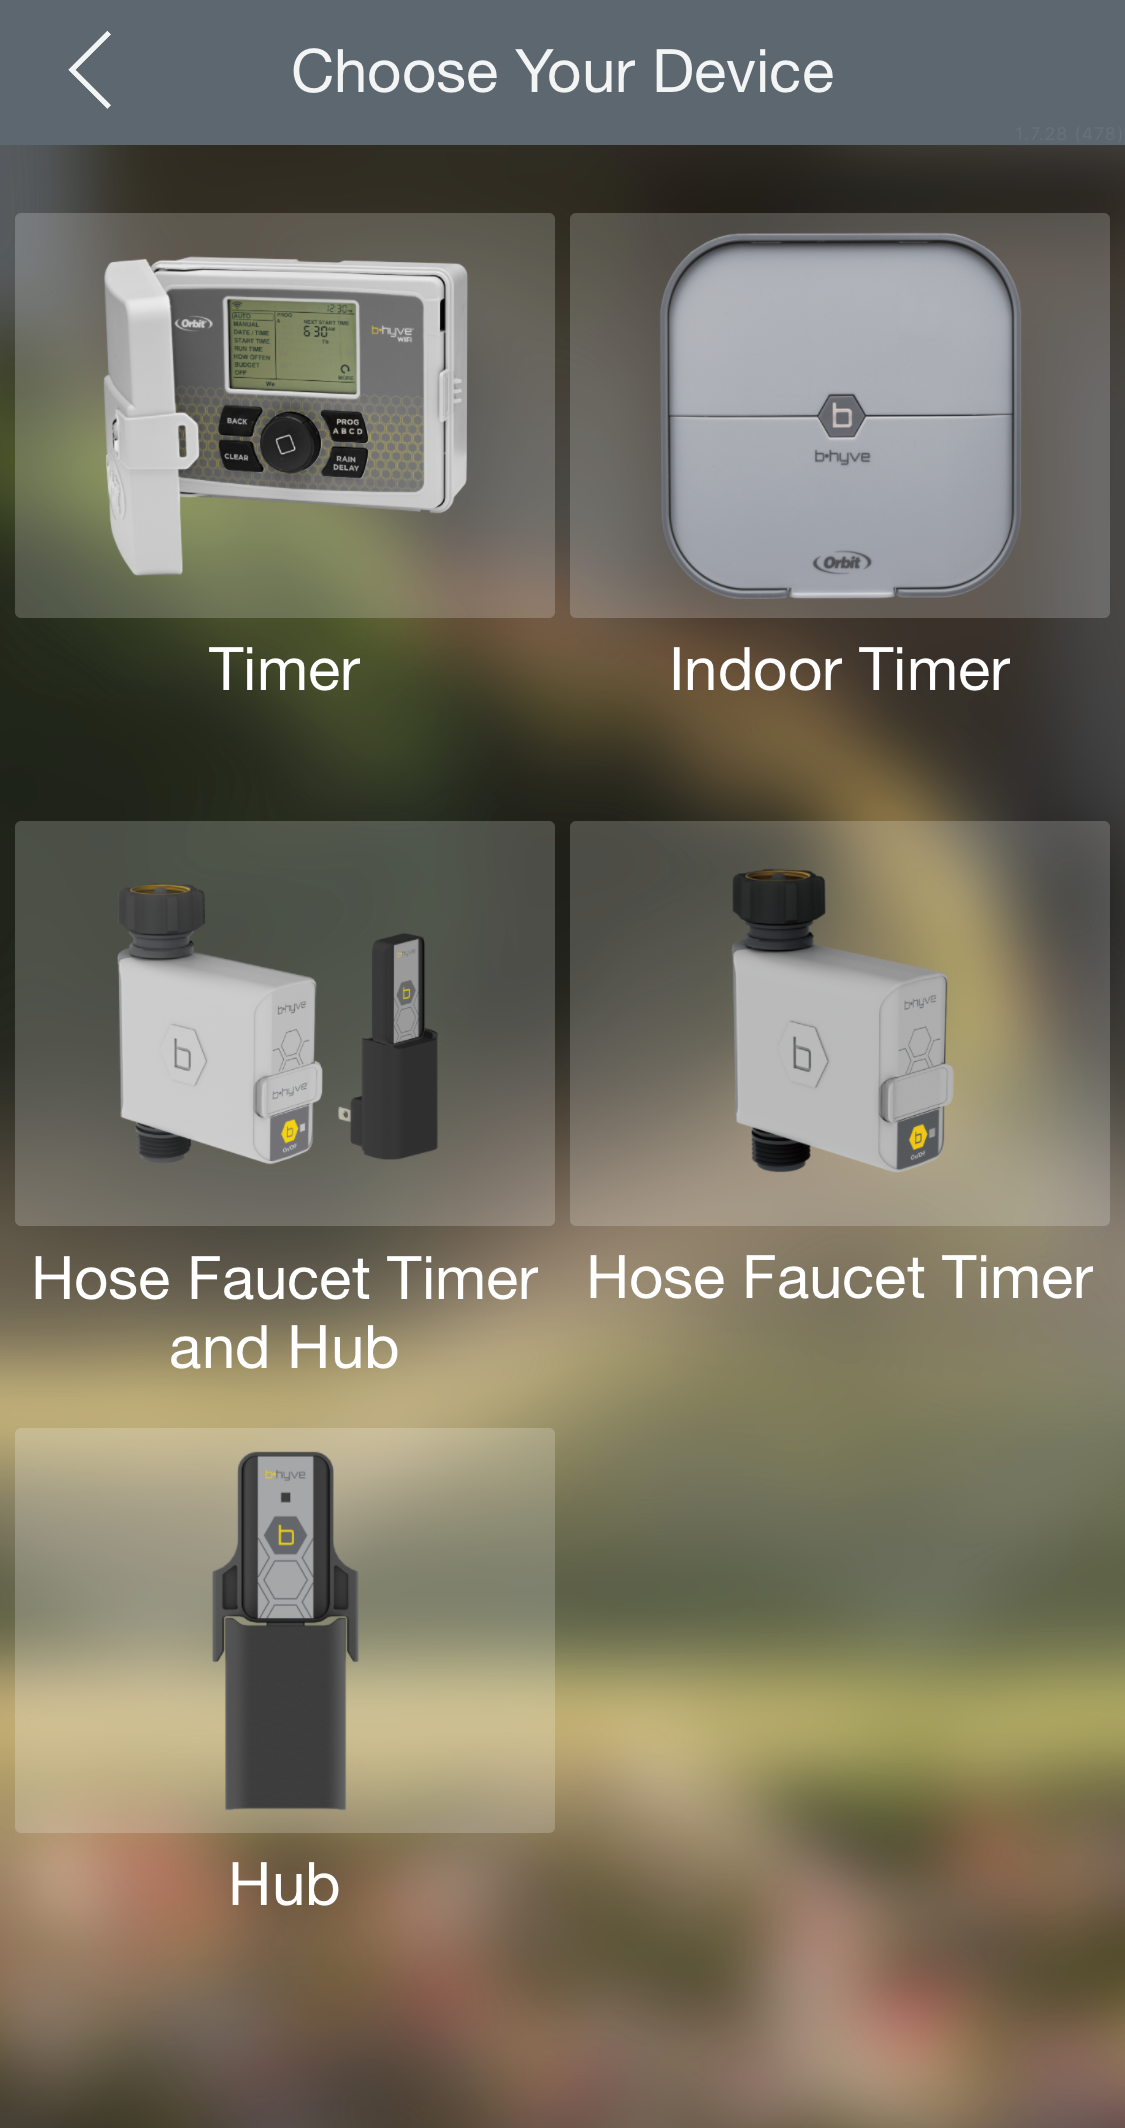
- Next, you will need to select which type of device you’d like to pair.
-
- Tap the first panel, marked “Timer”.
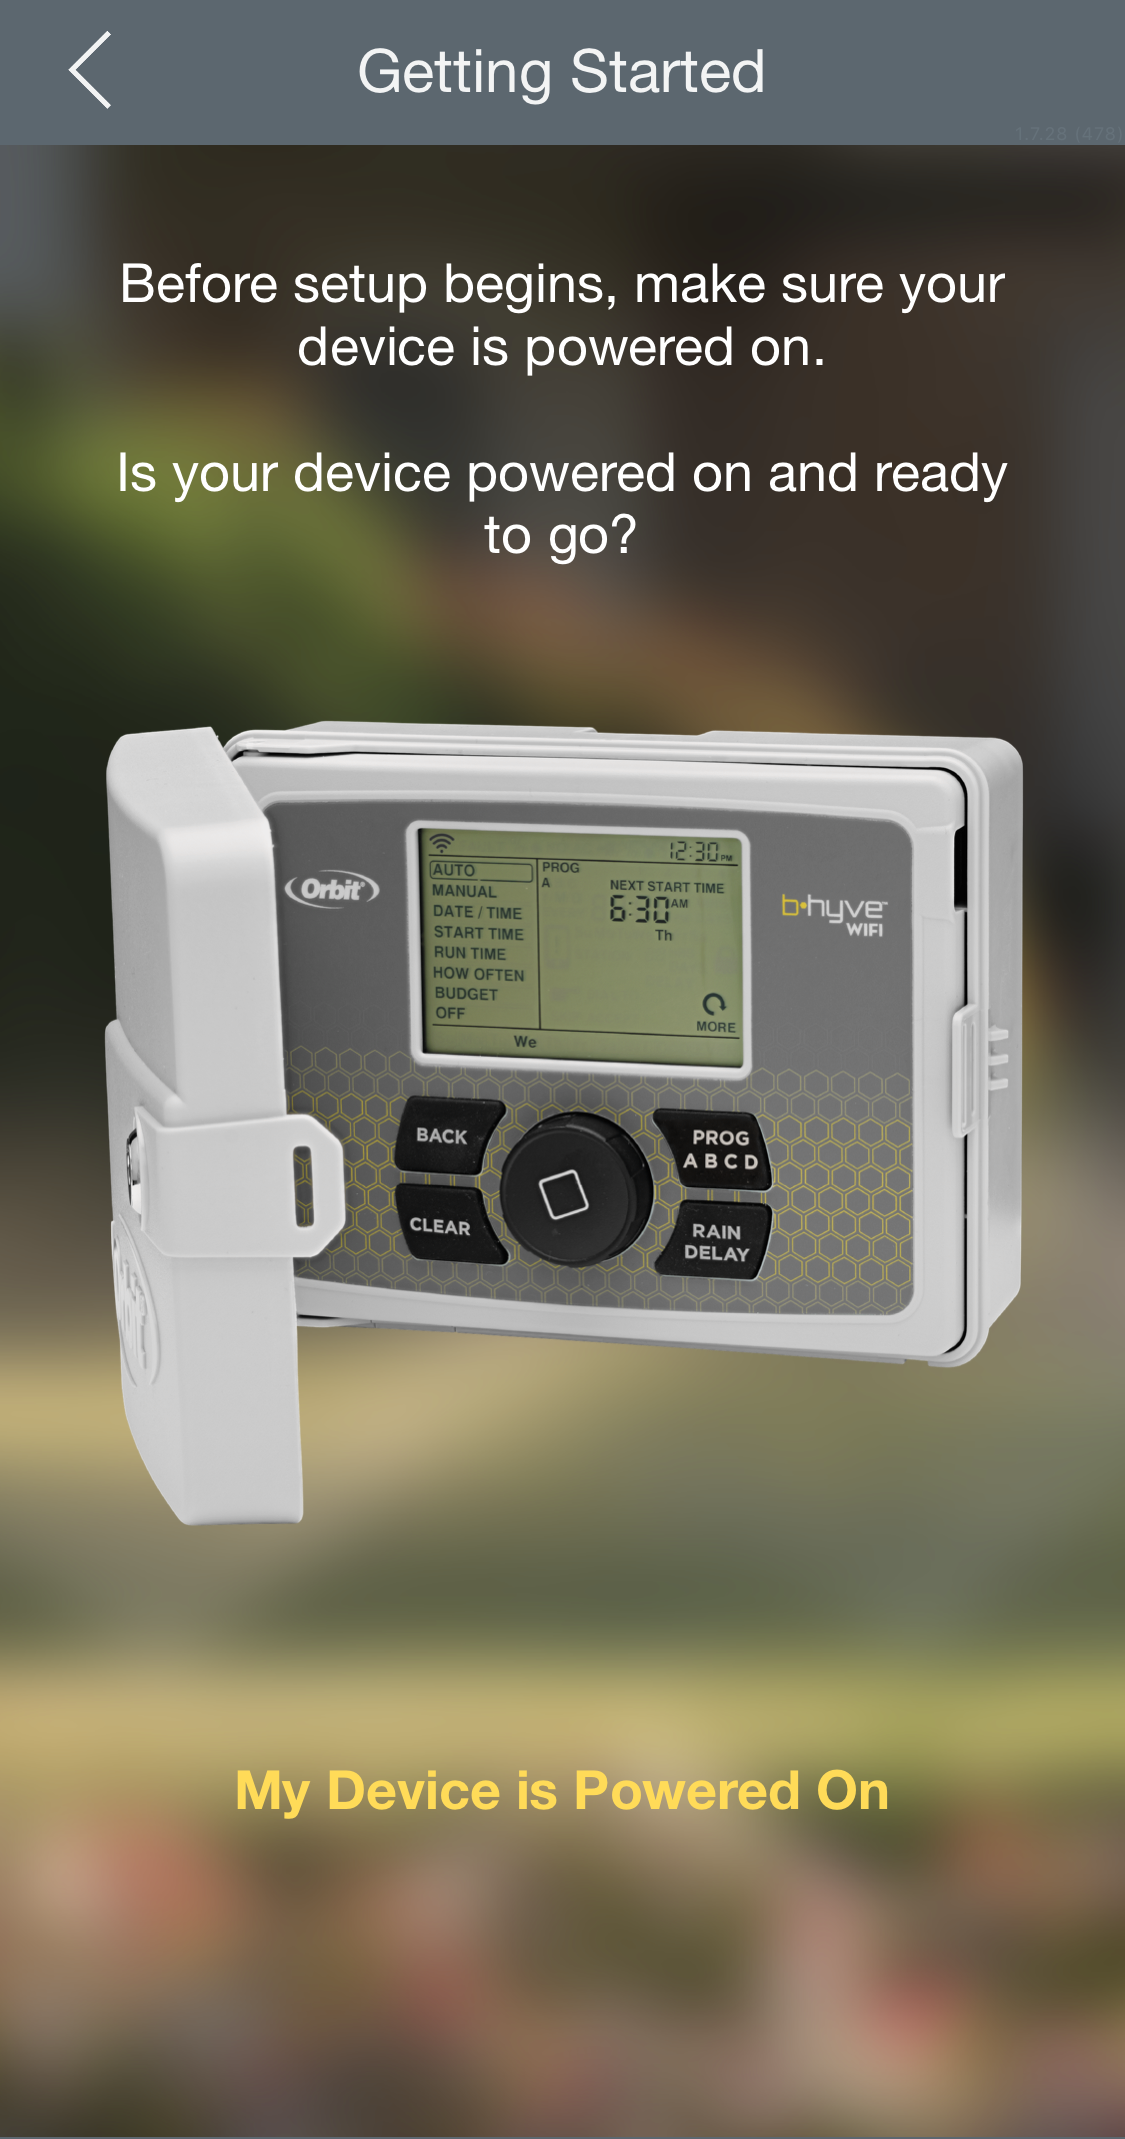
- Next, you will see a screen similar to this. This screen reminds you to make sure your device is plugged in and powered on.
-
- Click “My Device is Powered On” to continue.
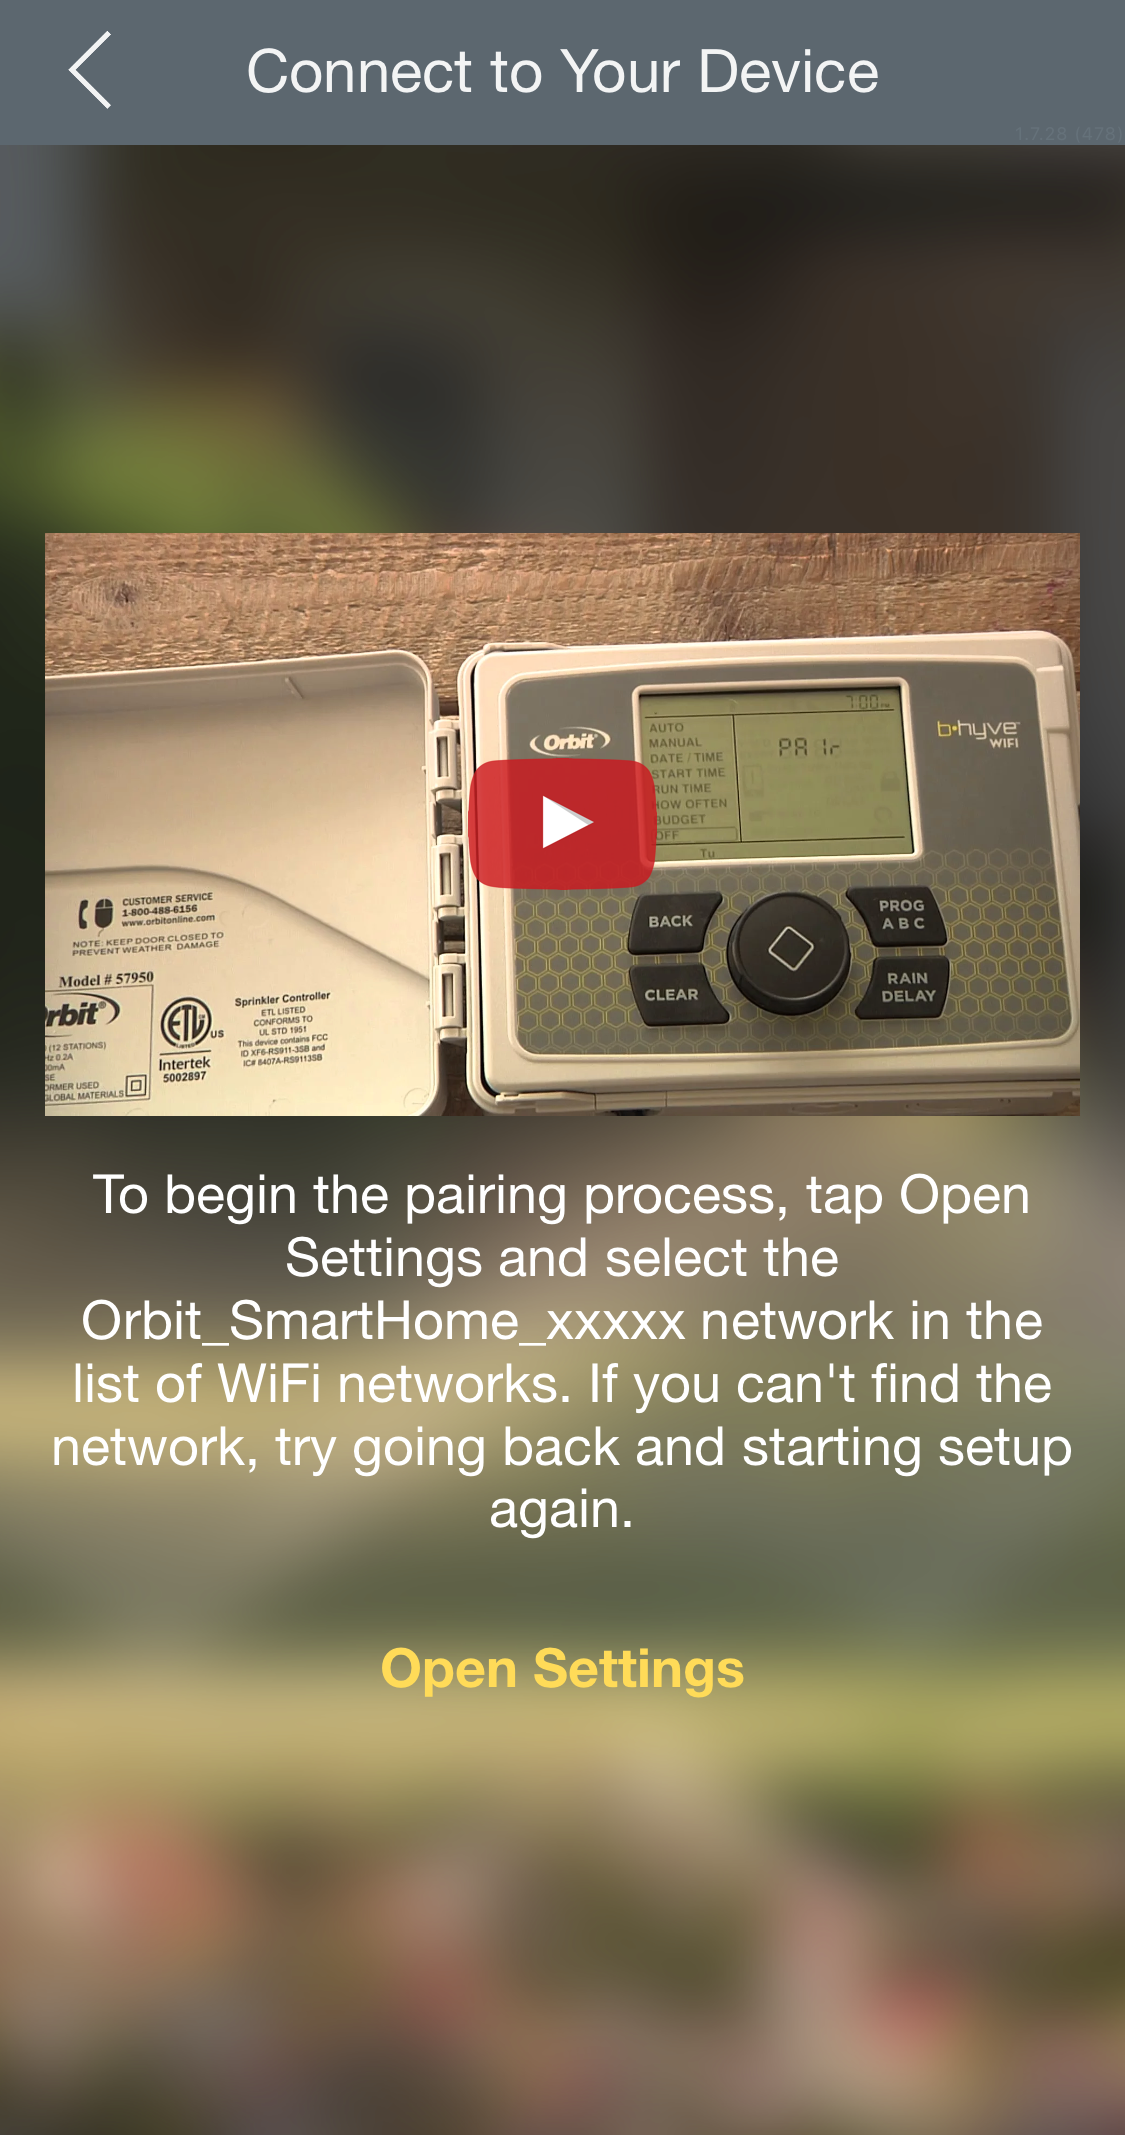
- The app will then prepare to look for your timer. This should take a few seconds. You should then see the screen below.
-
- This page just wants you to connect to the timer’s WiFi network (Orbit_SmartHome_xxxxx). Click “Open Settings” to navigate to your phone’s settings. From there, go to the Wi-Fi menu and connect to Orbit_SmartHome_xxxxx.
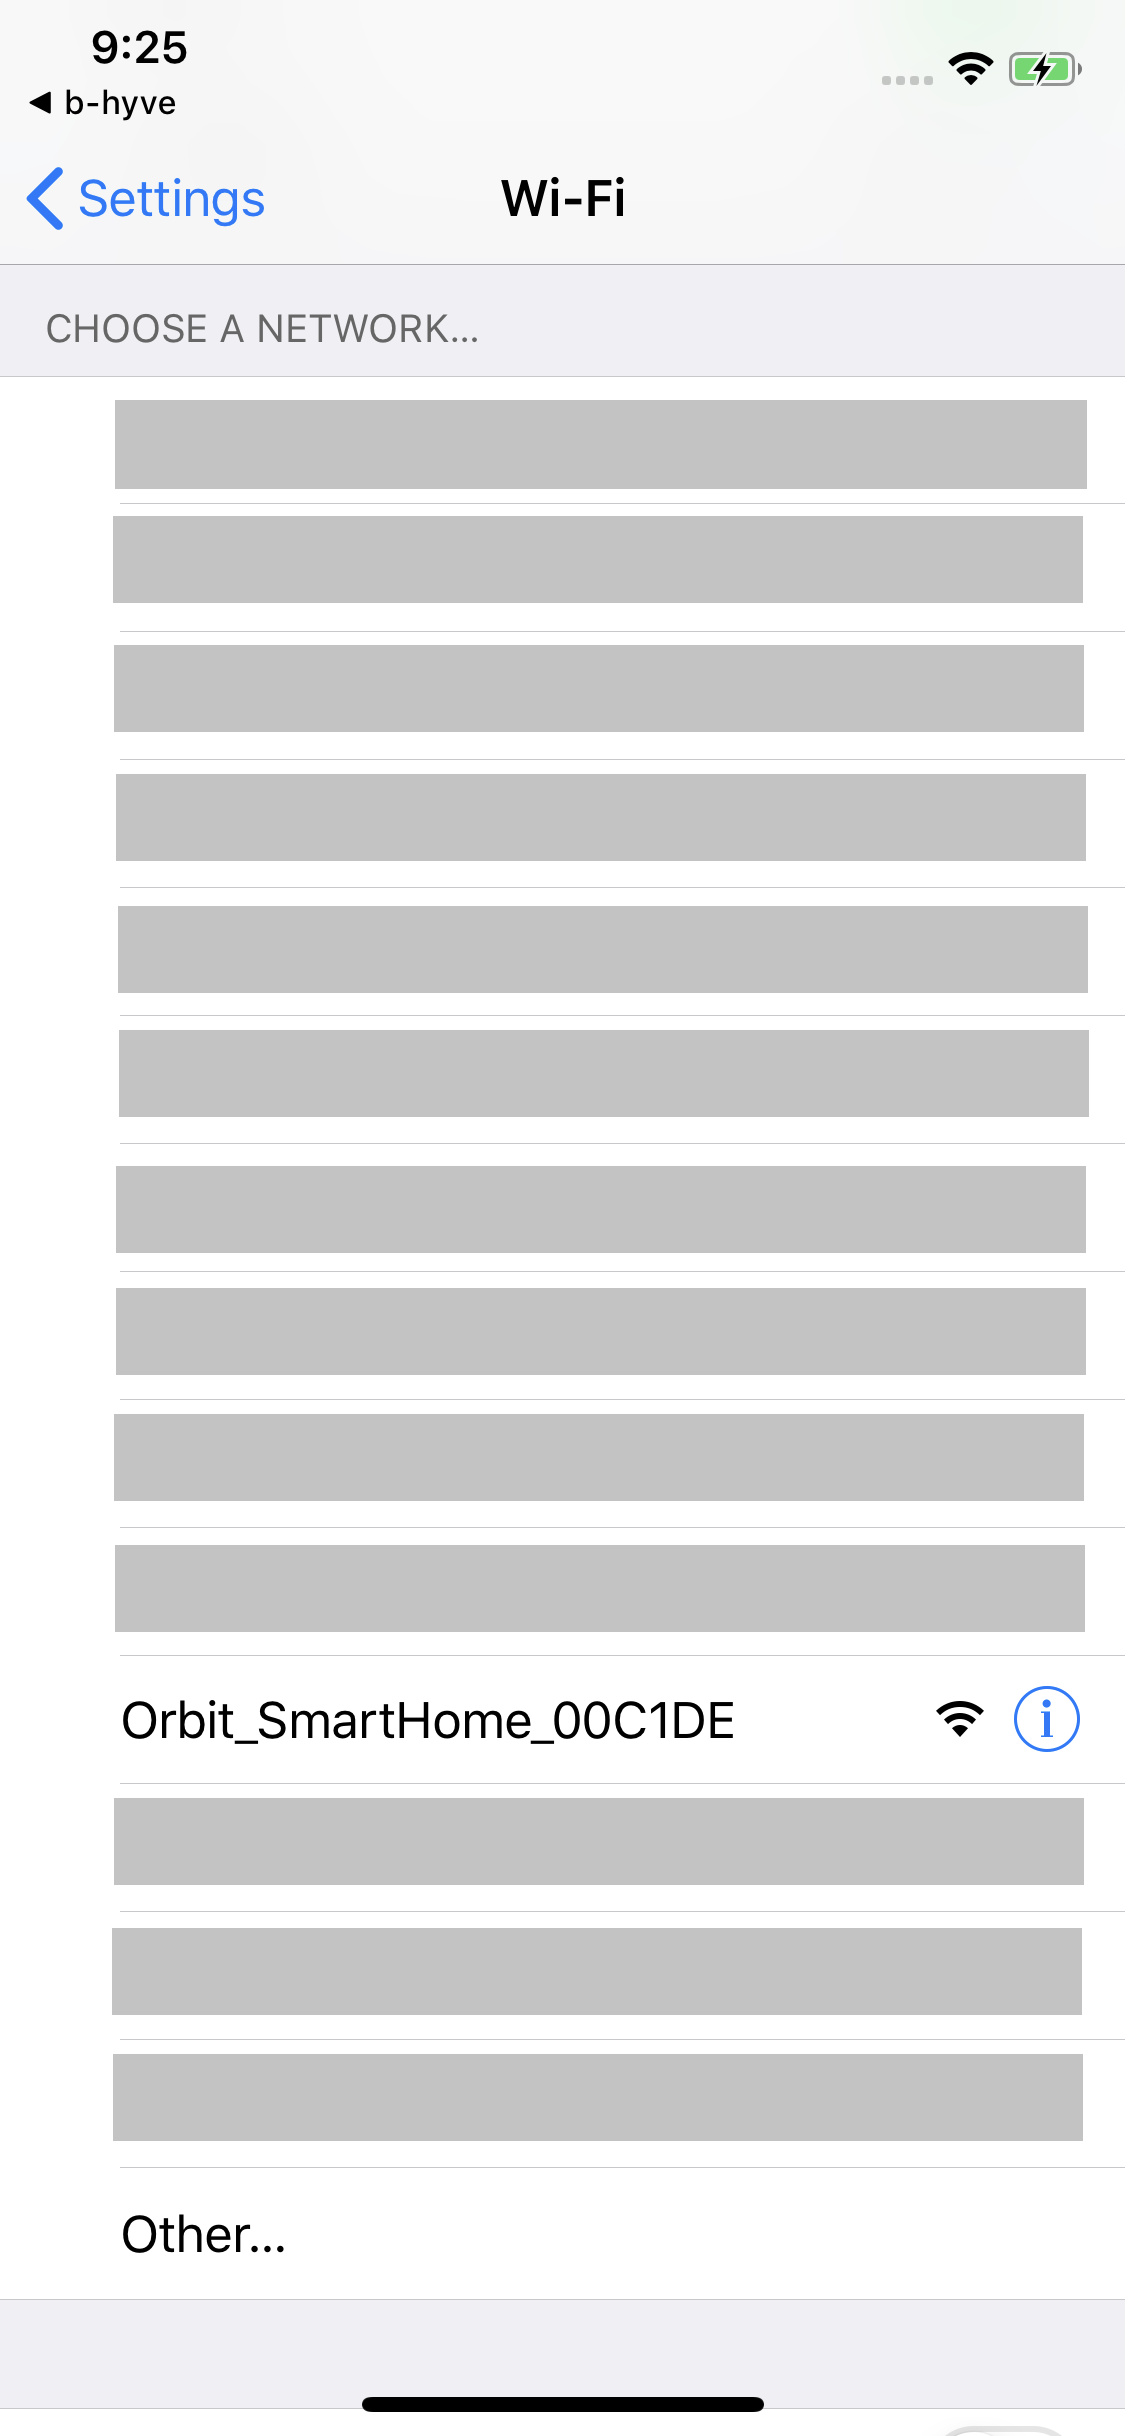
- This page just wants you to connect to the timer’s WiFi network (Orbit_SmartHome_xxxxx). Click “Open Settings” to navigate to your phone’s settings. From there, go to the Wi-Fi menu and connect to Orbit_SmartHome_xxxxx.
-
- Navigate back to the B-hyve app after connecting to the timer’s Wi-Fi network. The app will show this screen as it looks for your timer.
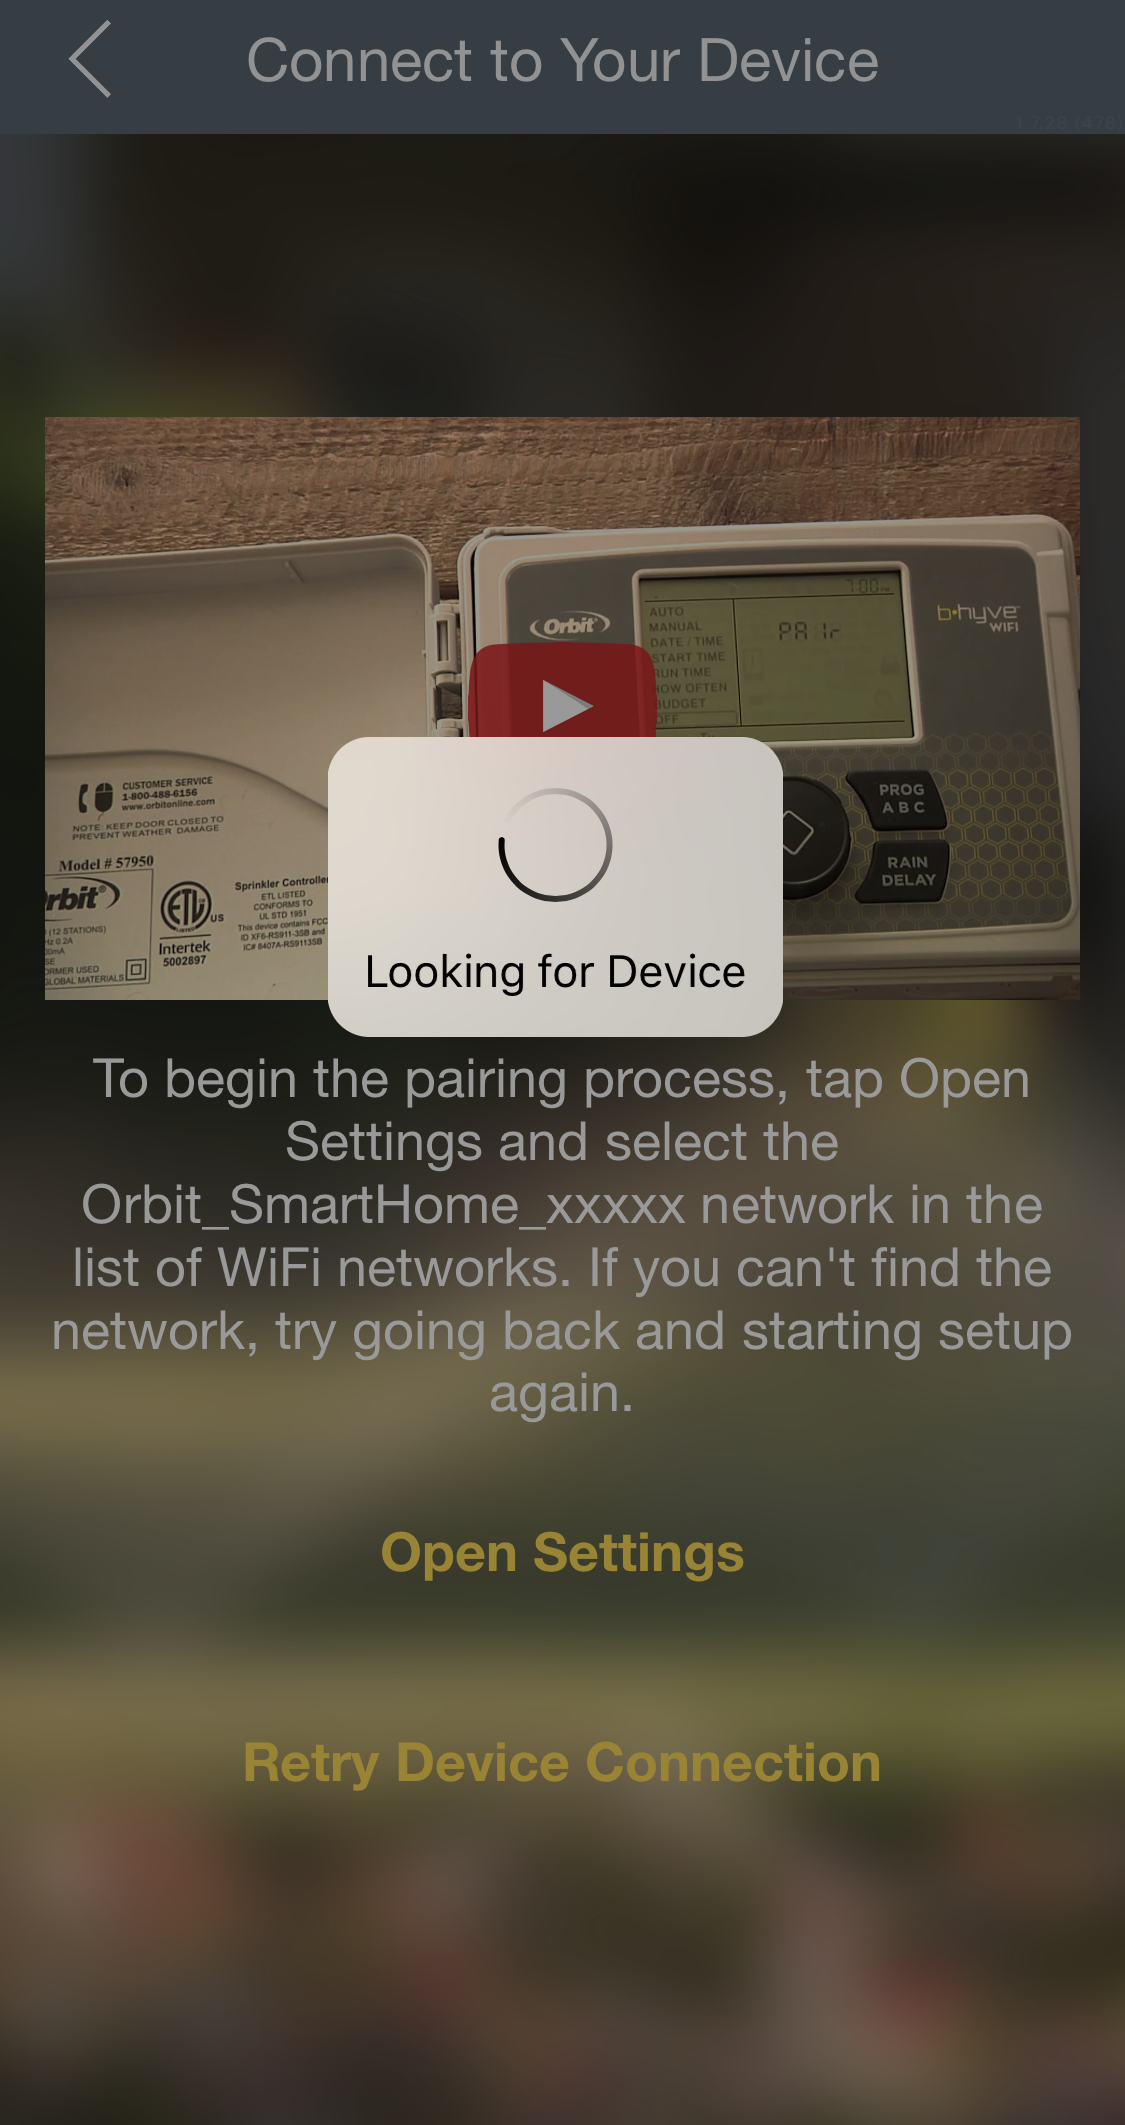
- This should only take a few moments.
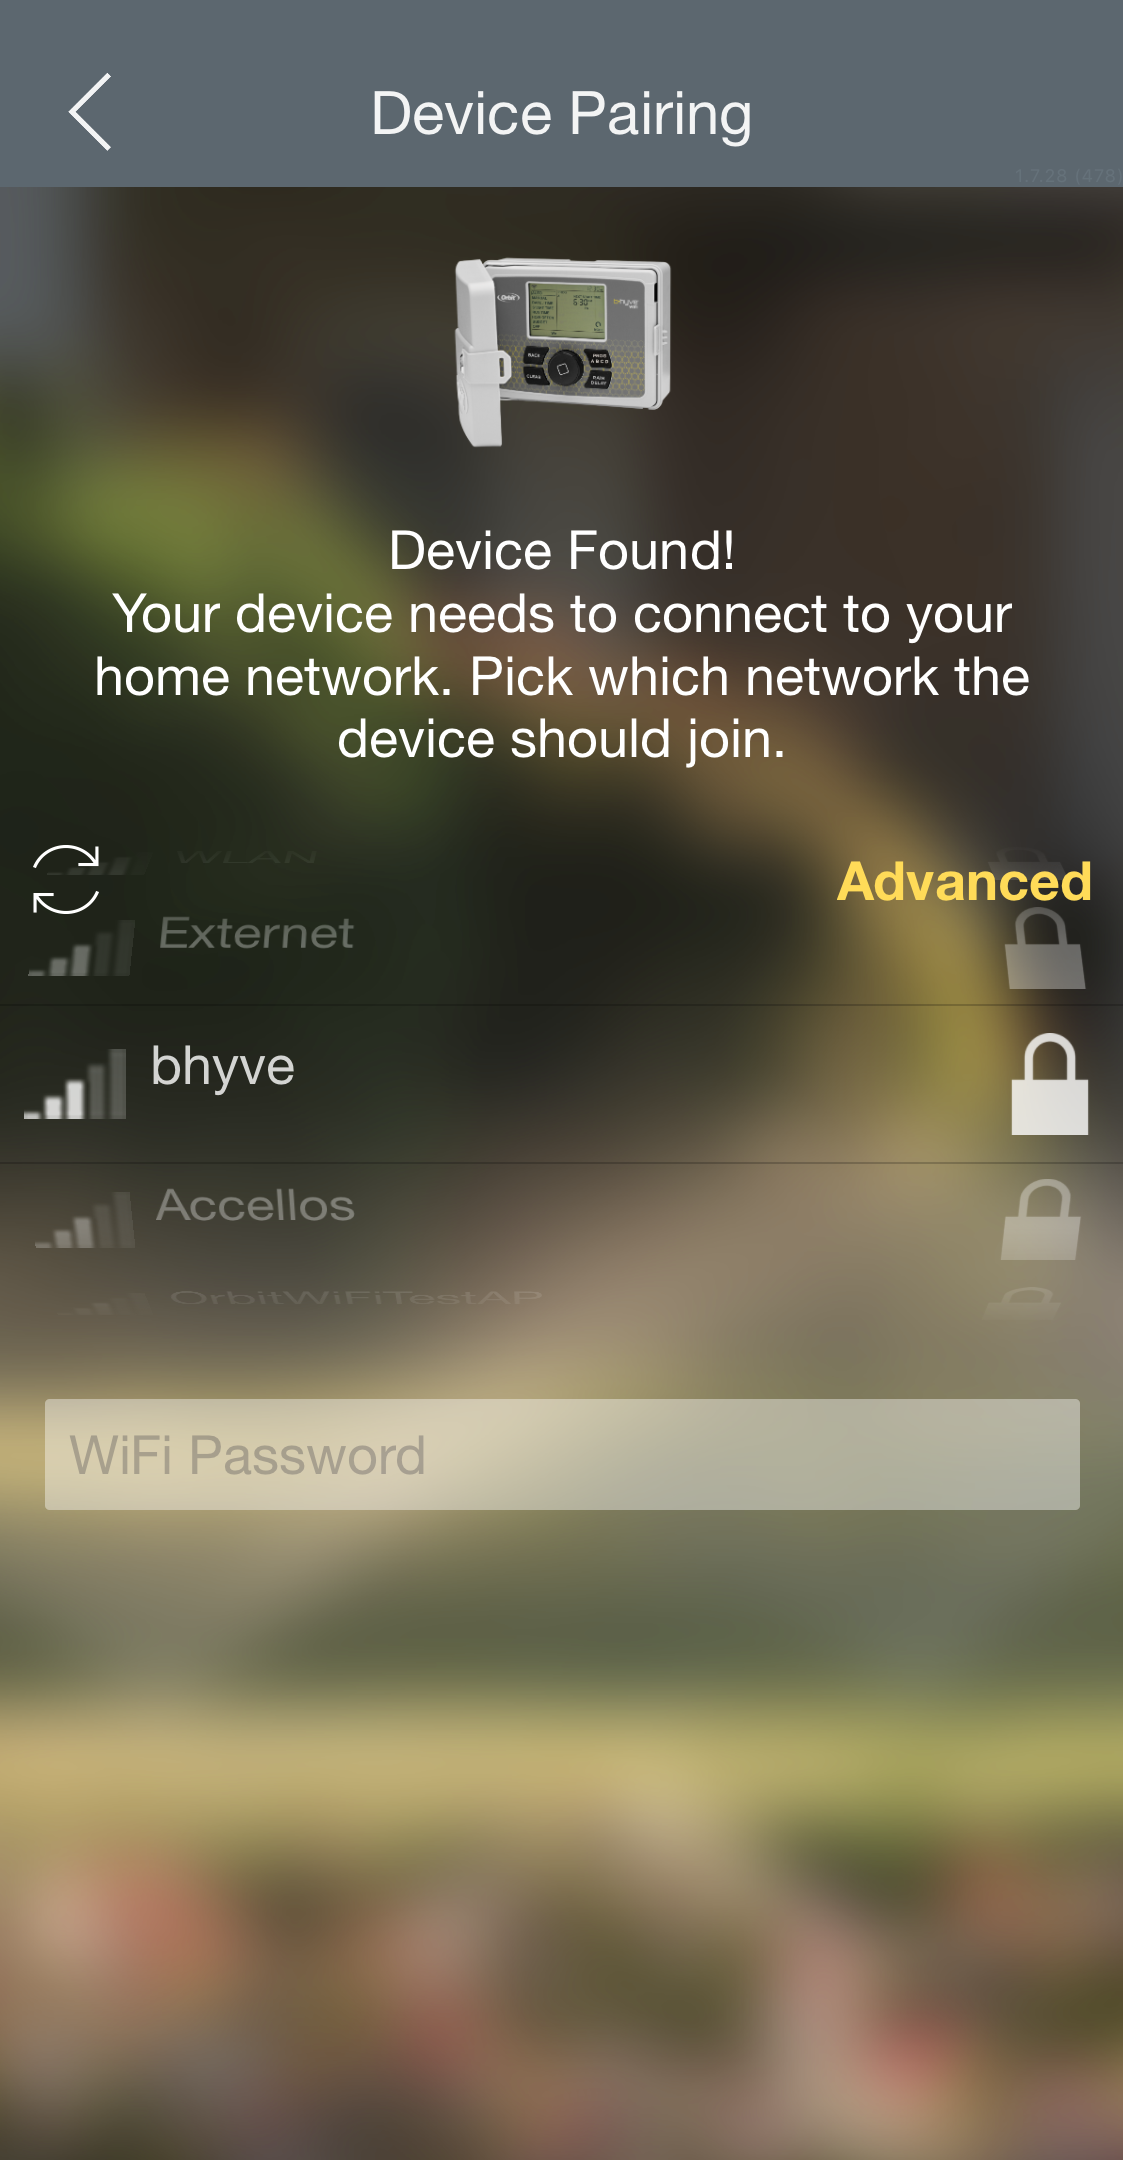
- Once the app finds your timer, the timer will look for available Wi-Fi networks to connect to and display the top ten results in order of signal strength. If you don’t see your network initially you can click on the “refresh”button to try again. If you still don’t see your network you may need to move your timer closer to your Wi-Fi router during initial setup.
- If your network is not secured (doesn’t require a password) you can click into the “WiFi Password” text field and click “Done” on your keyboard to connect.
- If your network is secured, the network password (security key) into the “WiFi Password” text field and click “Done” on your keyboard to connect.
- *If your timer will use a Wi-Fi network that is not broadcasting its SSID (name) you will use the Advanced button to enter your network’s connection details.
- While the timer is connecting to your wireless router you will see the connecting screen.
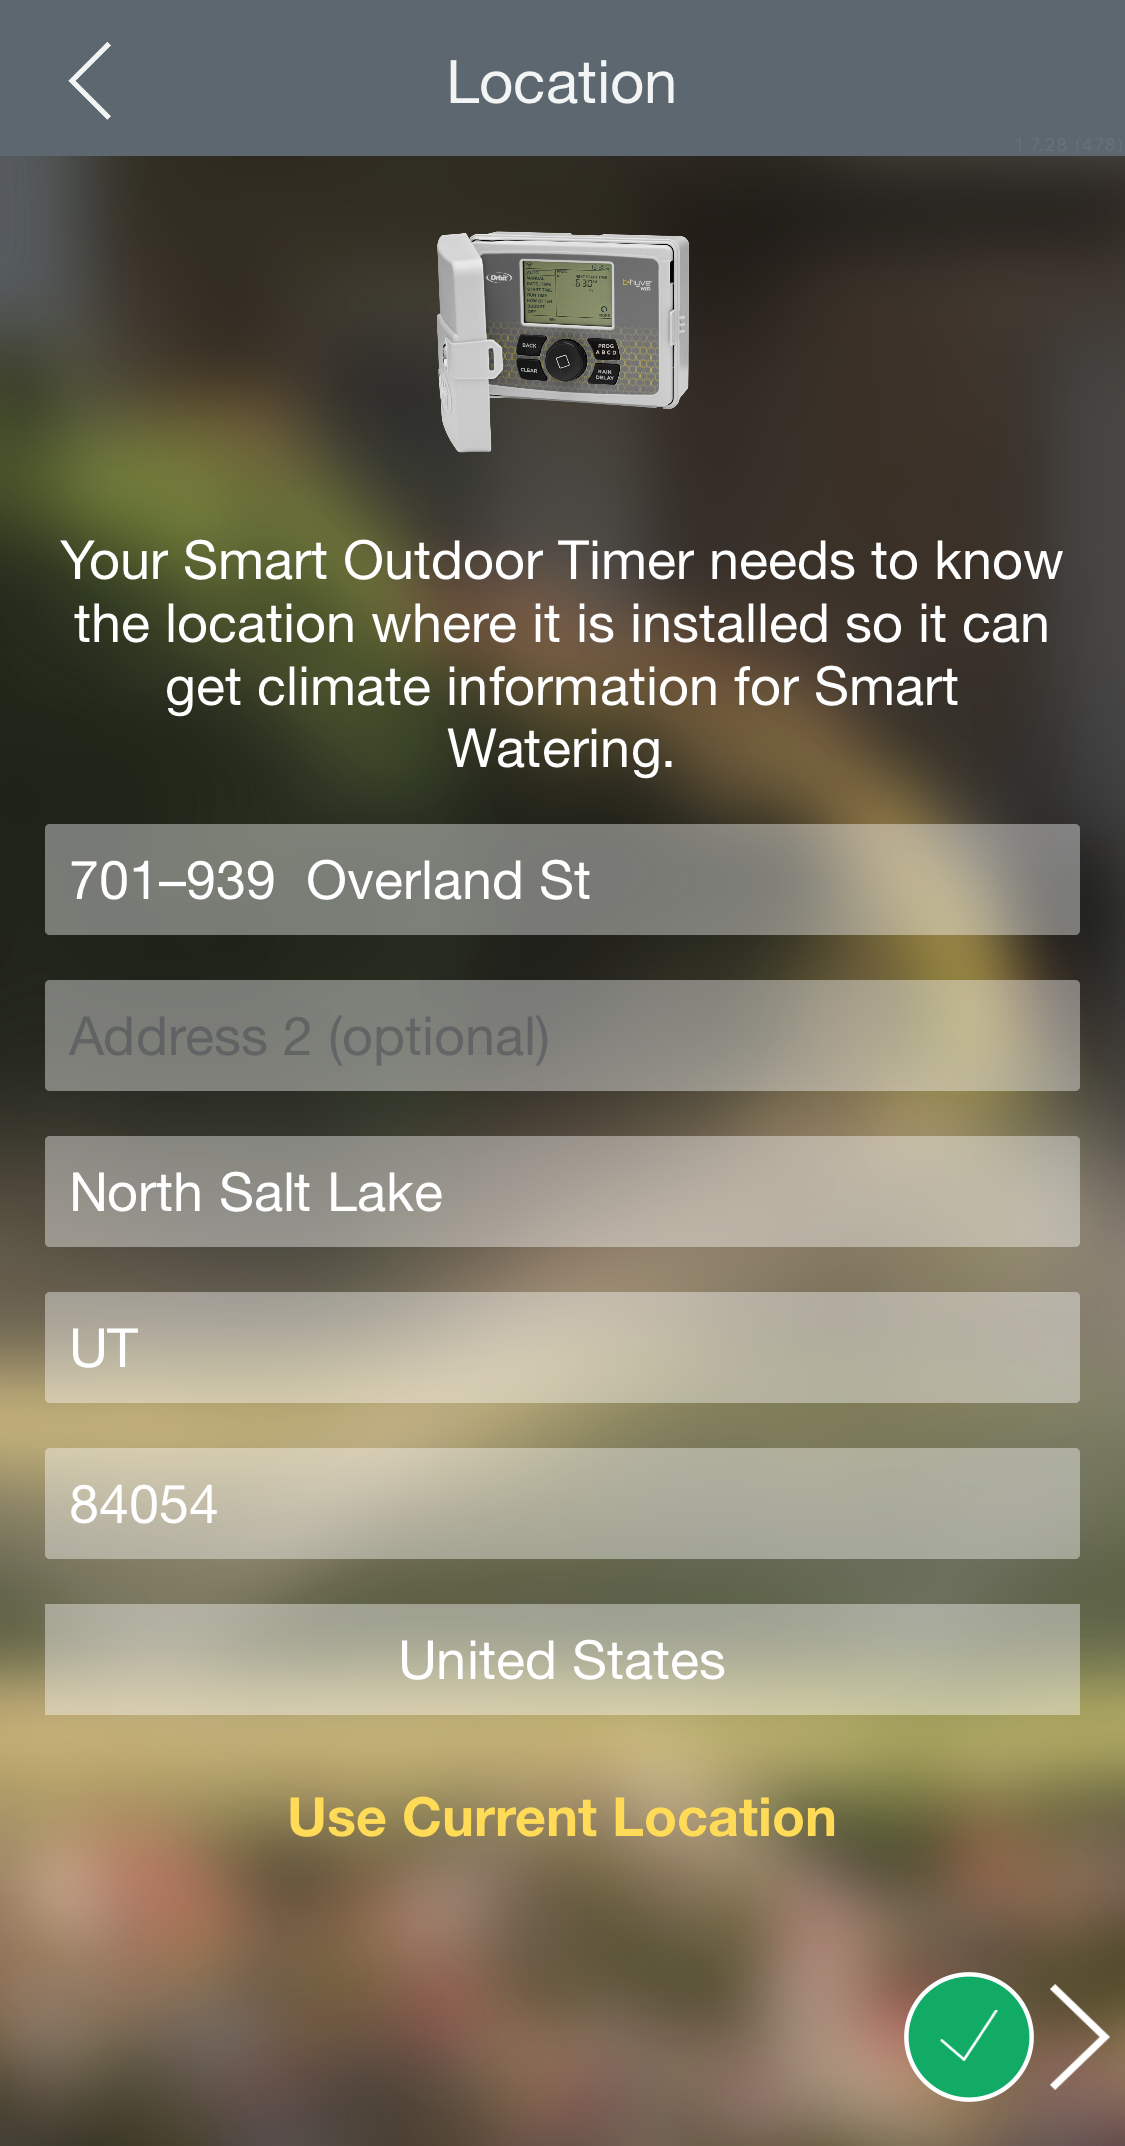
- Once you have connected to your Wi-Fi network you will be able to set your location, which is the first step in setting up your timer’s zones and programming.
Congratulations! You have successfully connected your timer.
If you are having issues pairing your timer still, try turning your cellular data off.
To do this, open your quick menu (swipe up from the bottom or top of your phone) and locate the cellular button.
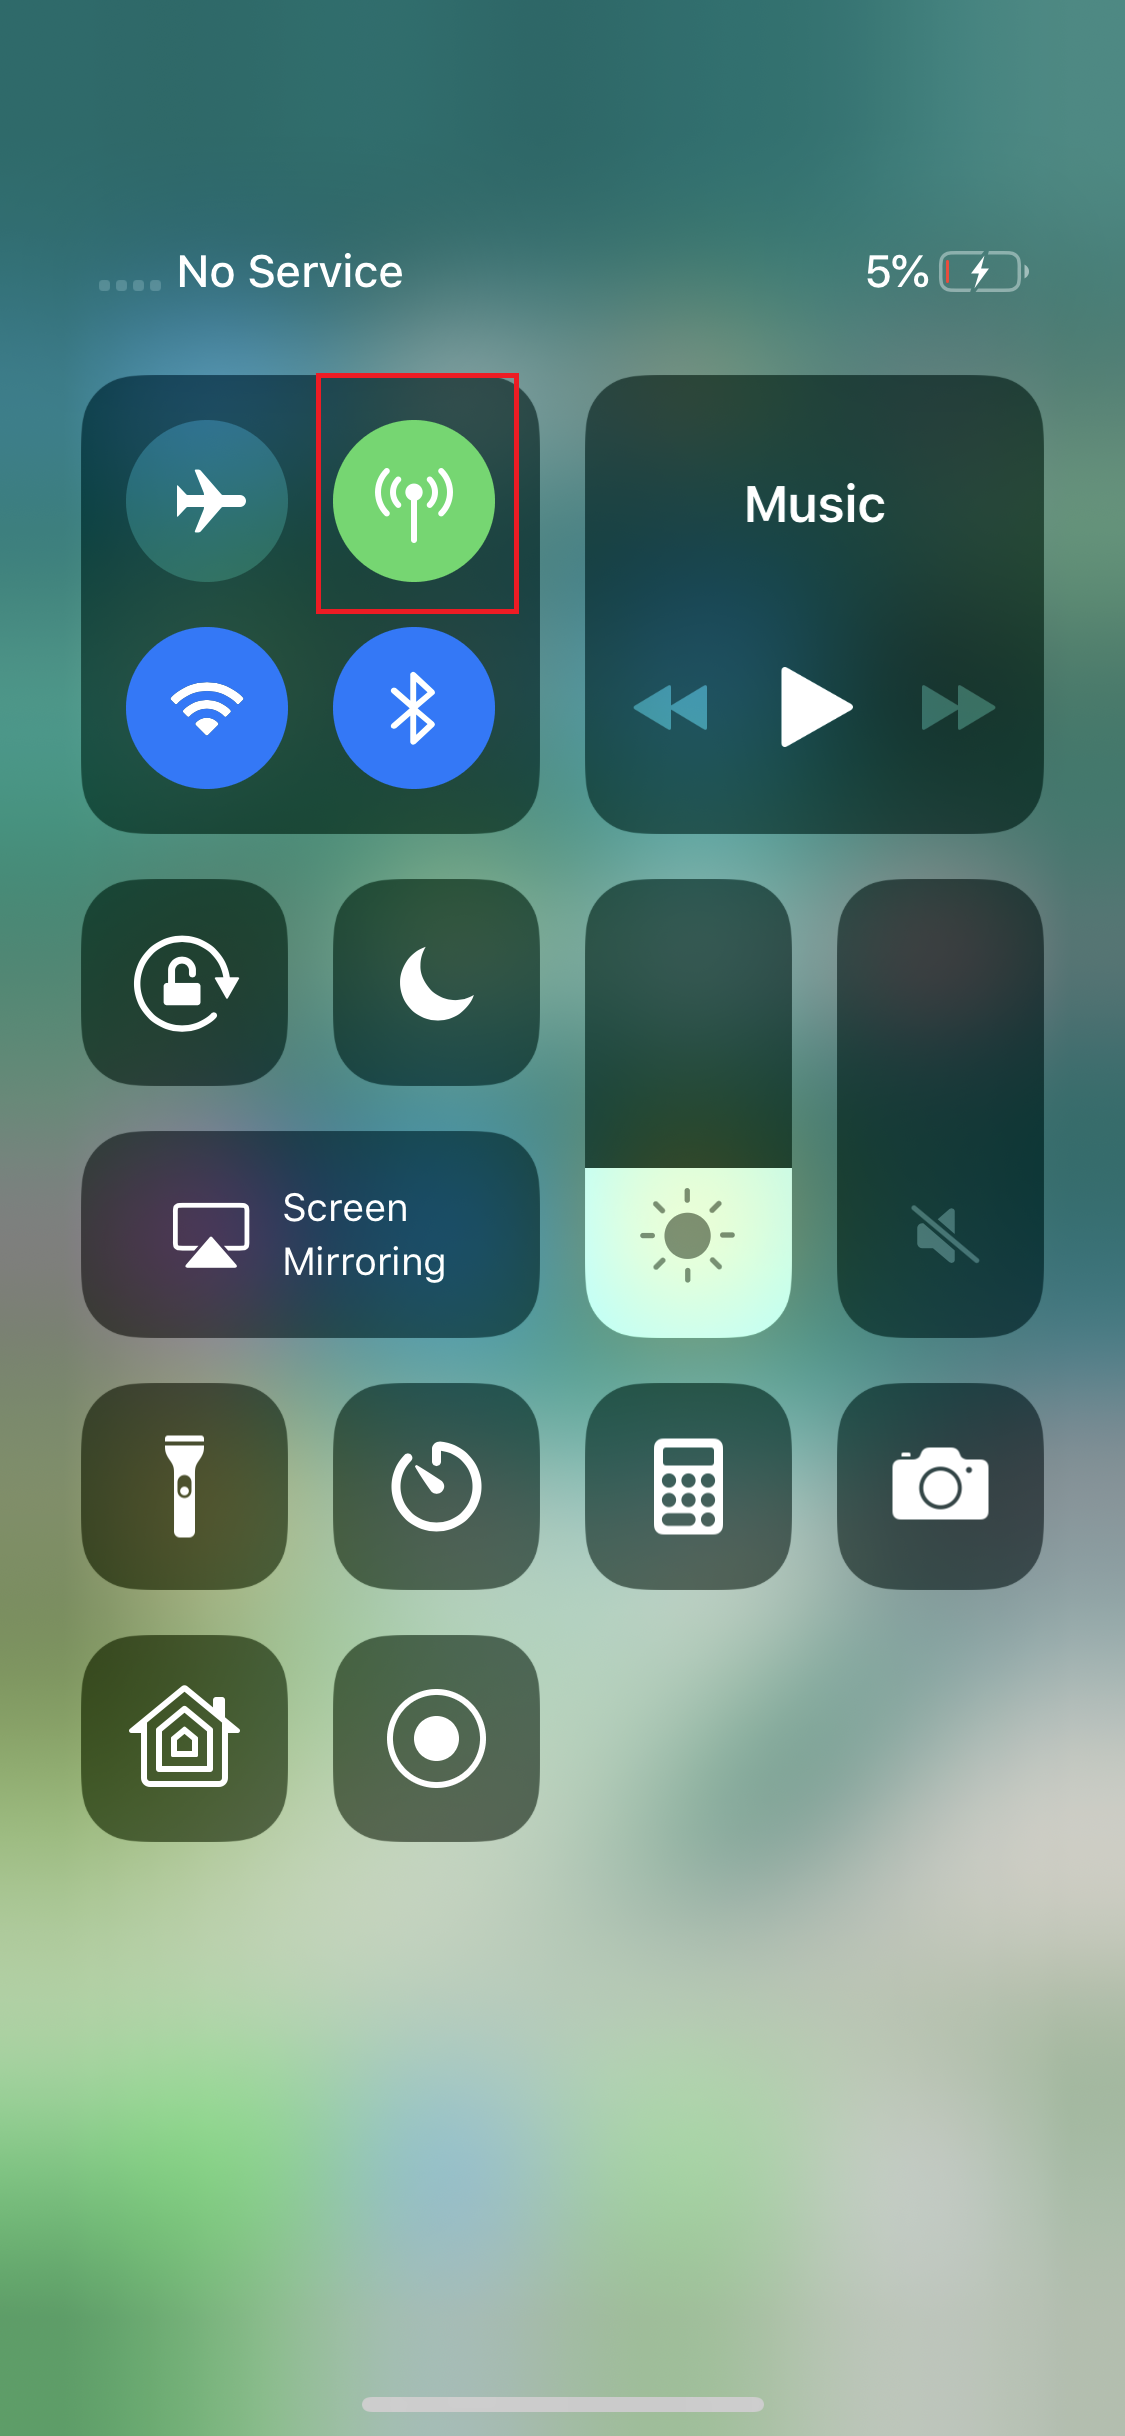
Tap on the button to turn it off, then try pairing again from the beginning!
Should you continue to run into issues with getting your timer paired, please click here to us our OrbitAssist app.
Back to Support pageTags: b-hyve, bhyve, connectivity, videos